GOODWOOD PROJECT
This project is recreating the World Famous goodwood motor circuit in blender. This track has had people like Sir Jim Clark, Graham Hill and Mike Hawthorn tear around it and holds host to the thousands of people thanks to the goodwood Revival every year. This track holds a specal place in my heart and remaking it will be a really intresting challenge

Research
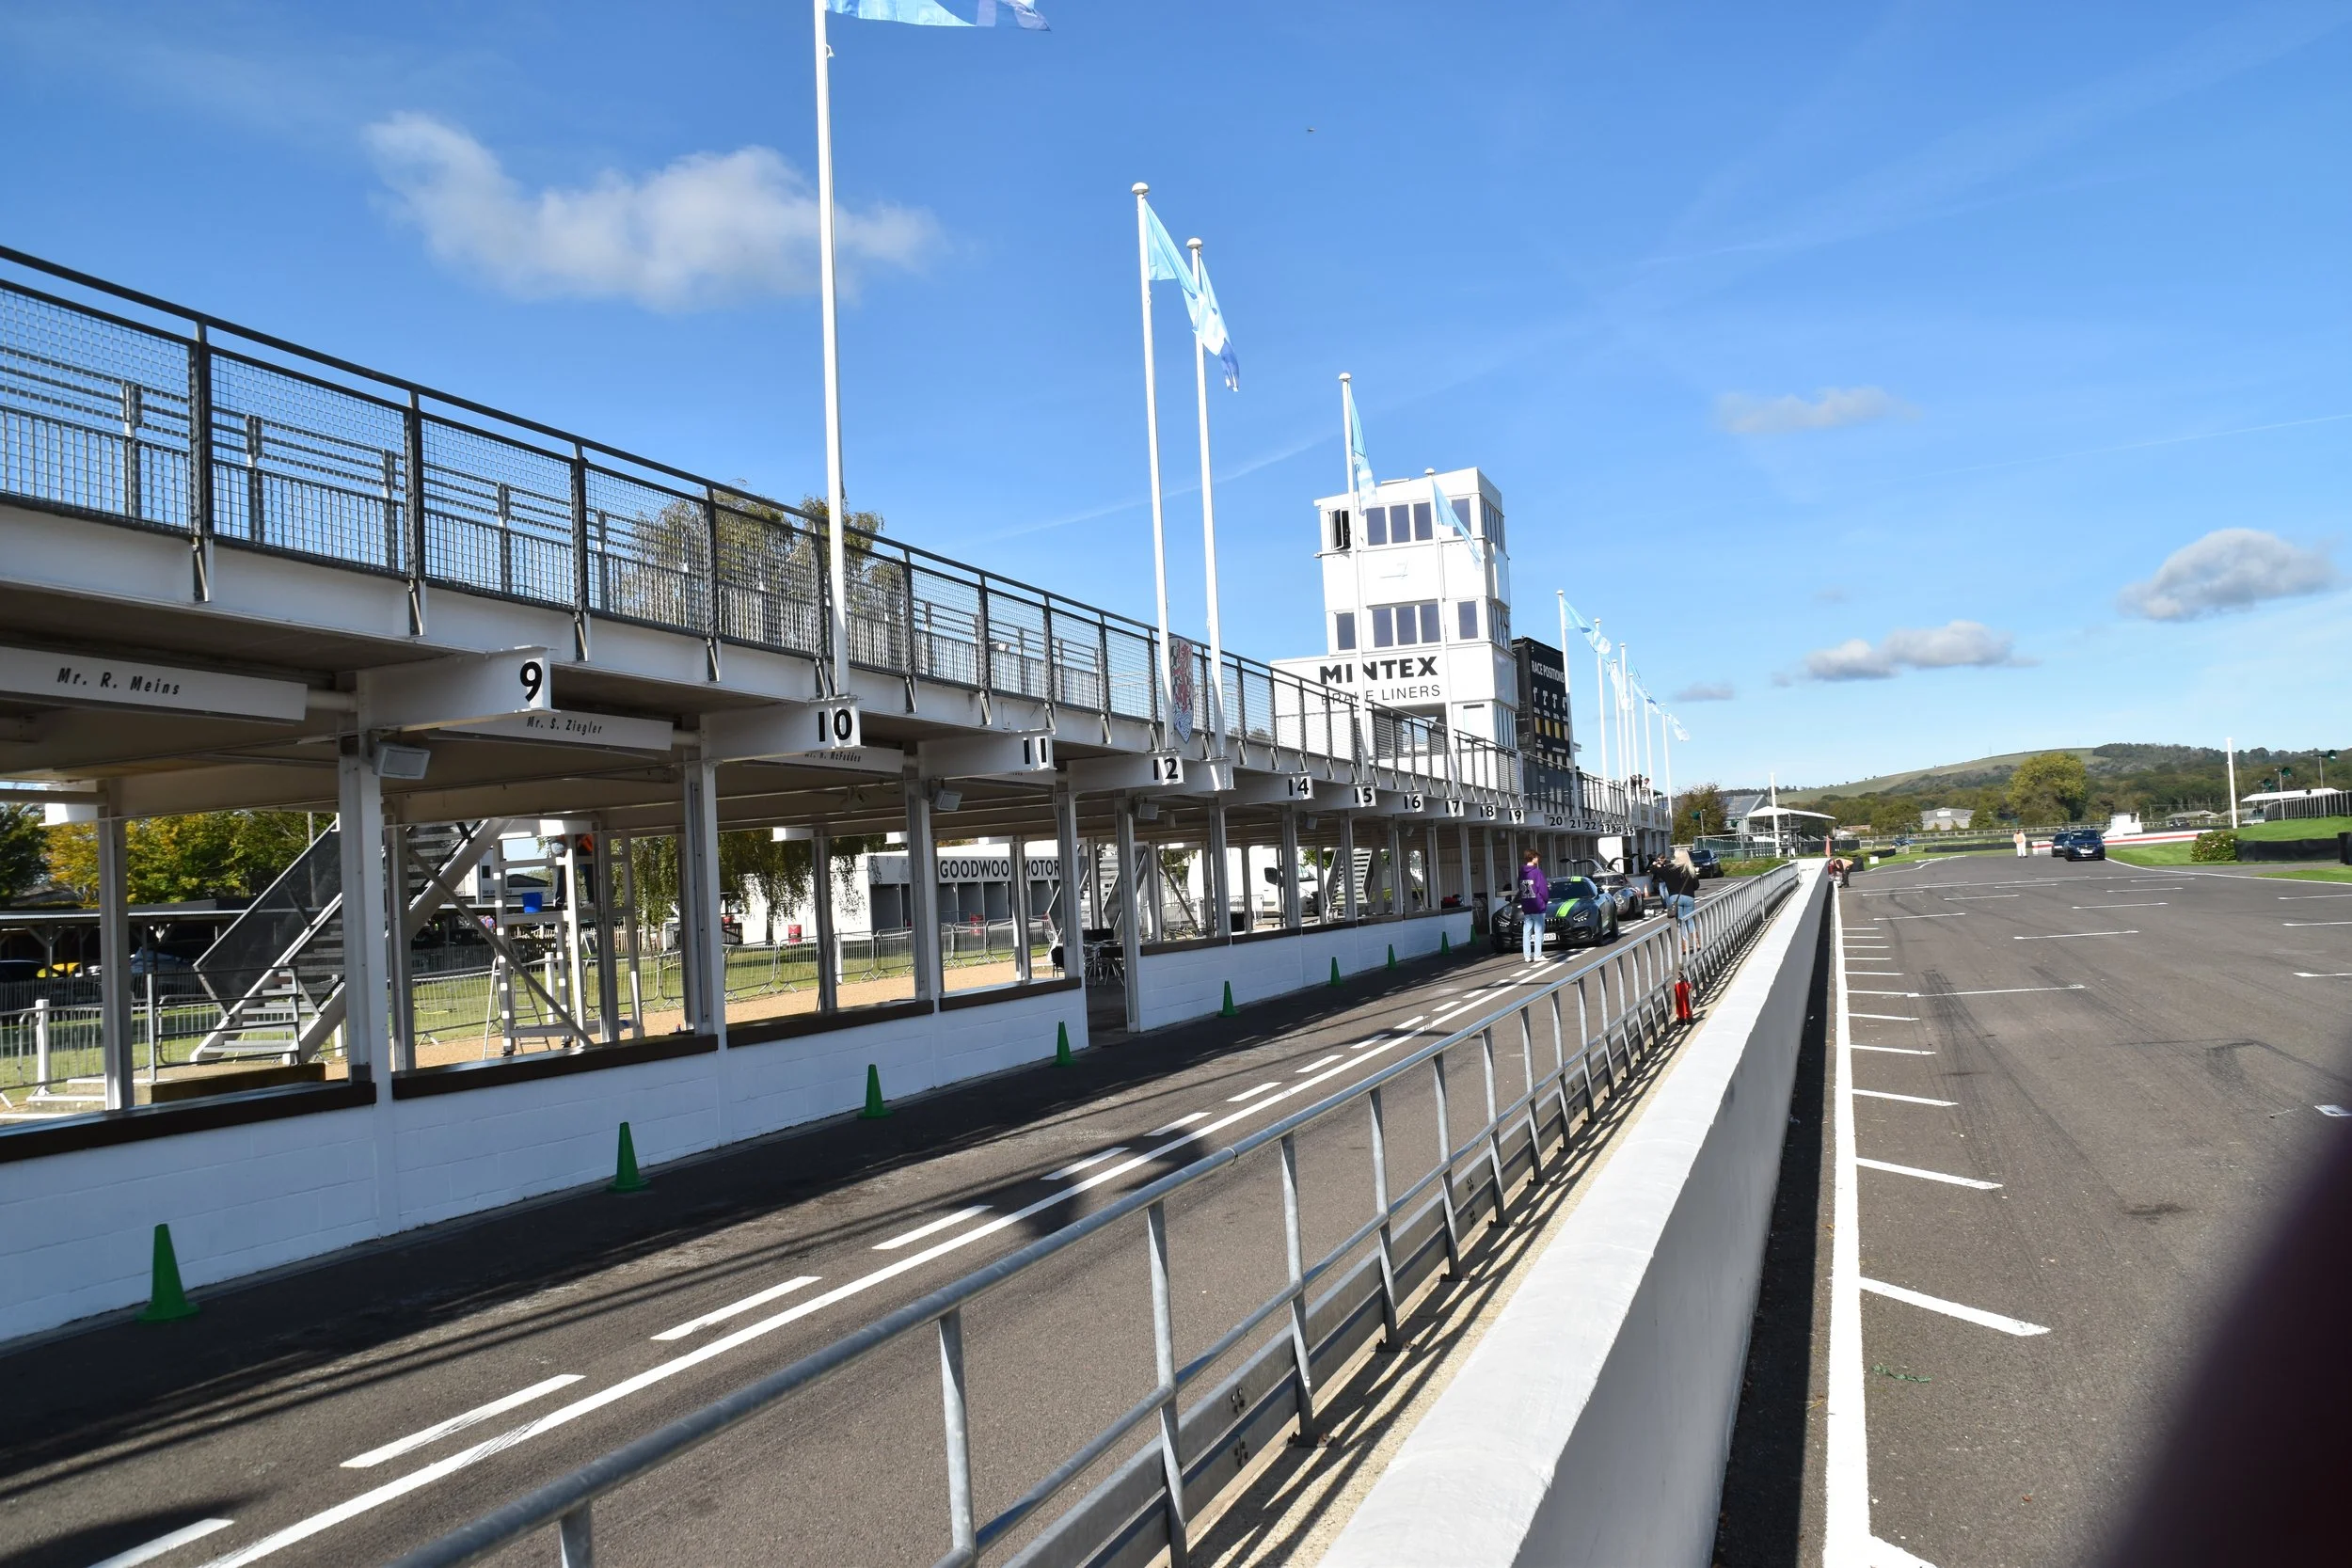
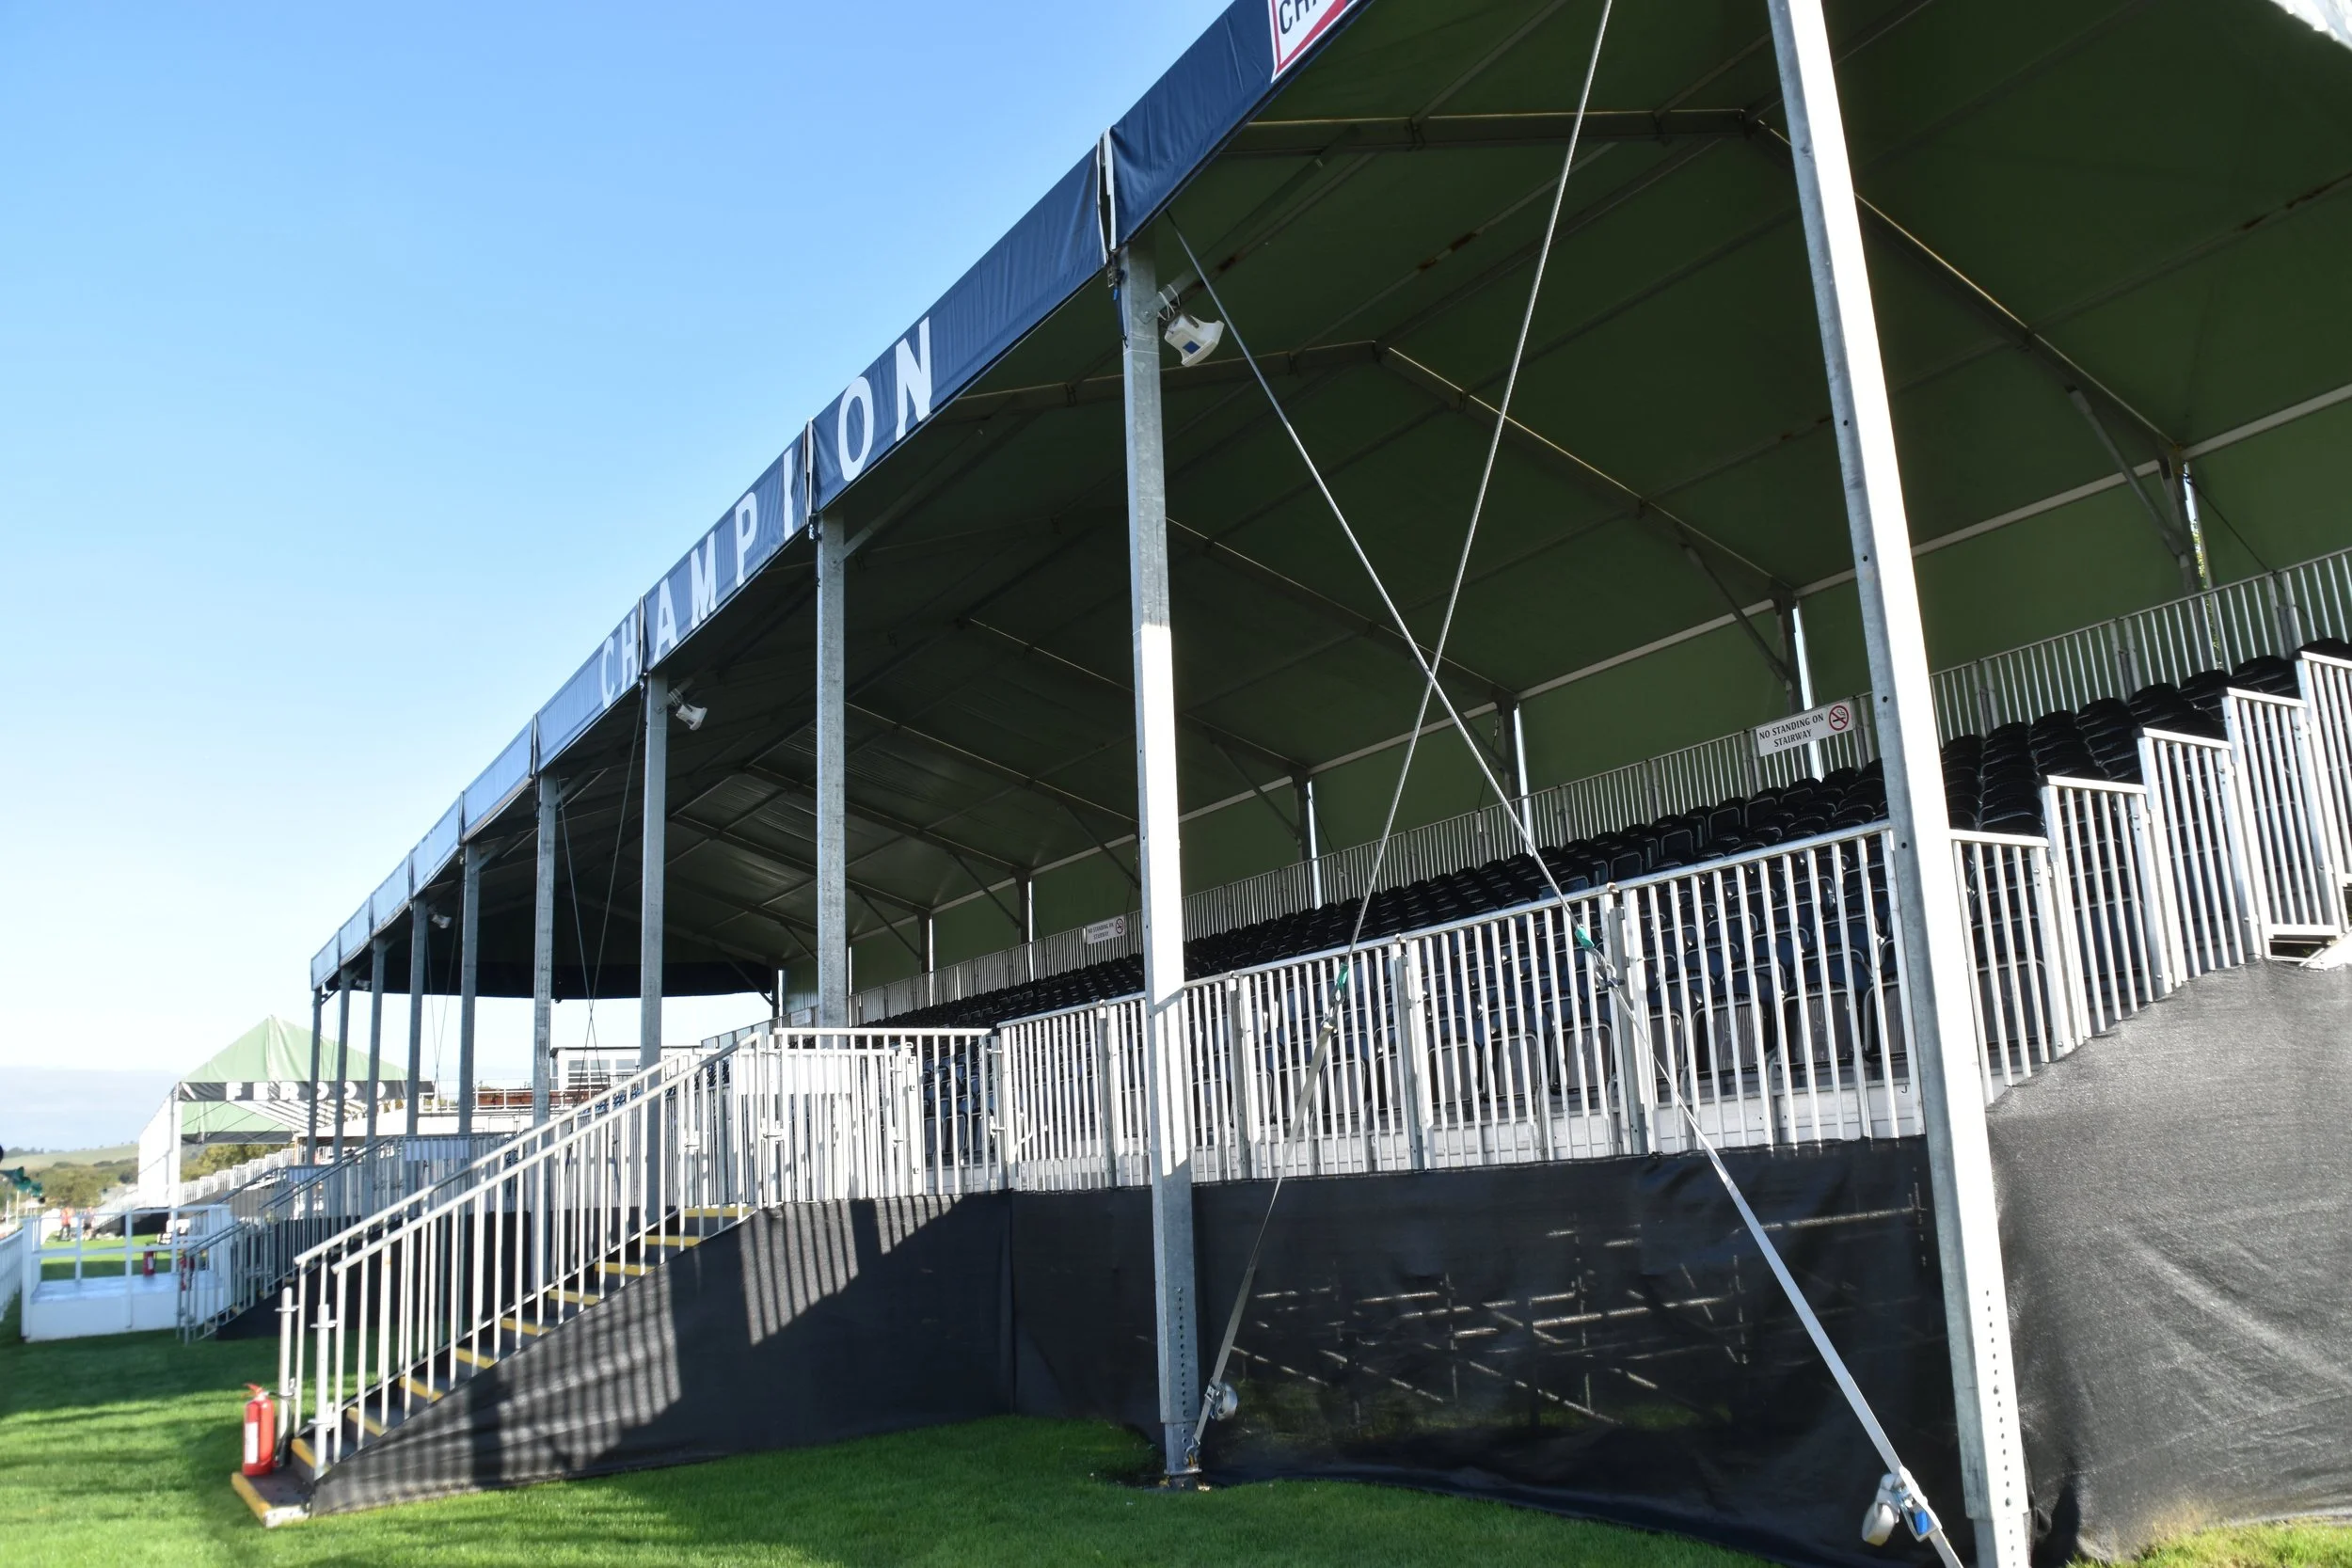
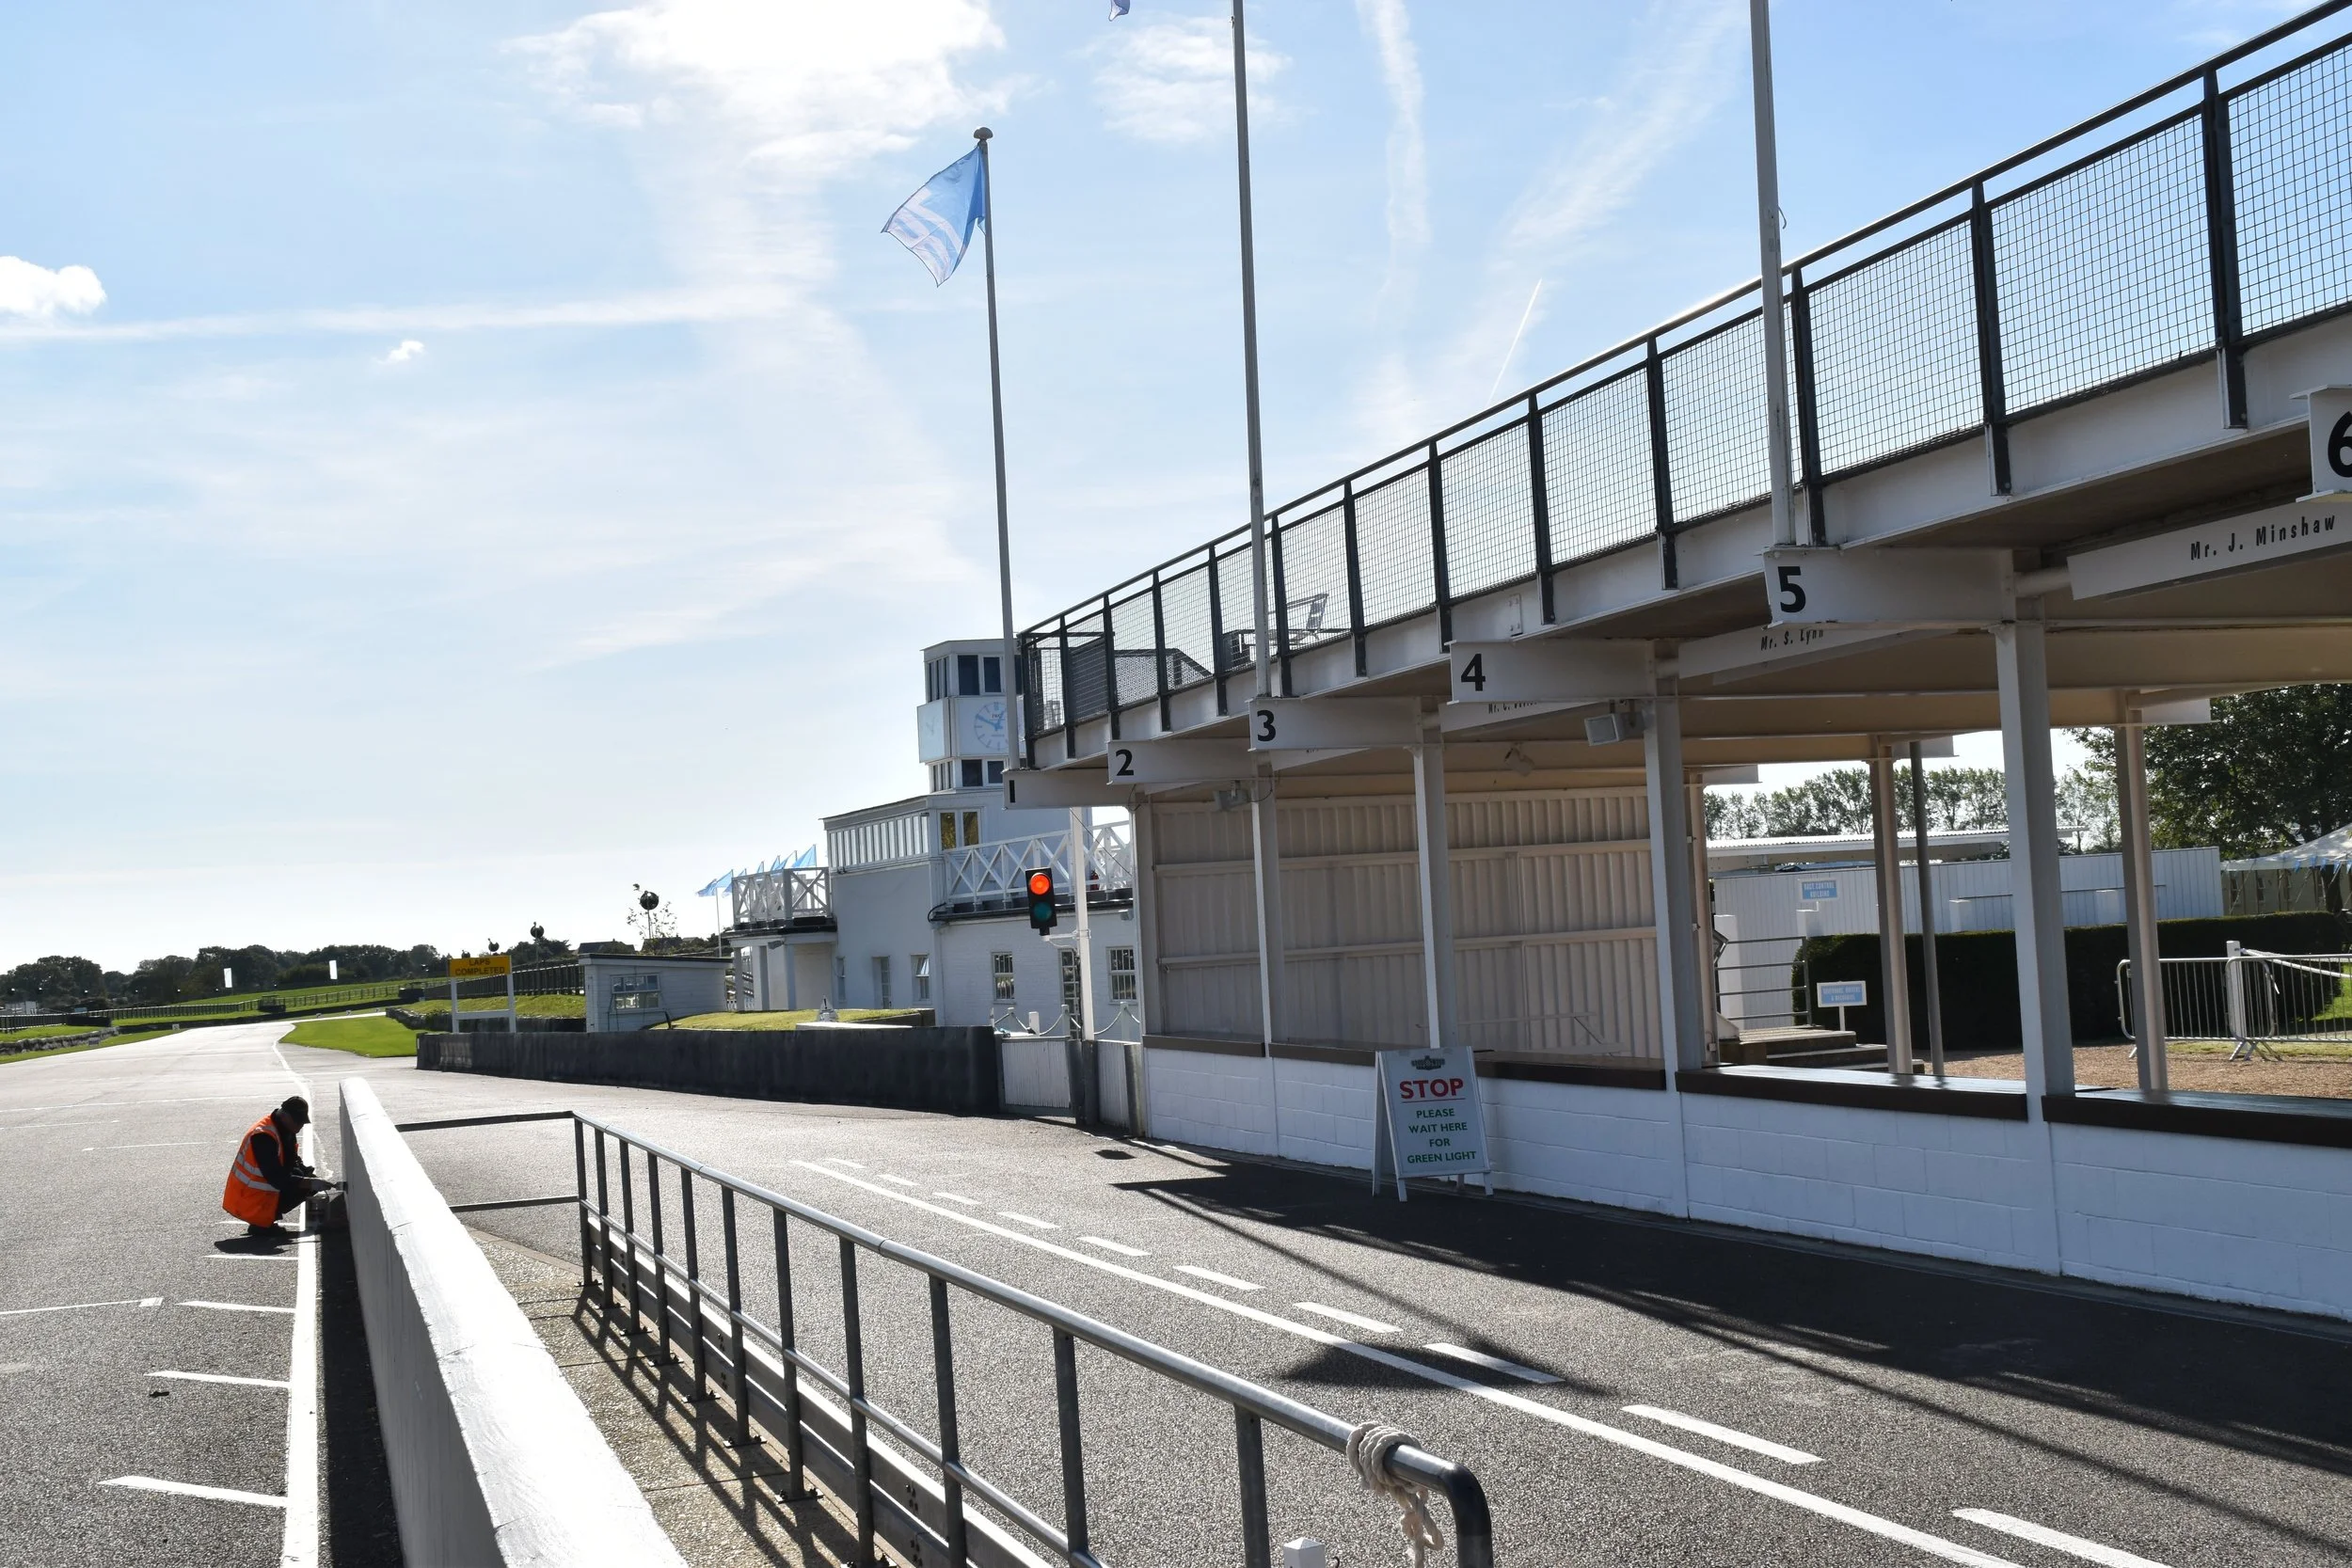
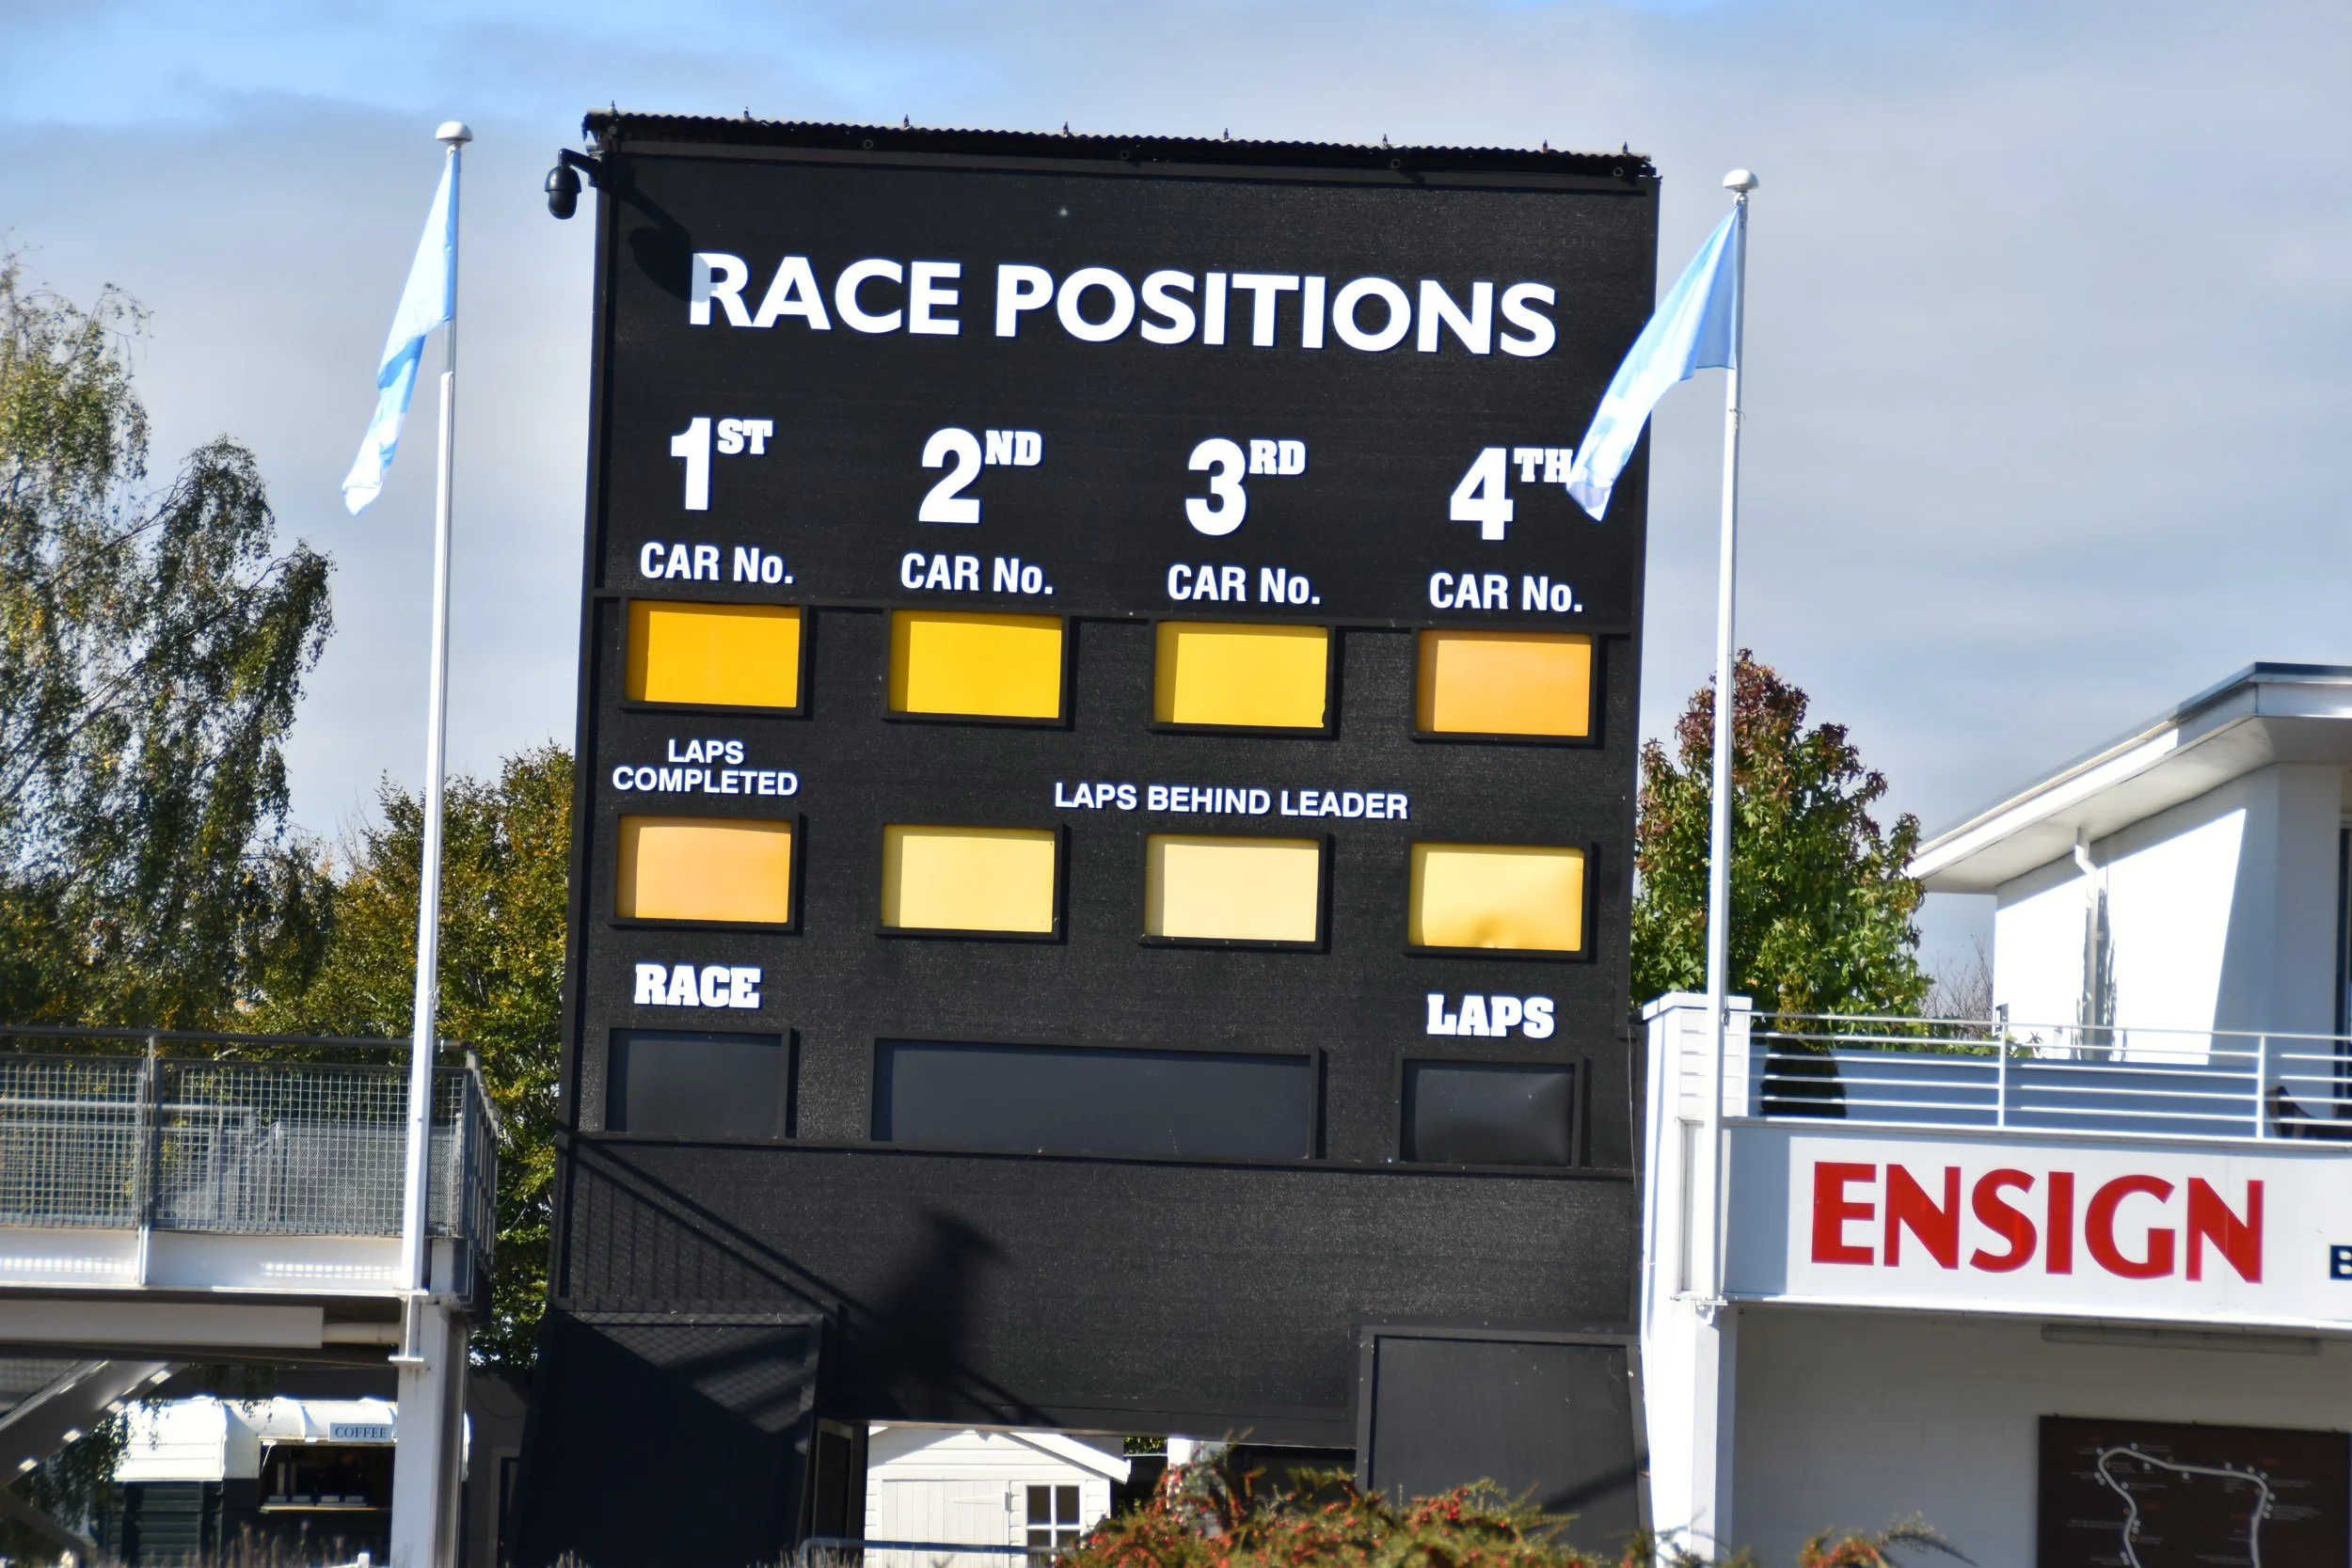
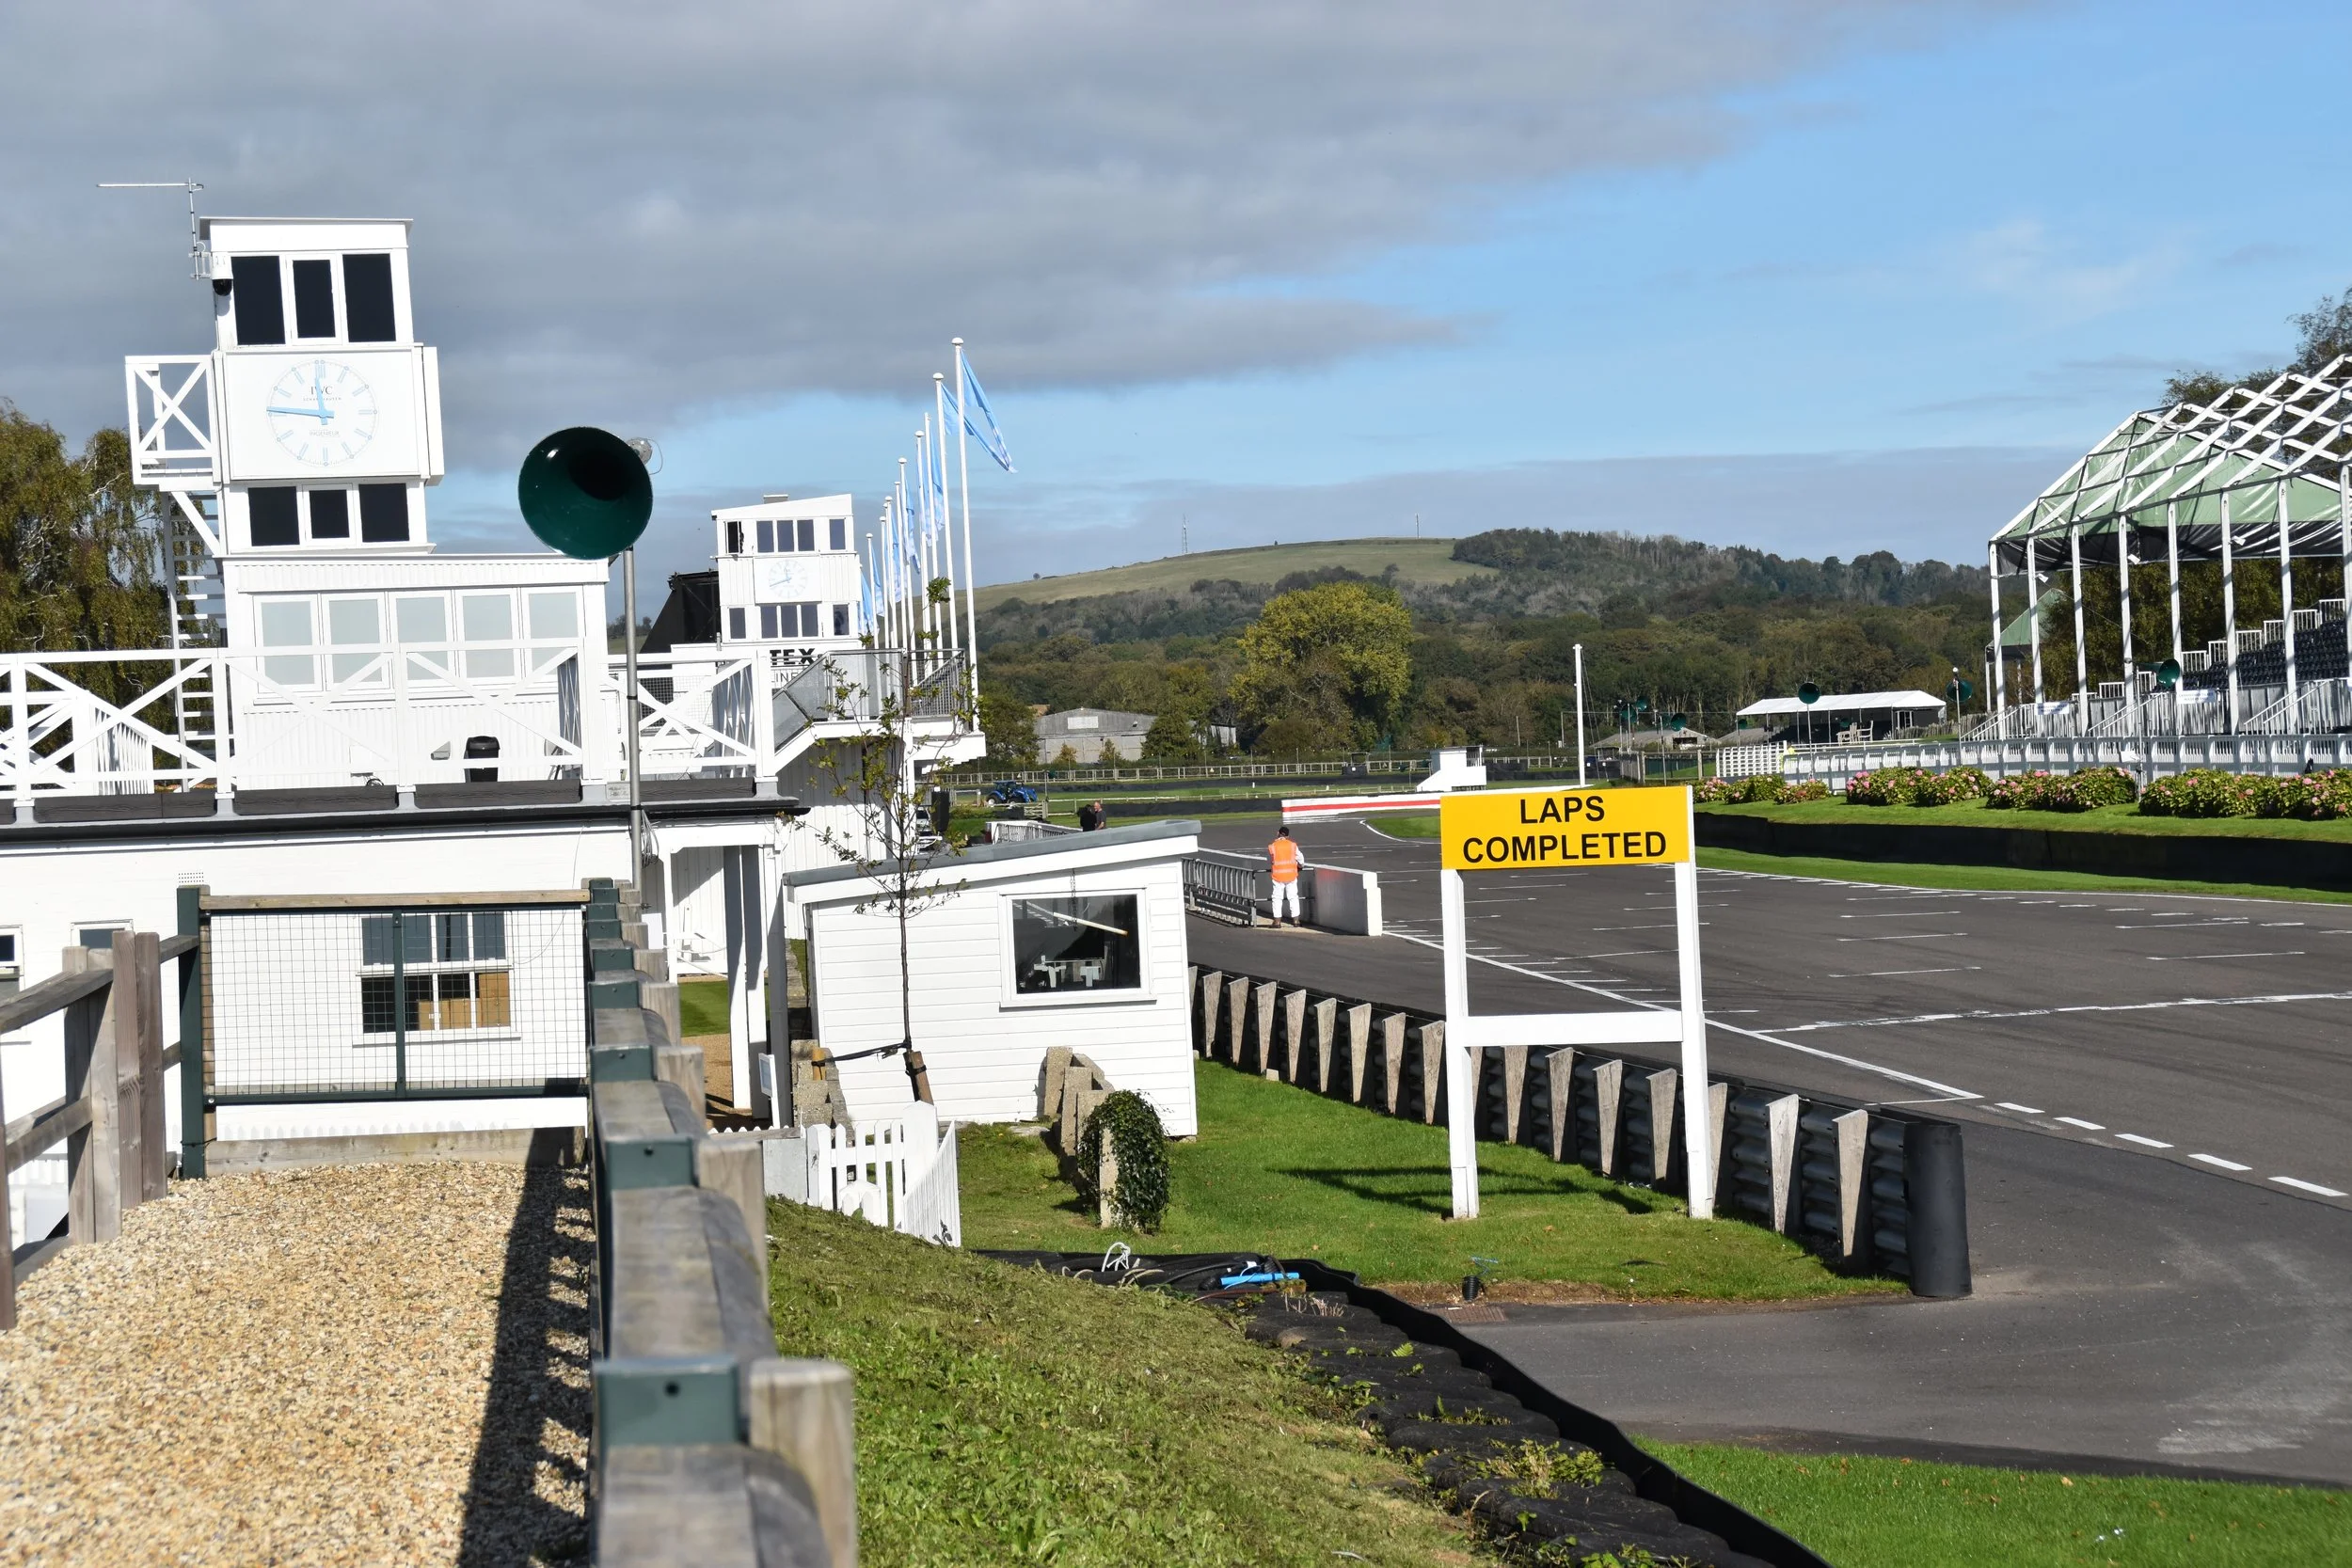
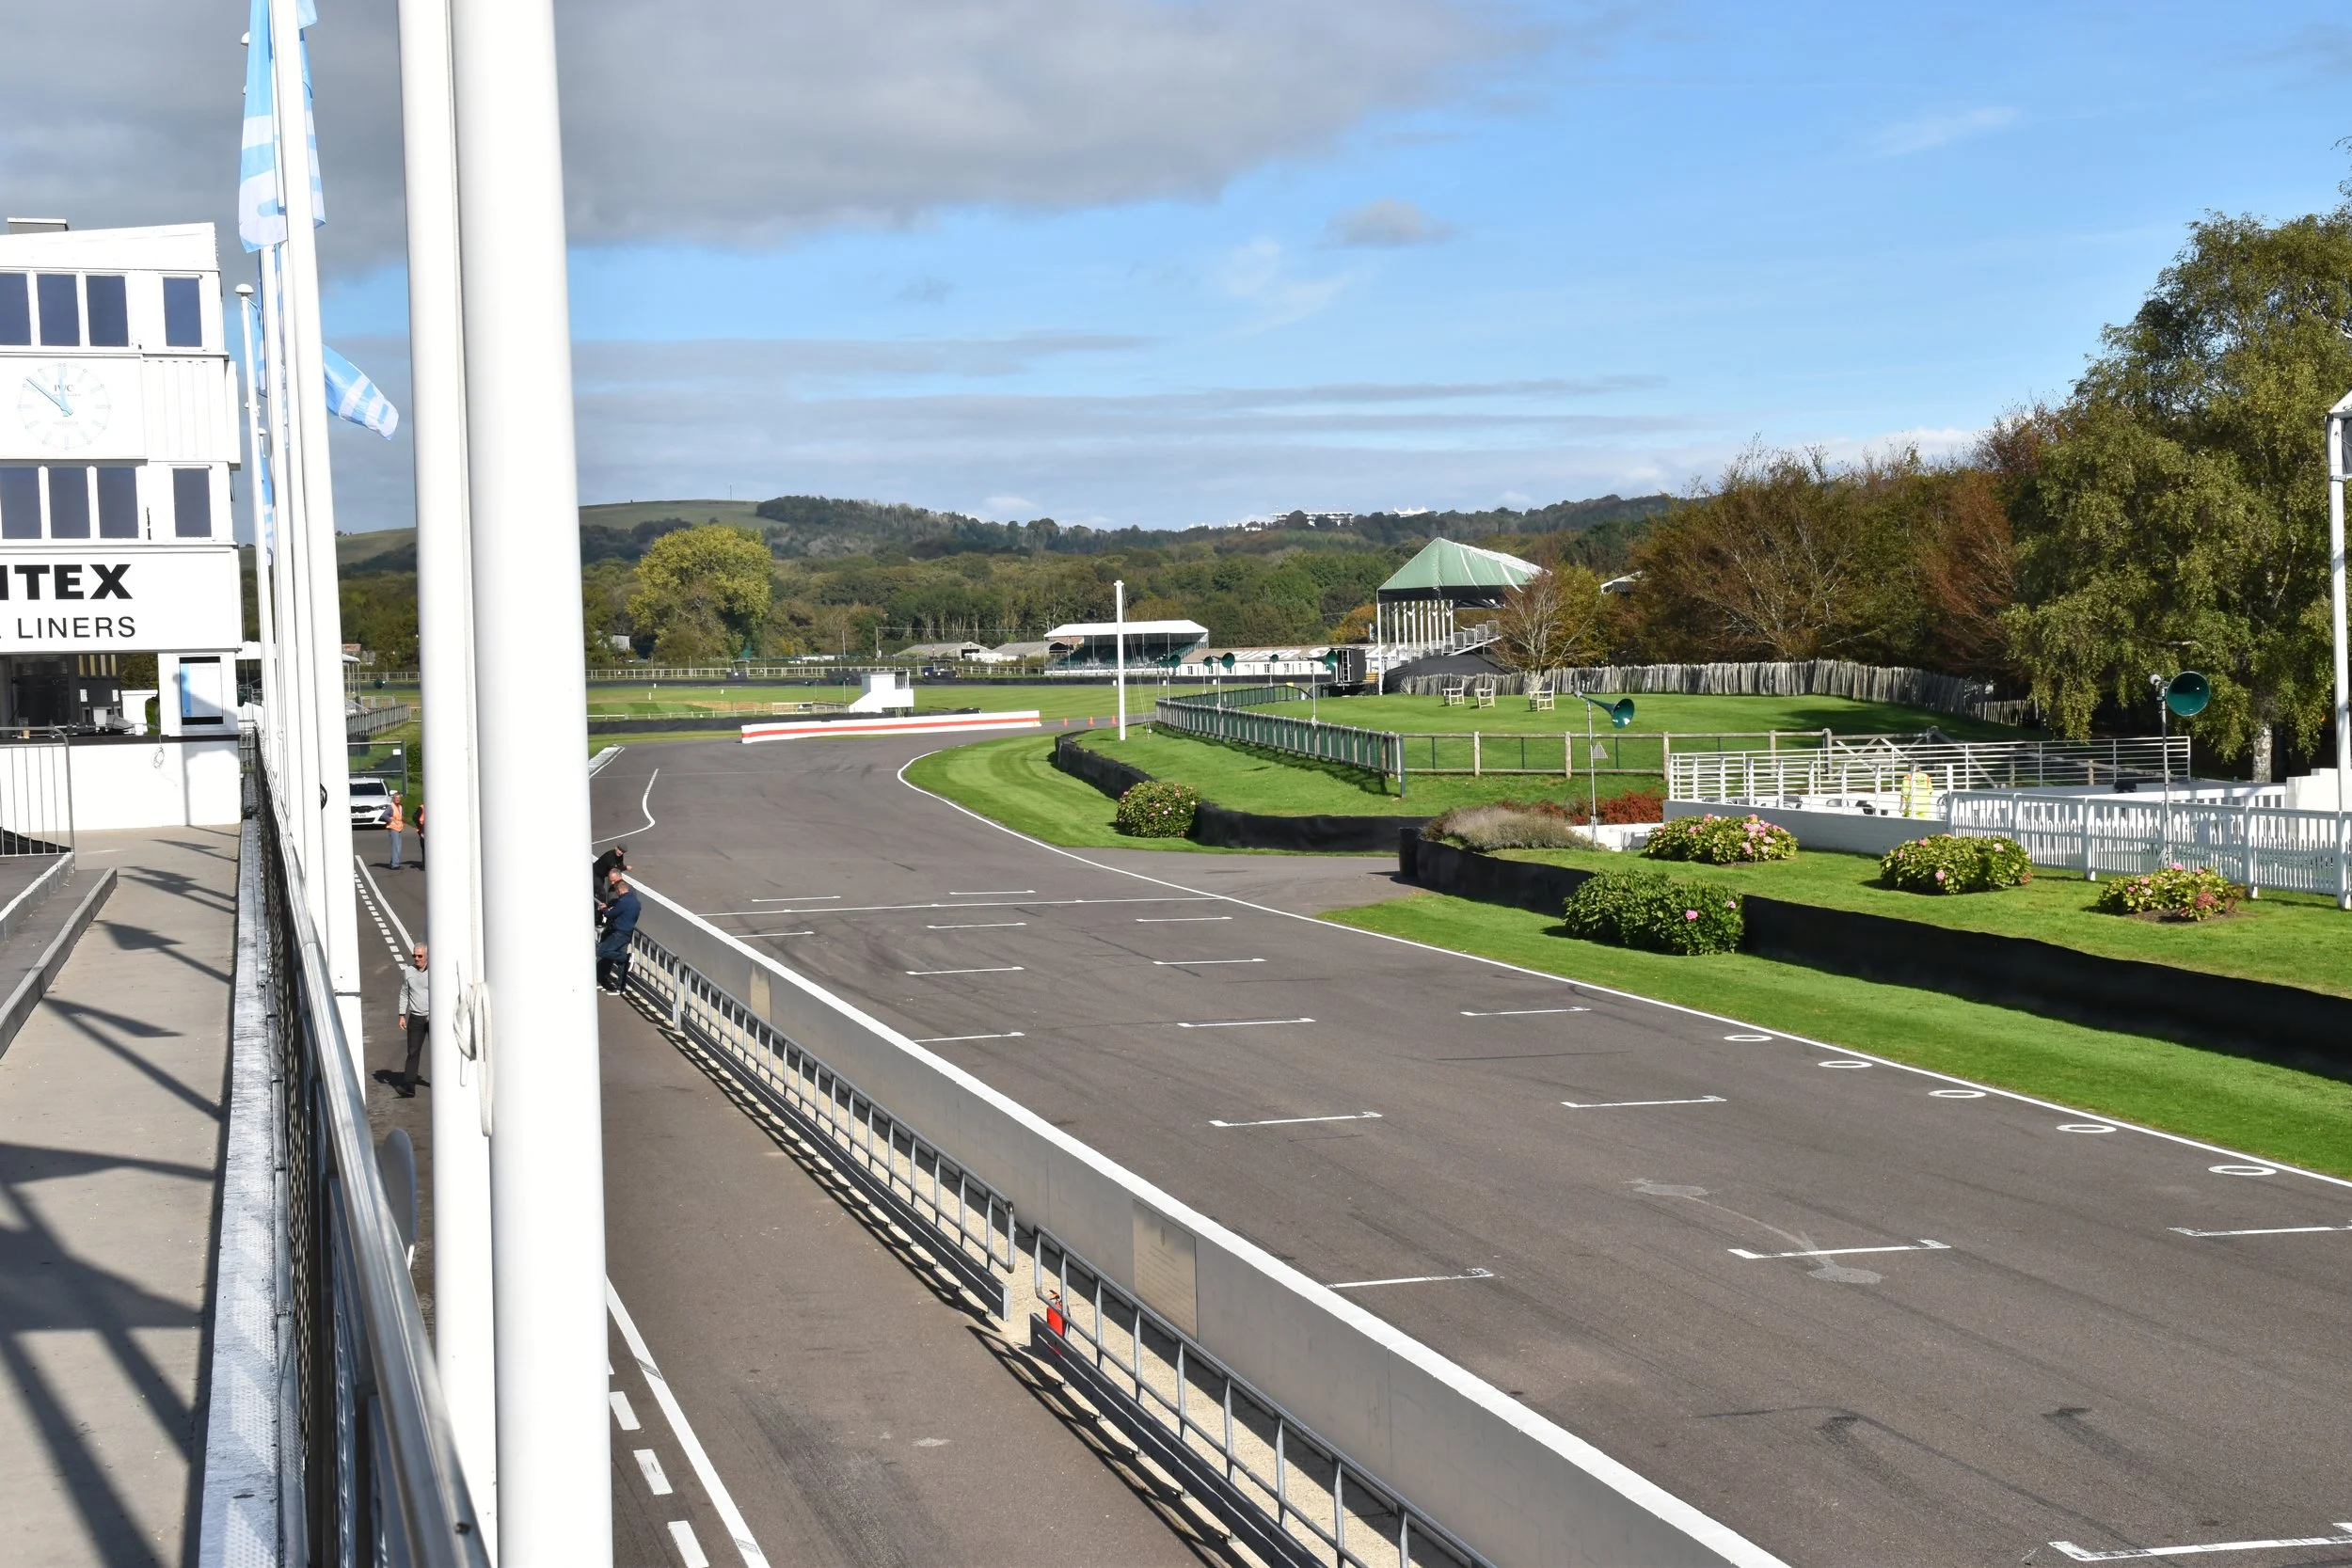
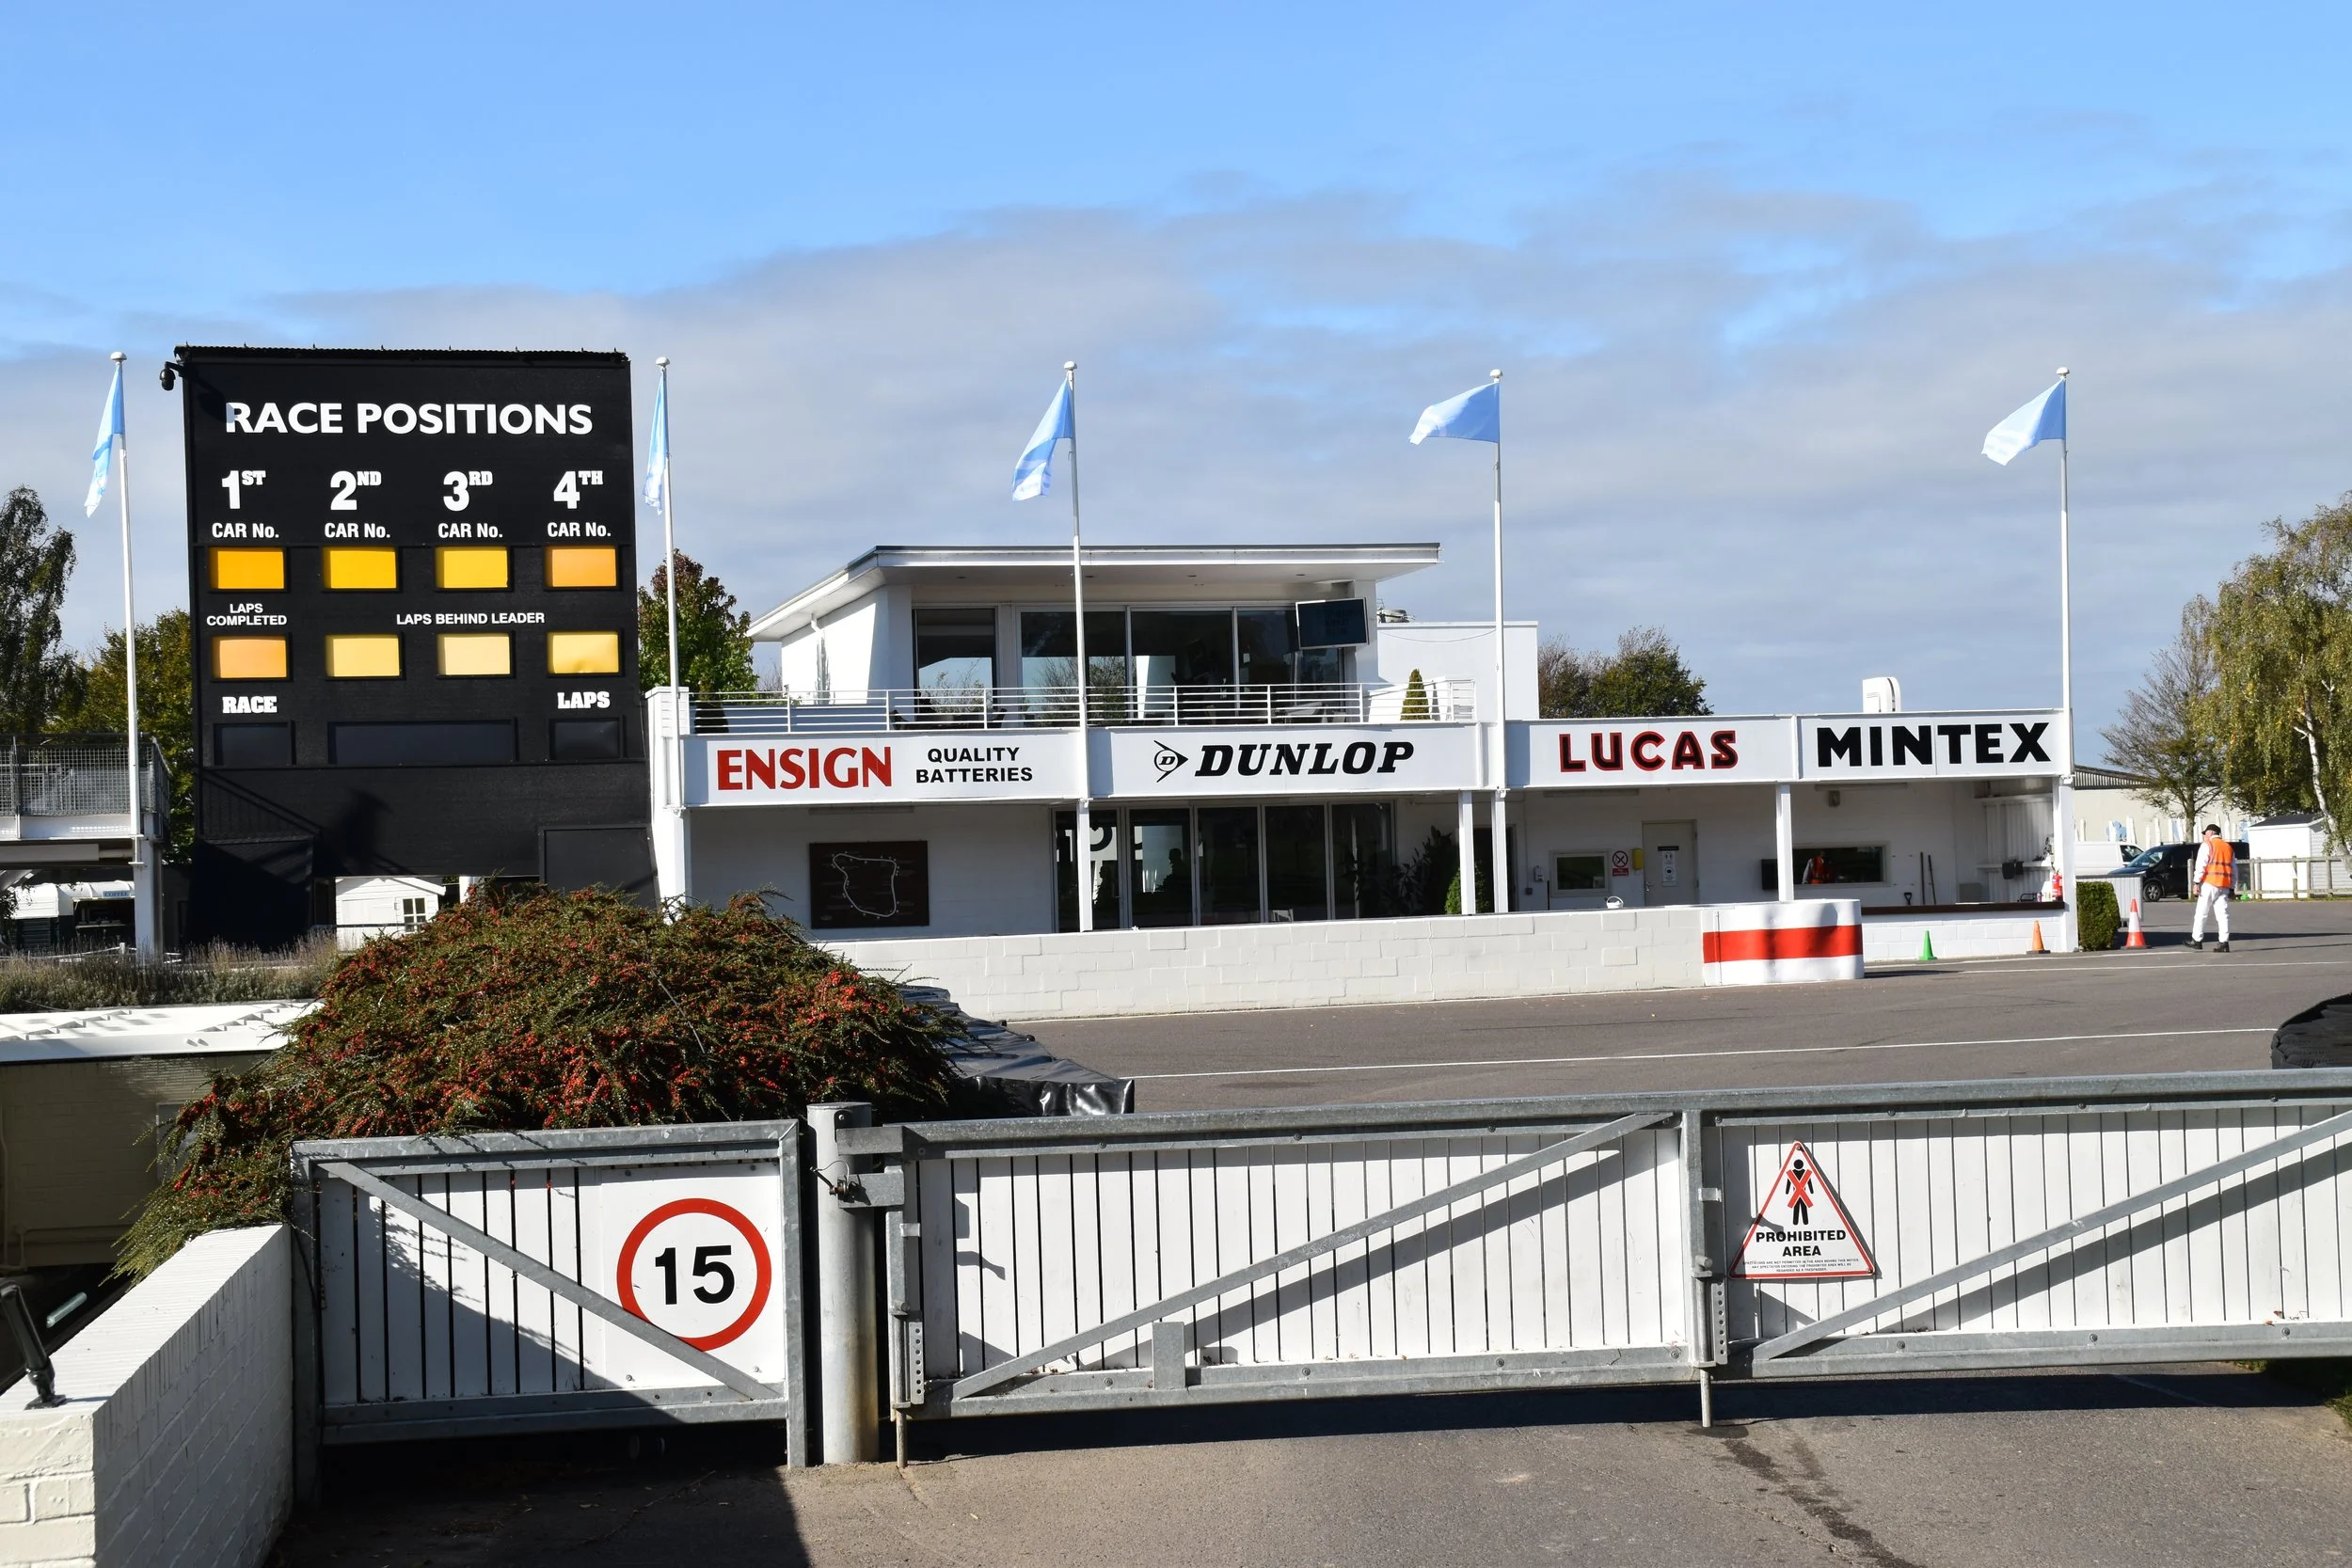
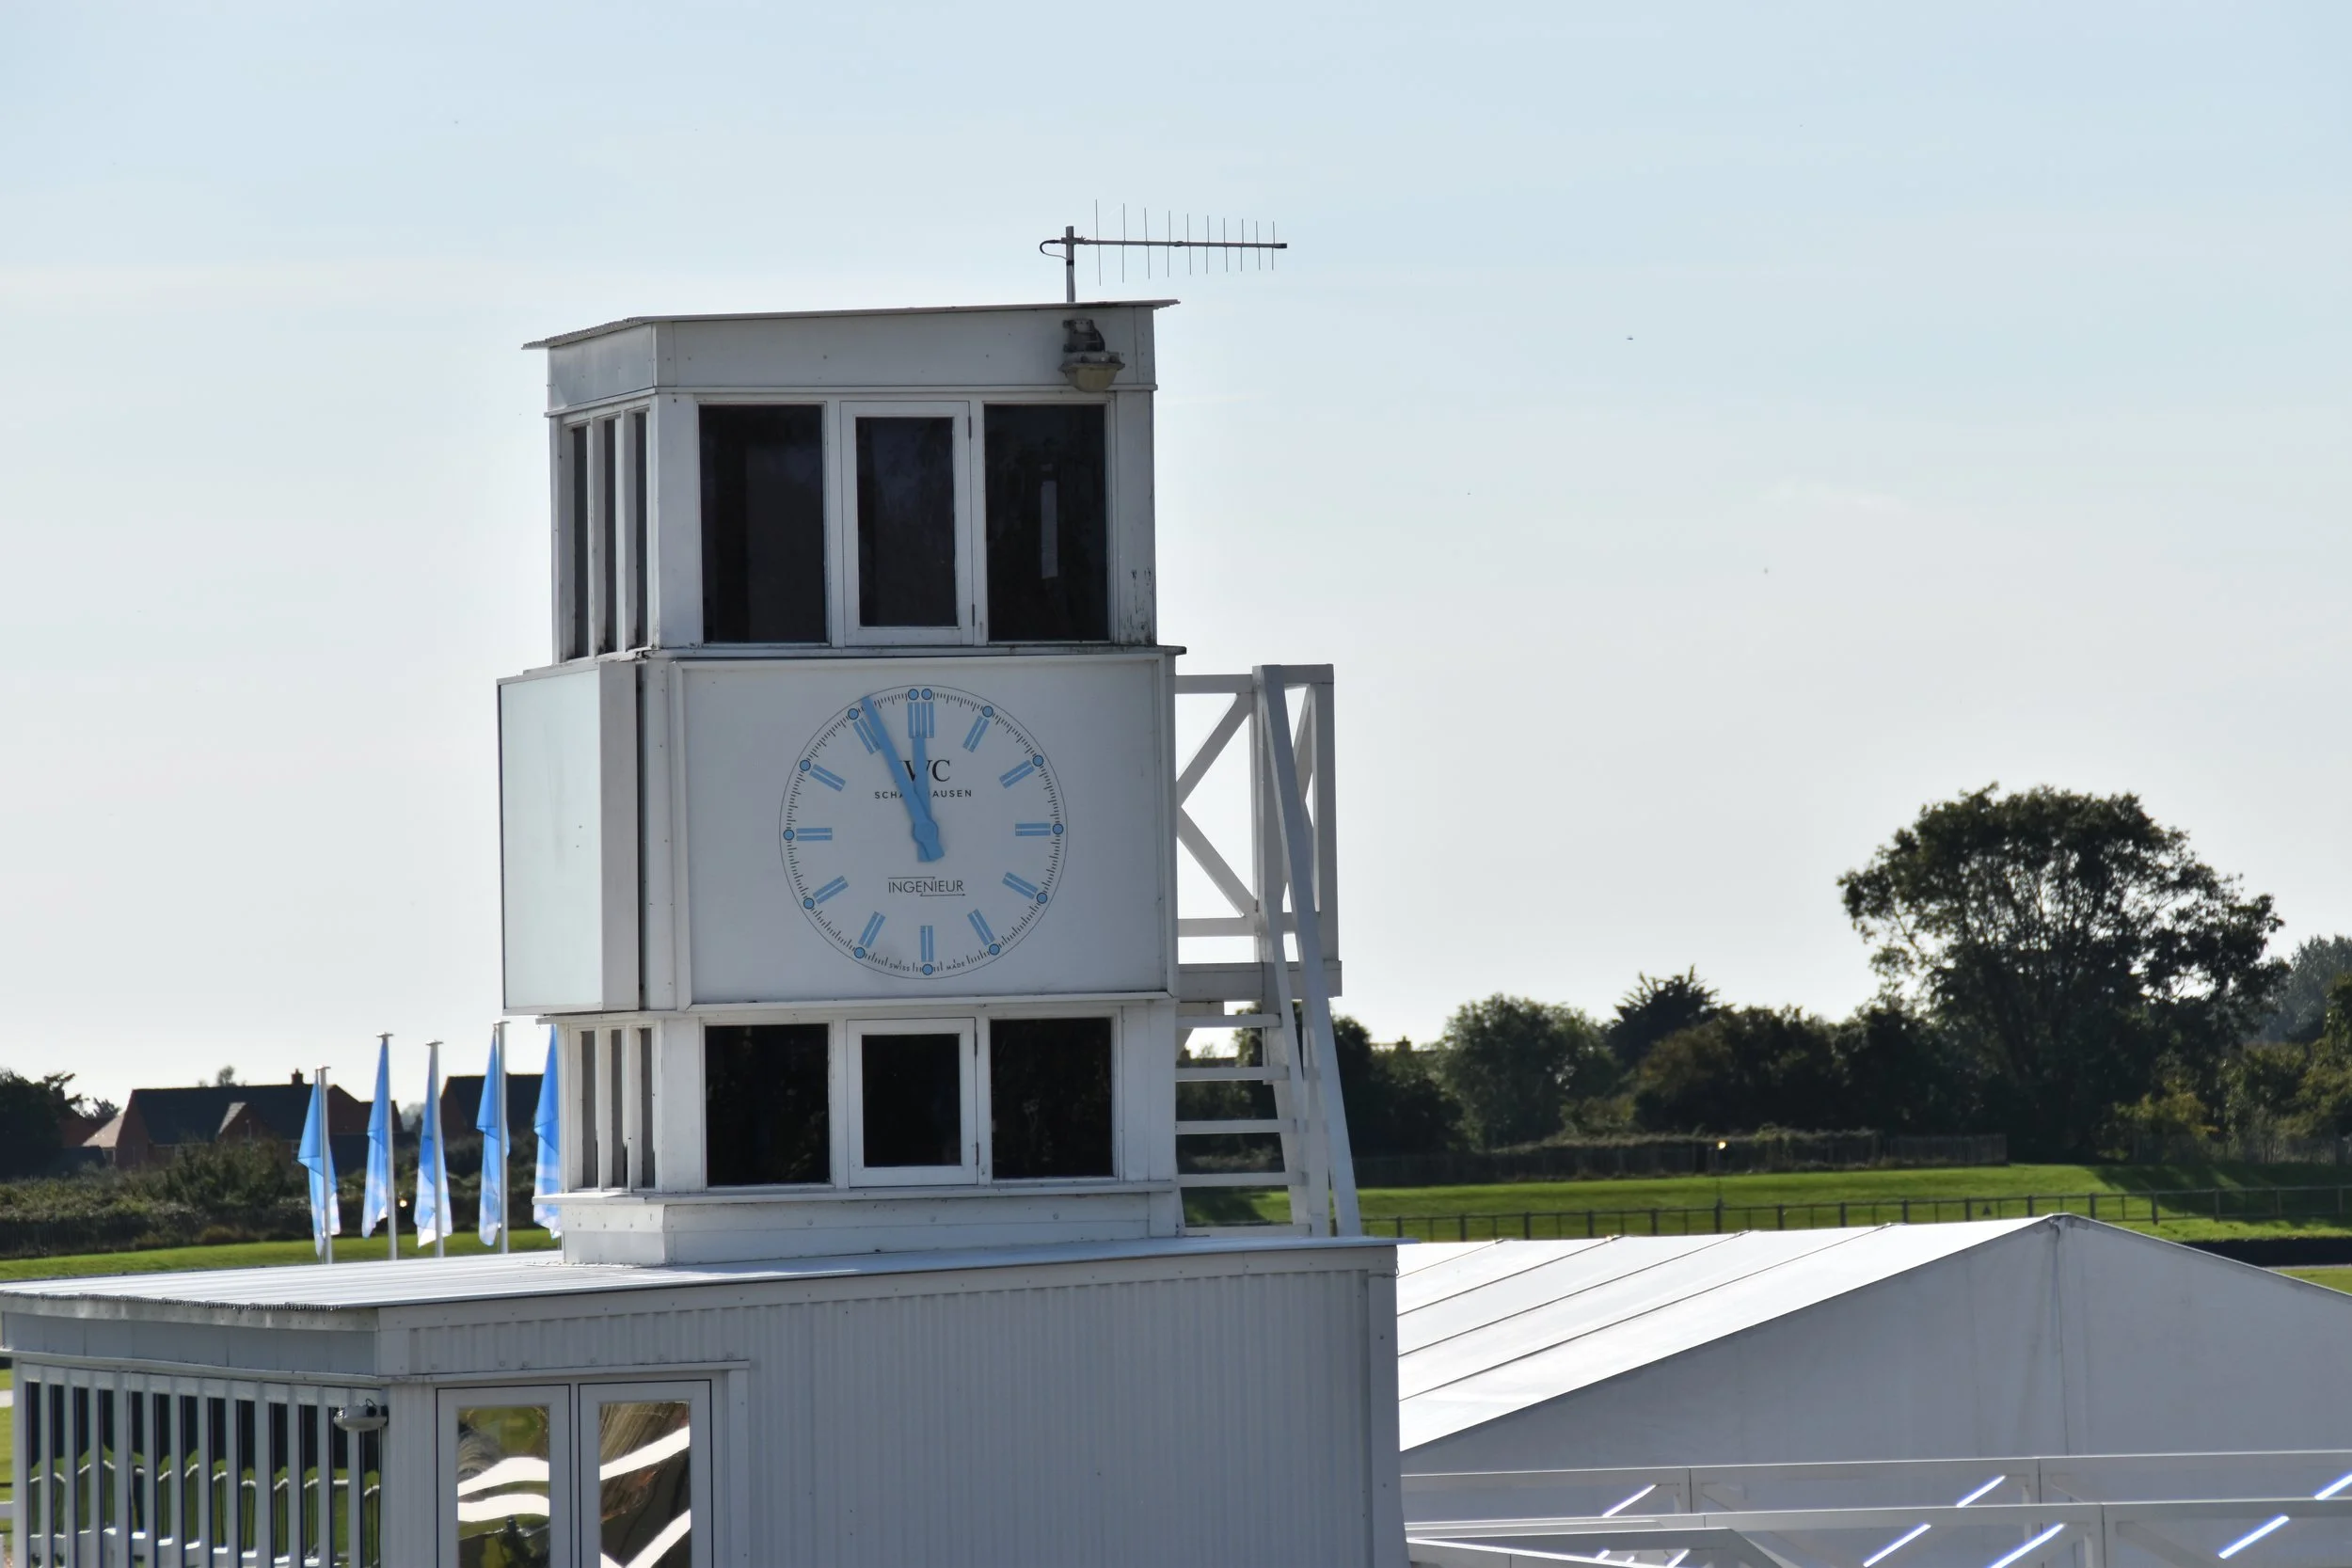
I was able to get the chance to do something that not many people are able to do. I was able to walk around a nearly empty goodwood track and take photos of all the parts that I would need. The track was being prepared for a members meeting meaning it was all made up and looking really good ready for the show that weekend. It had the grandstands erect and the track elements were being painted and prepared as I walked around. This was perfect for my research and allowed me to get very clear photos of the track how it would be without having to fight my way through all the specators that would be there normally.
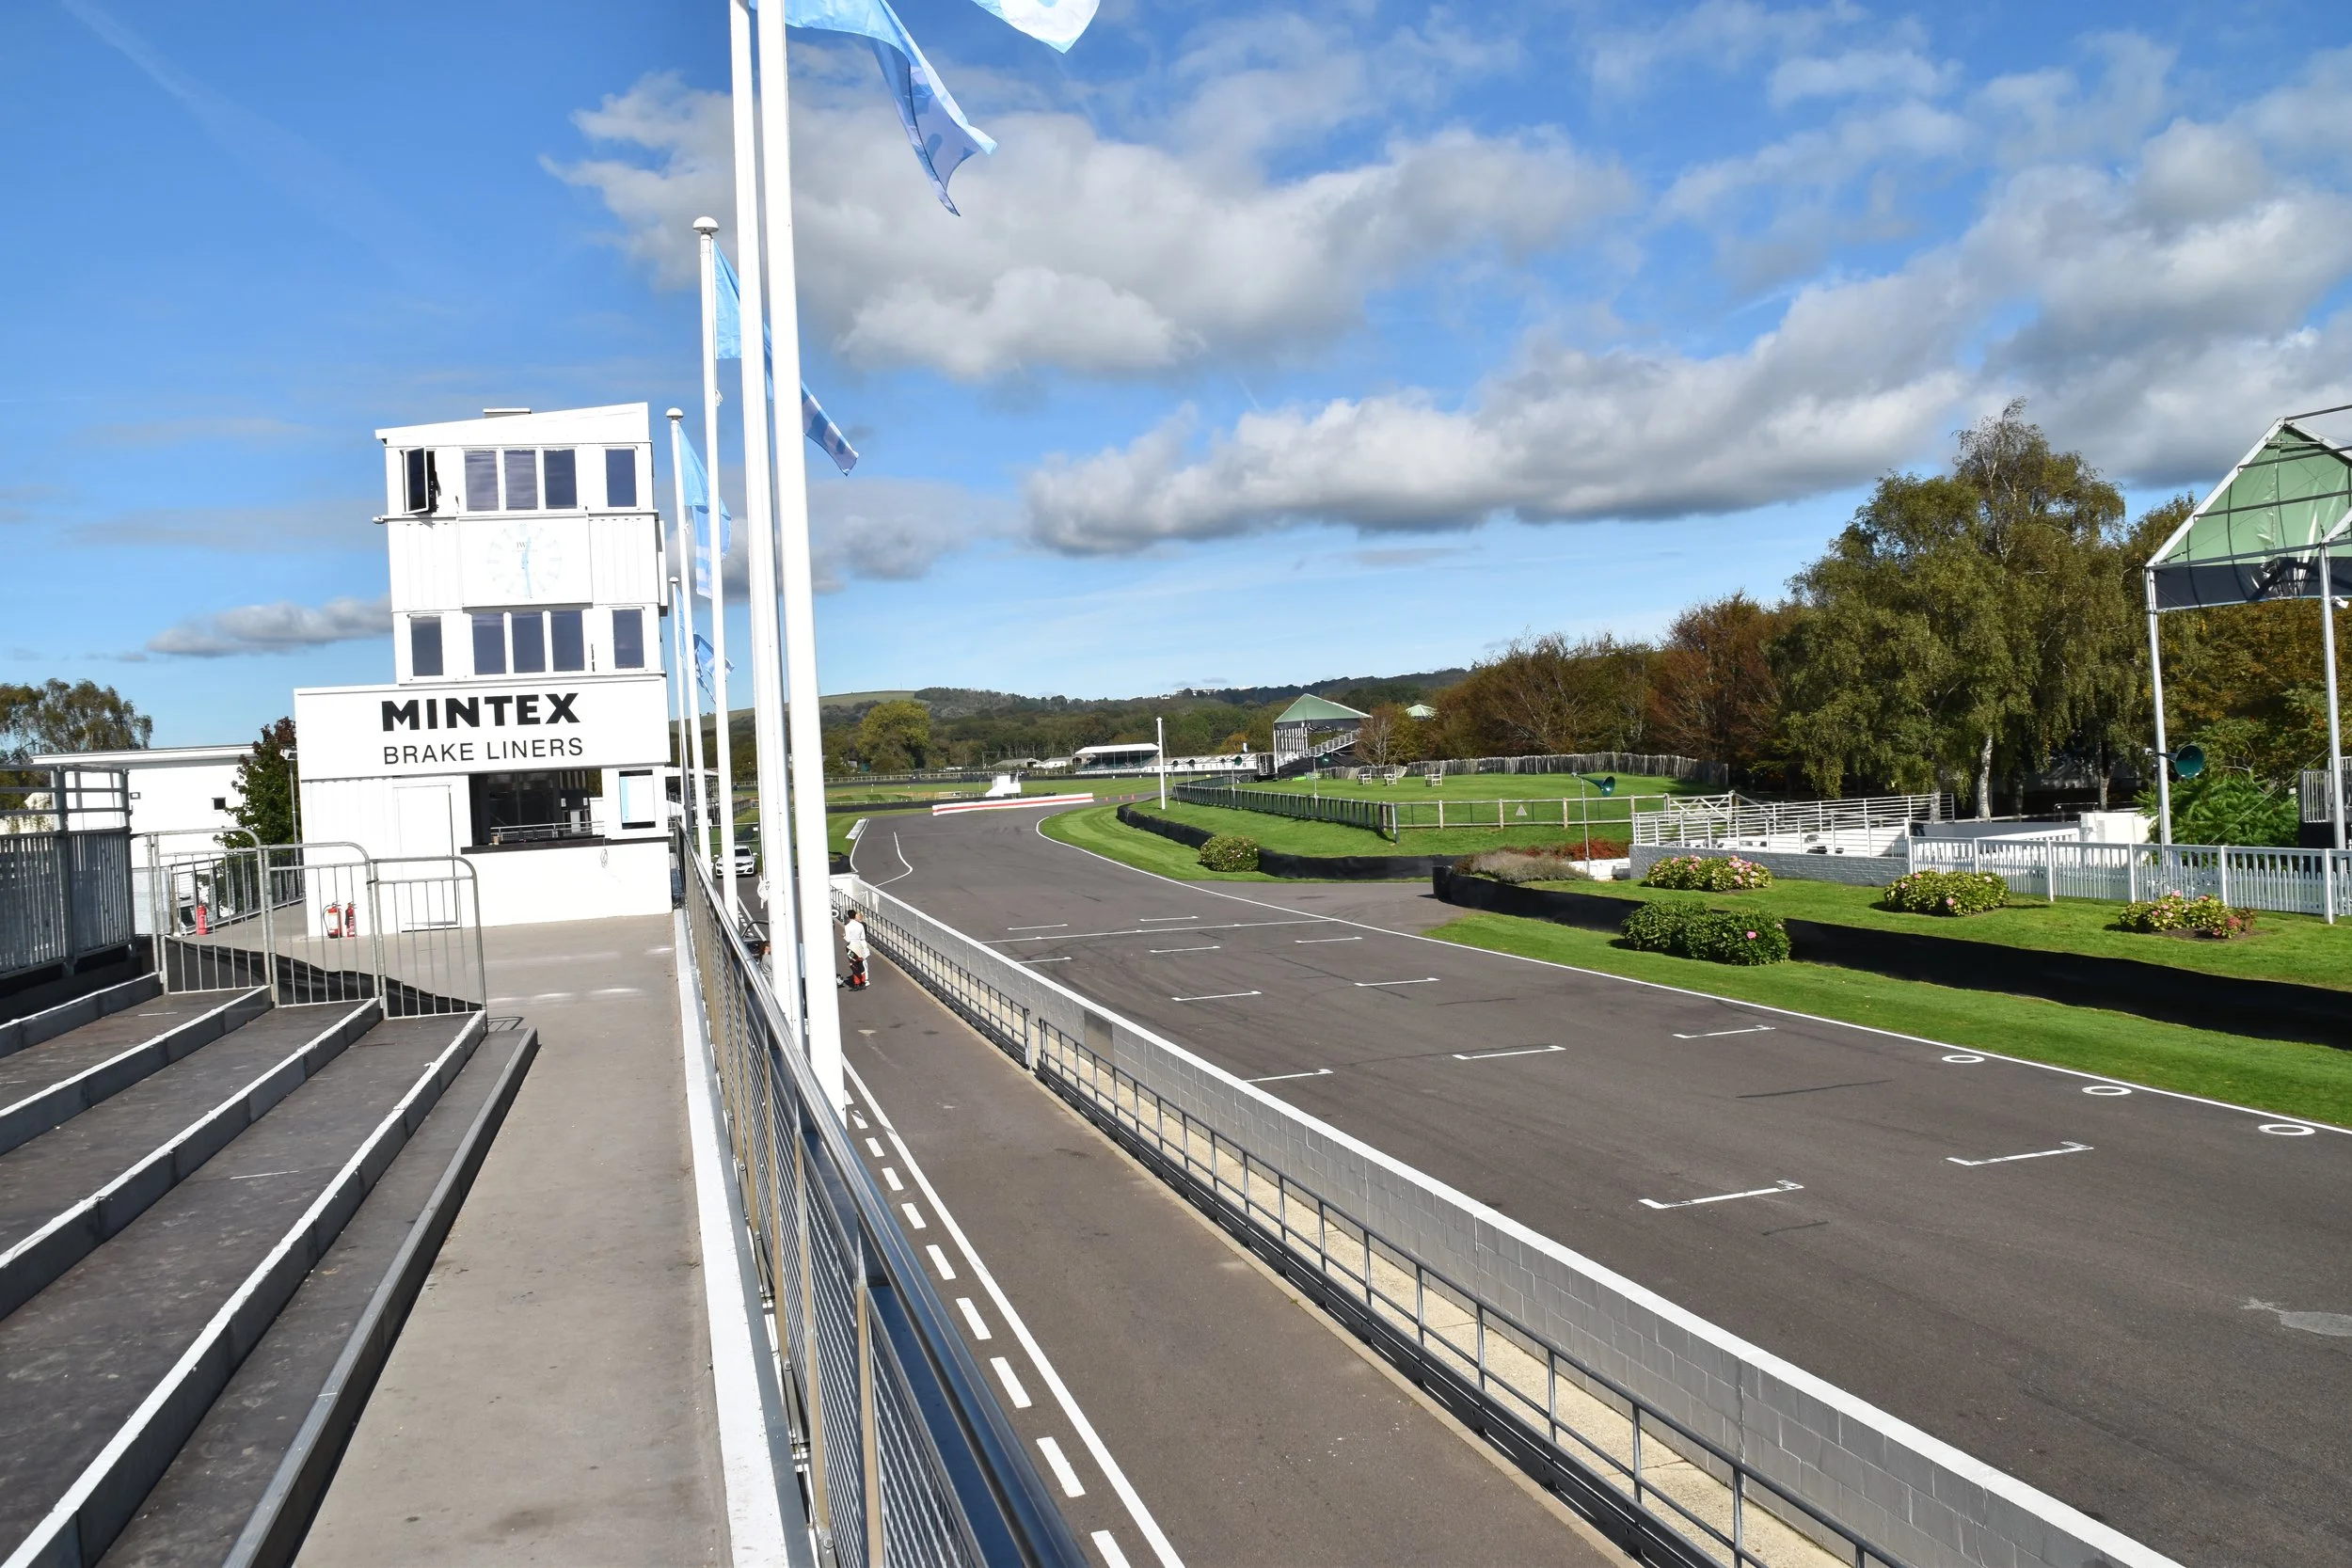
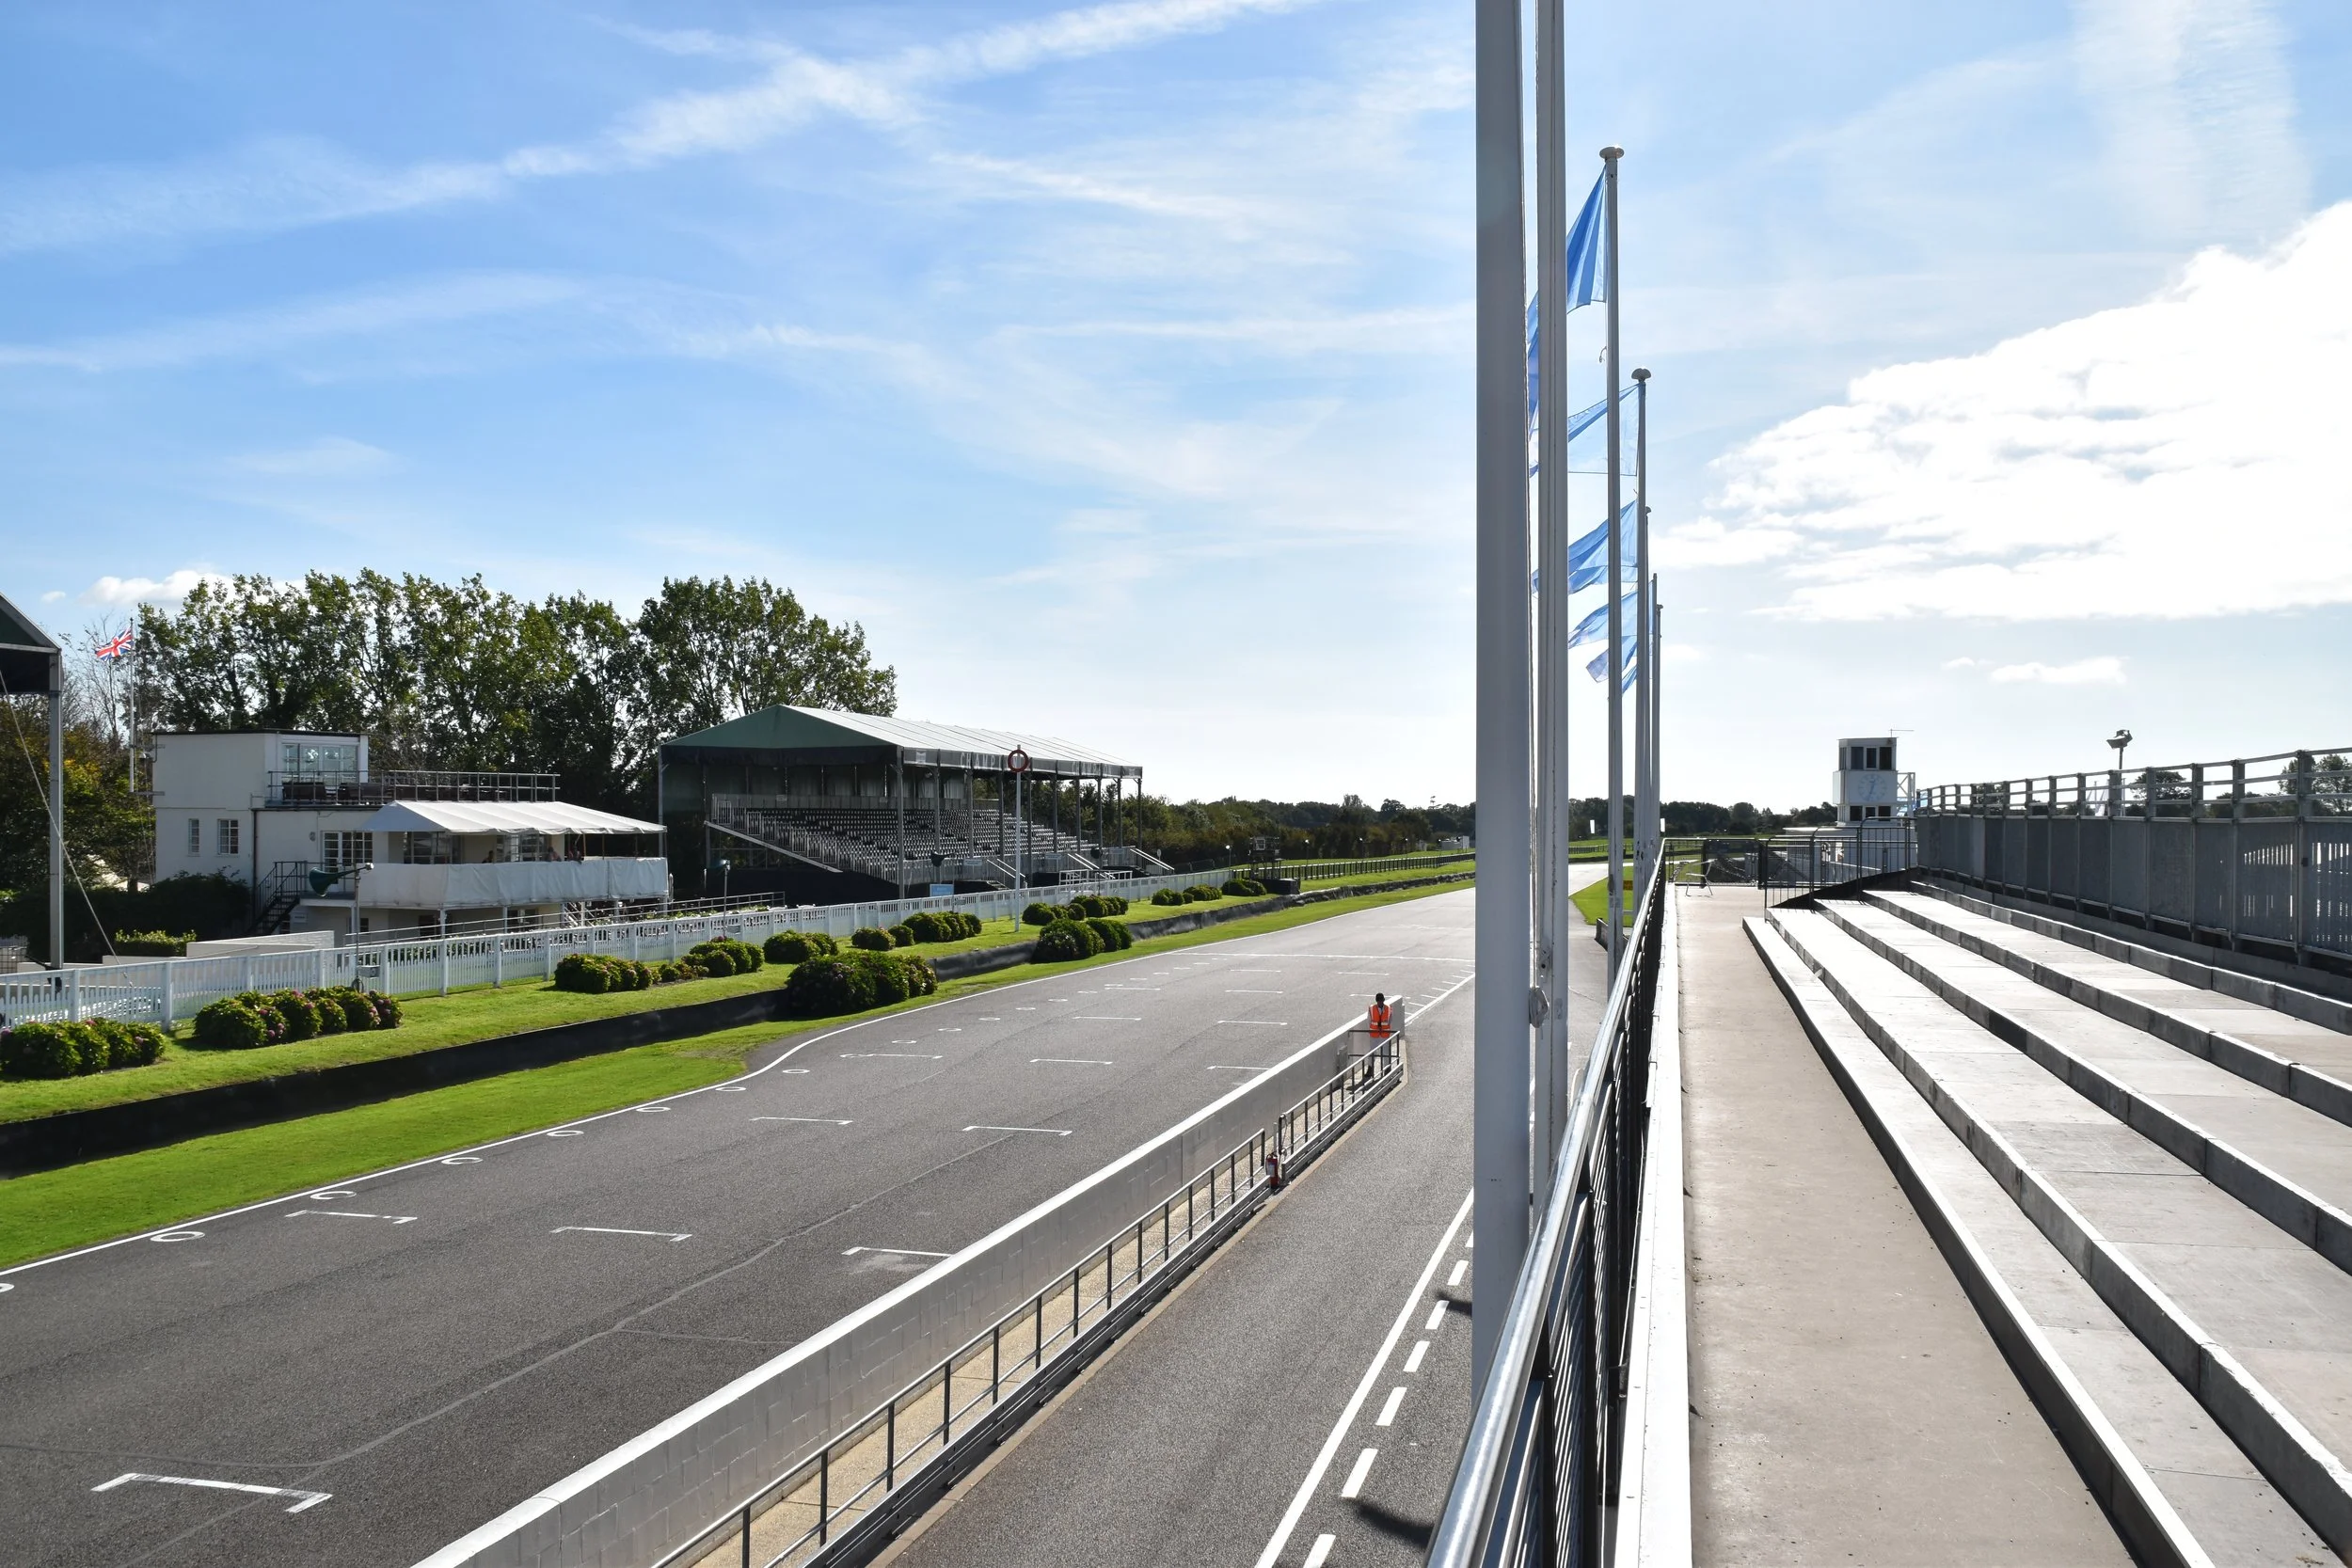
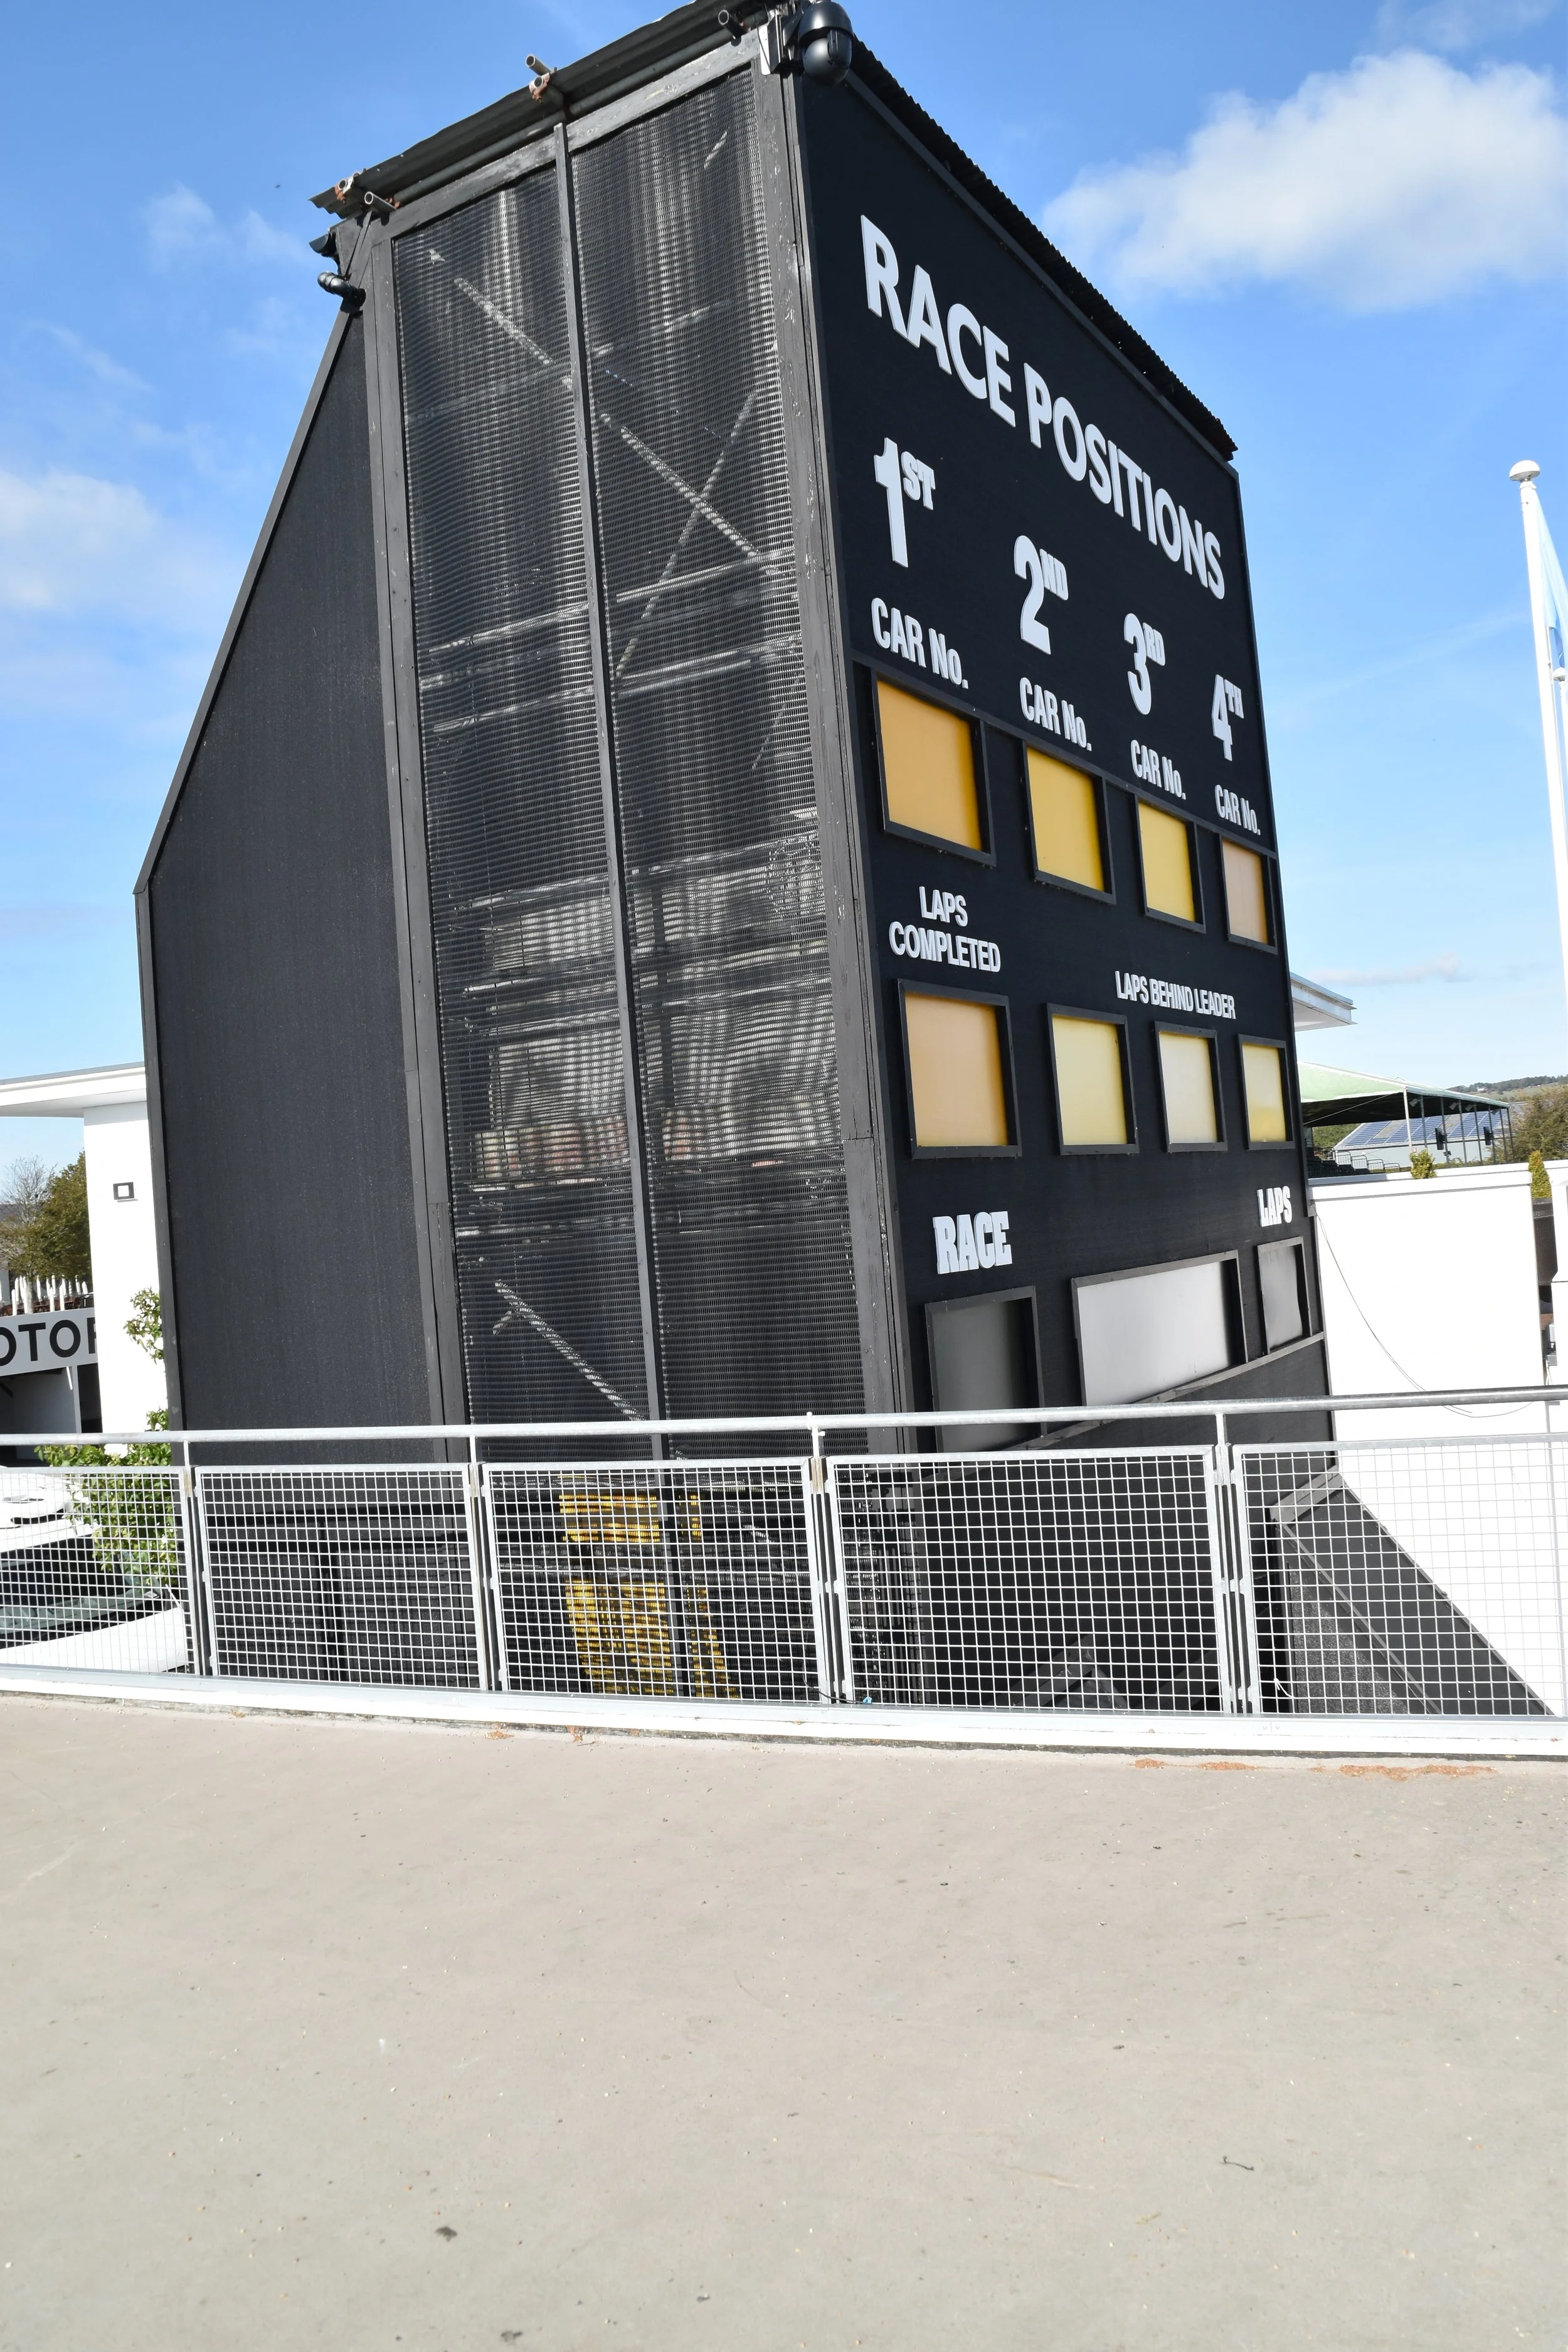
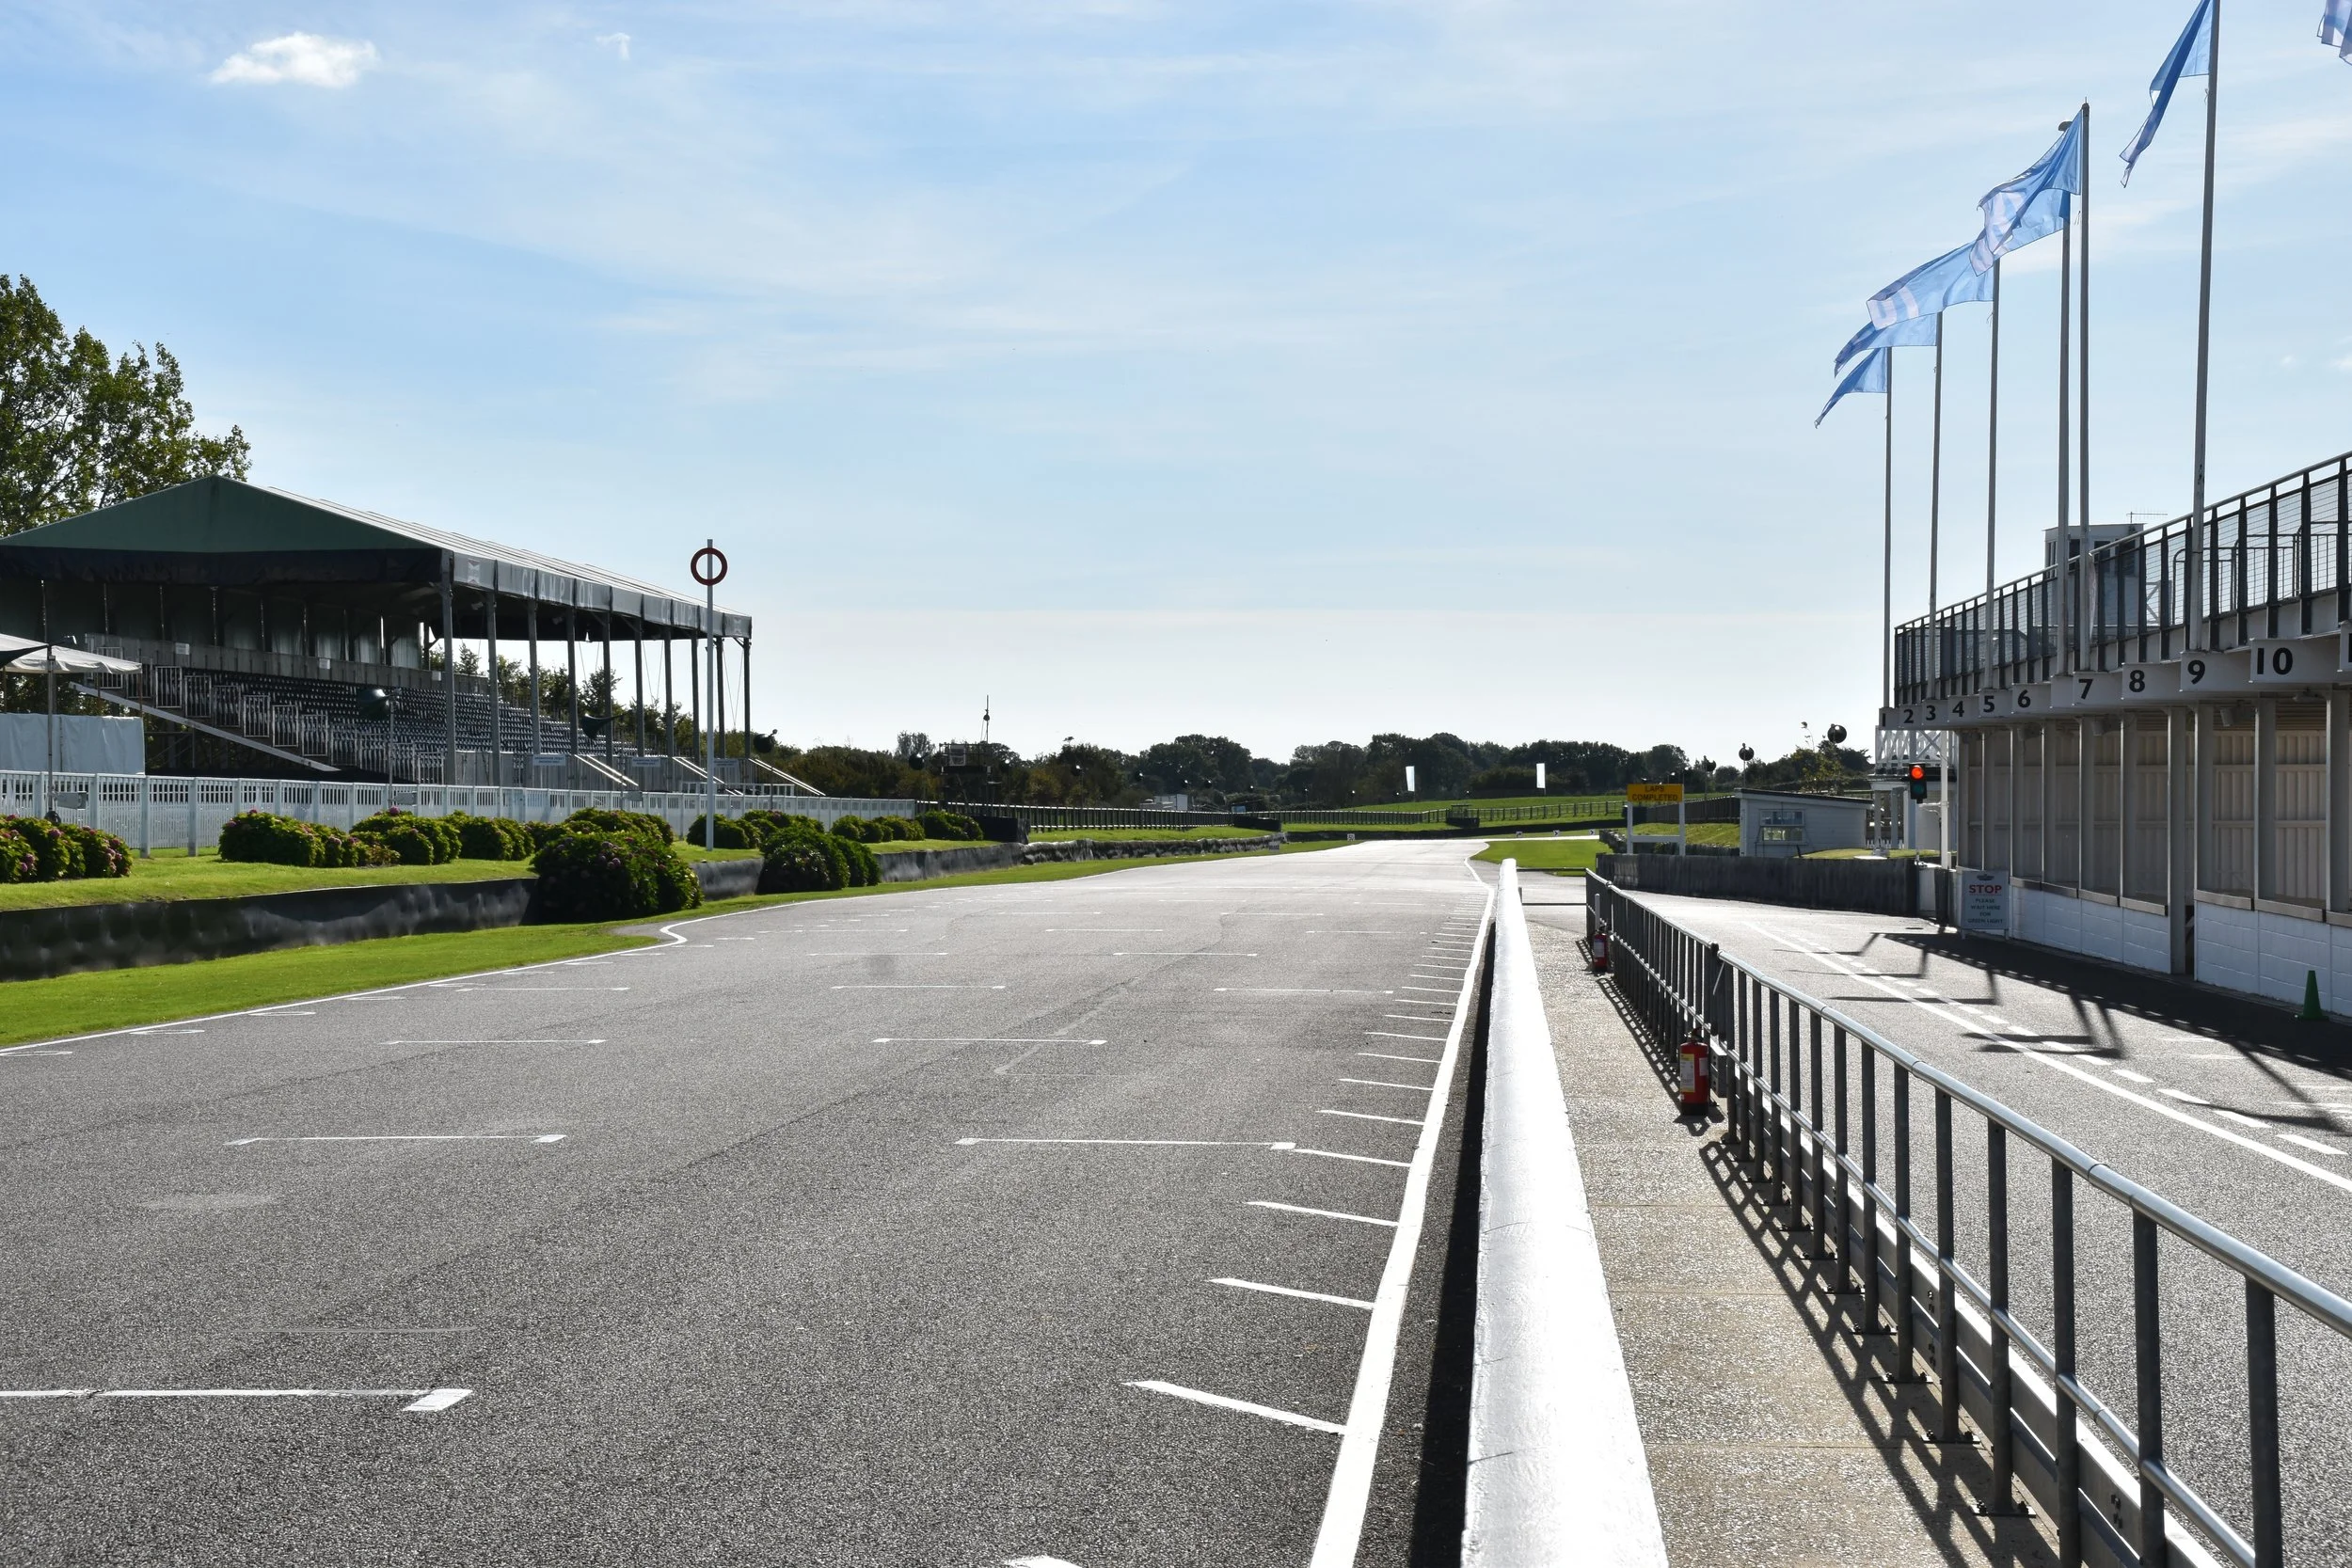
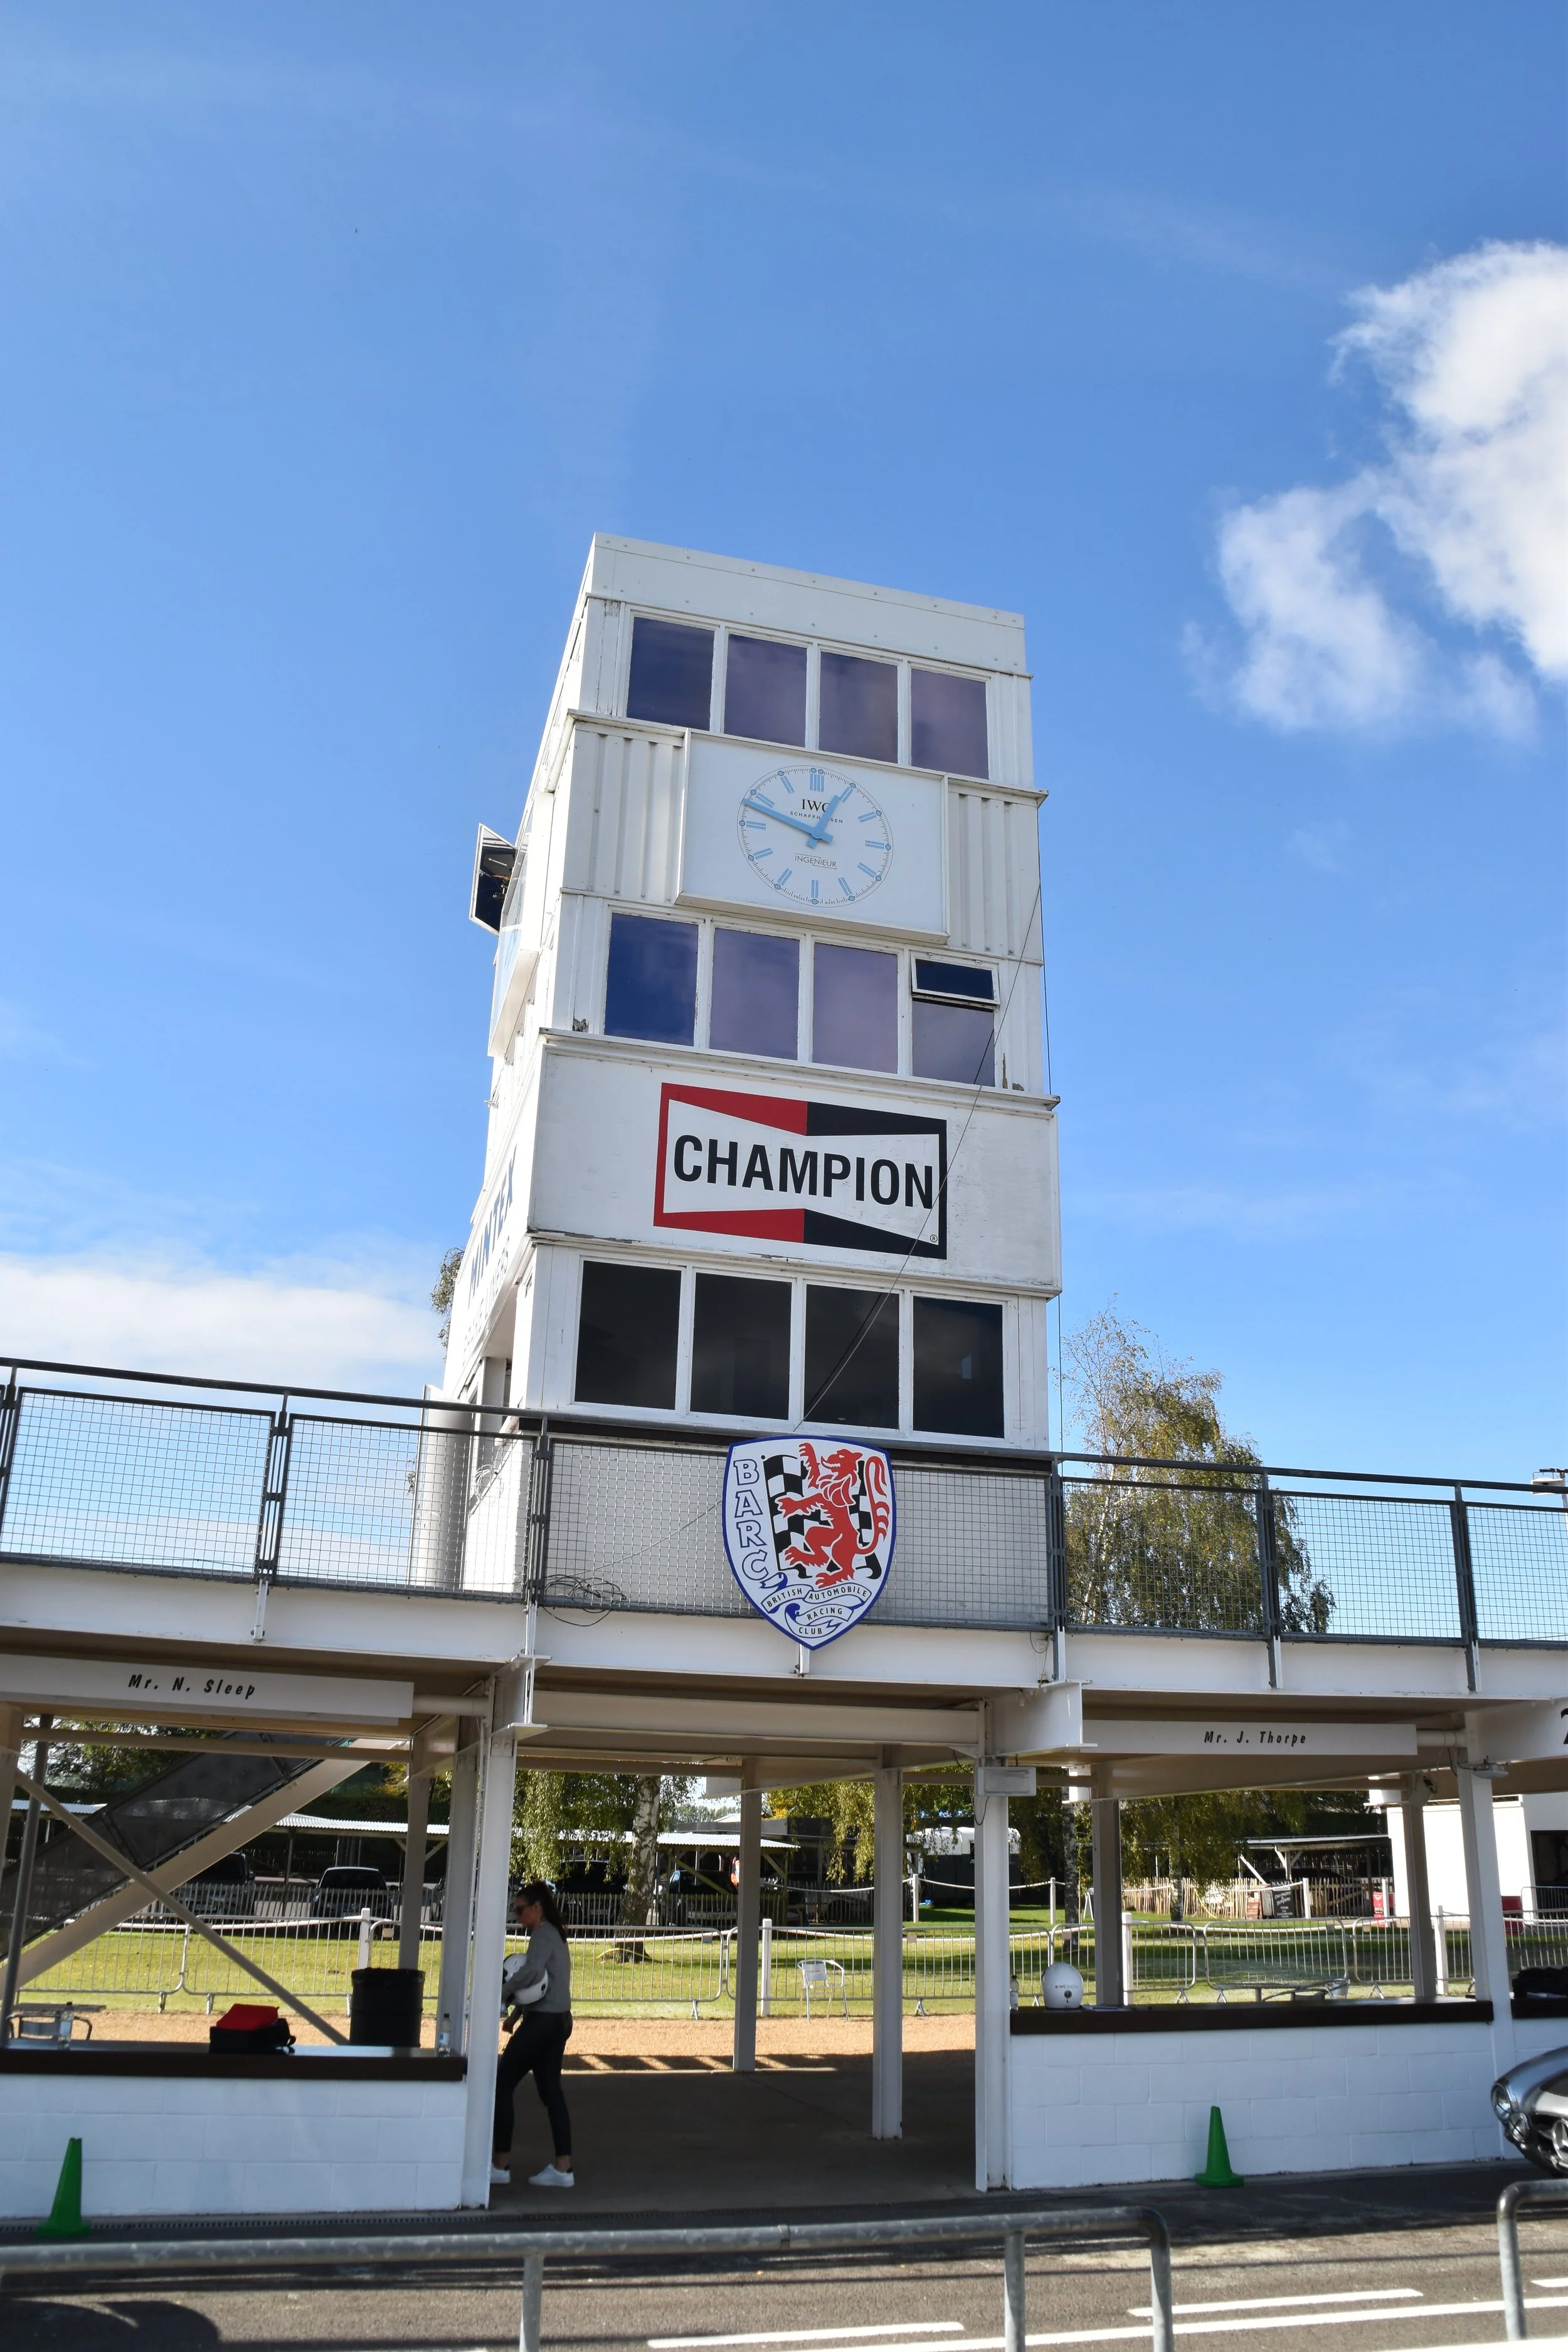
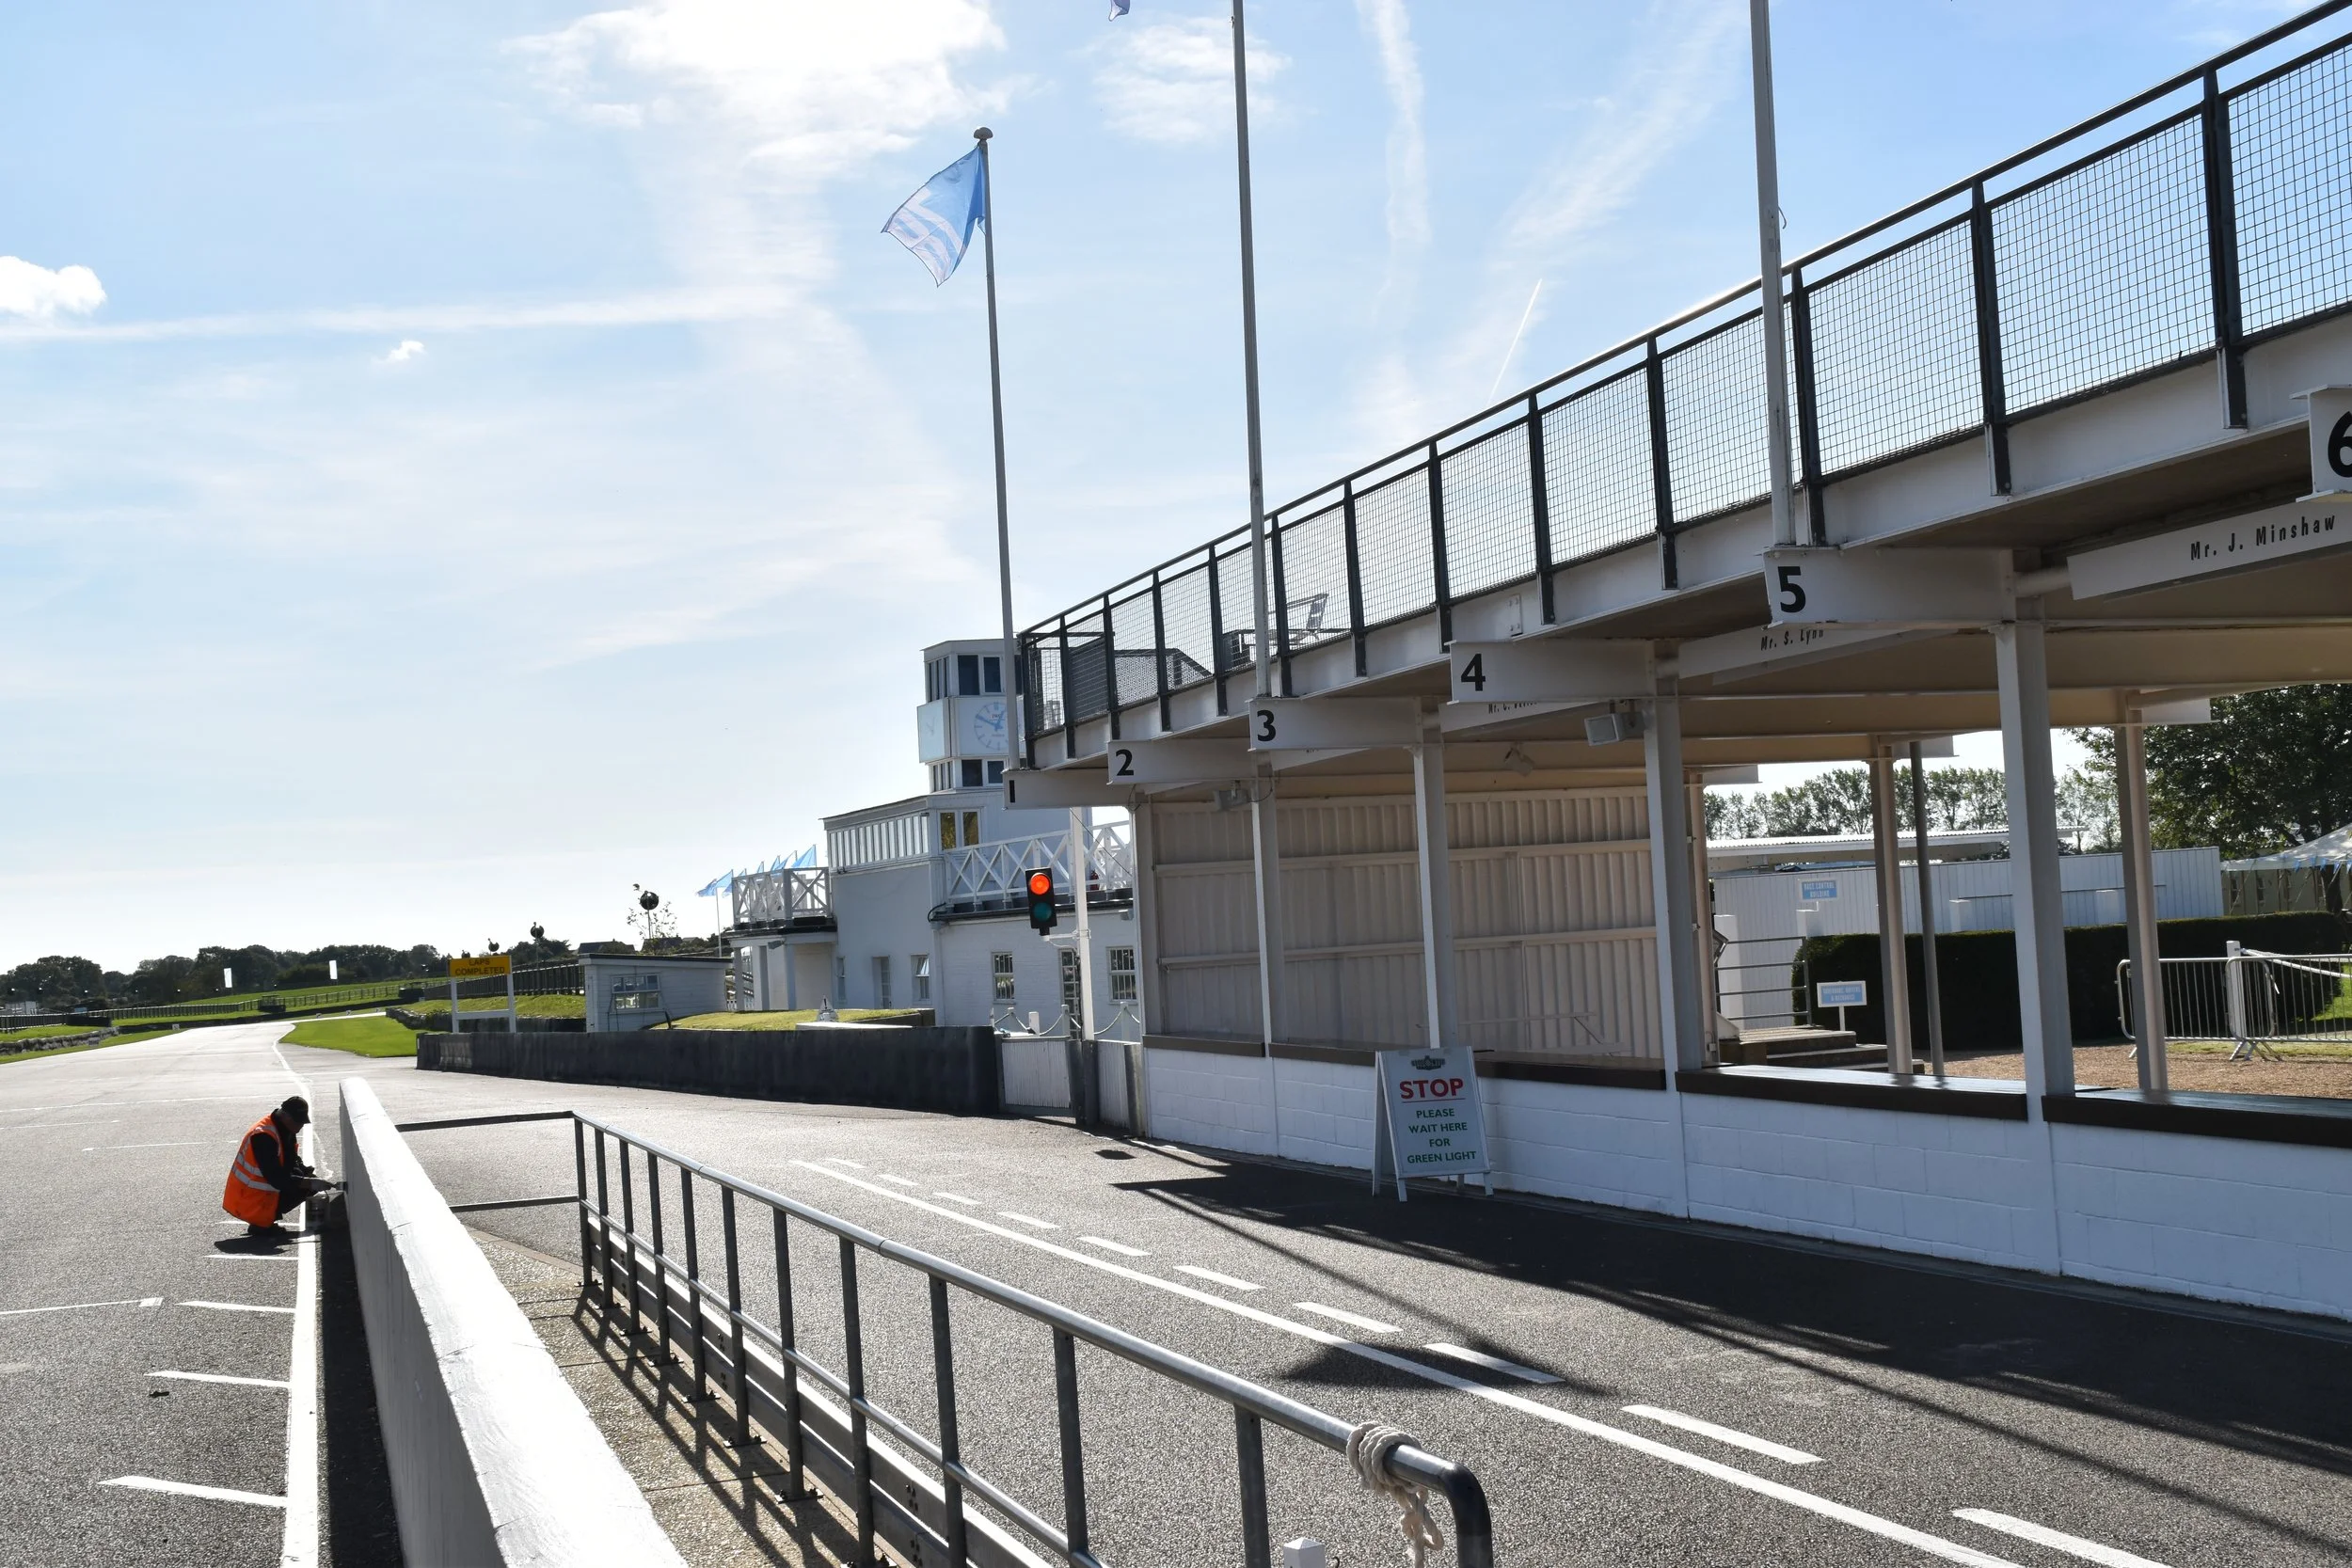
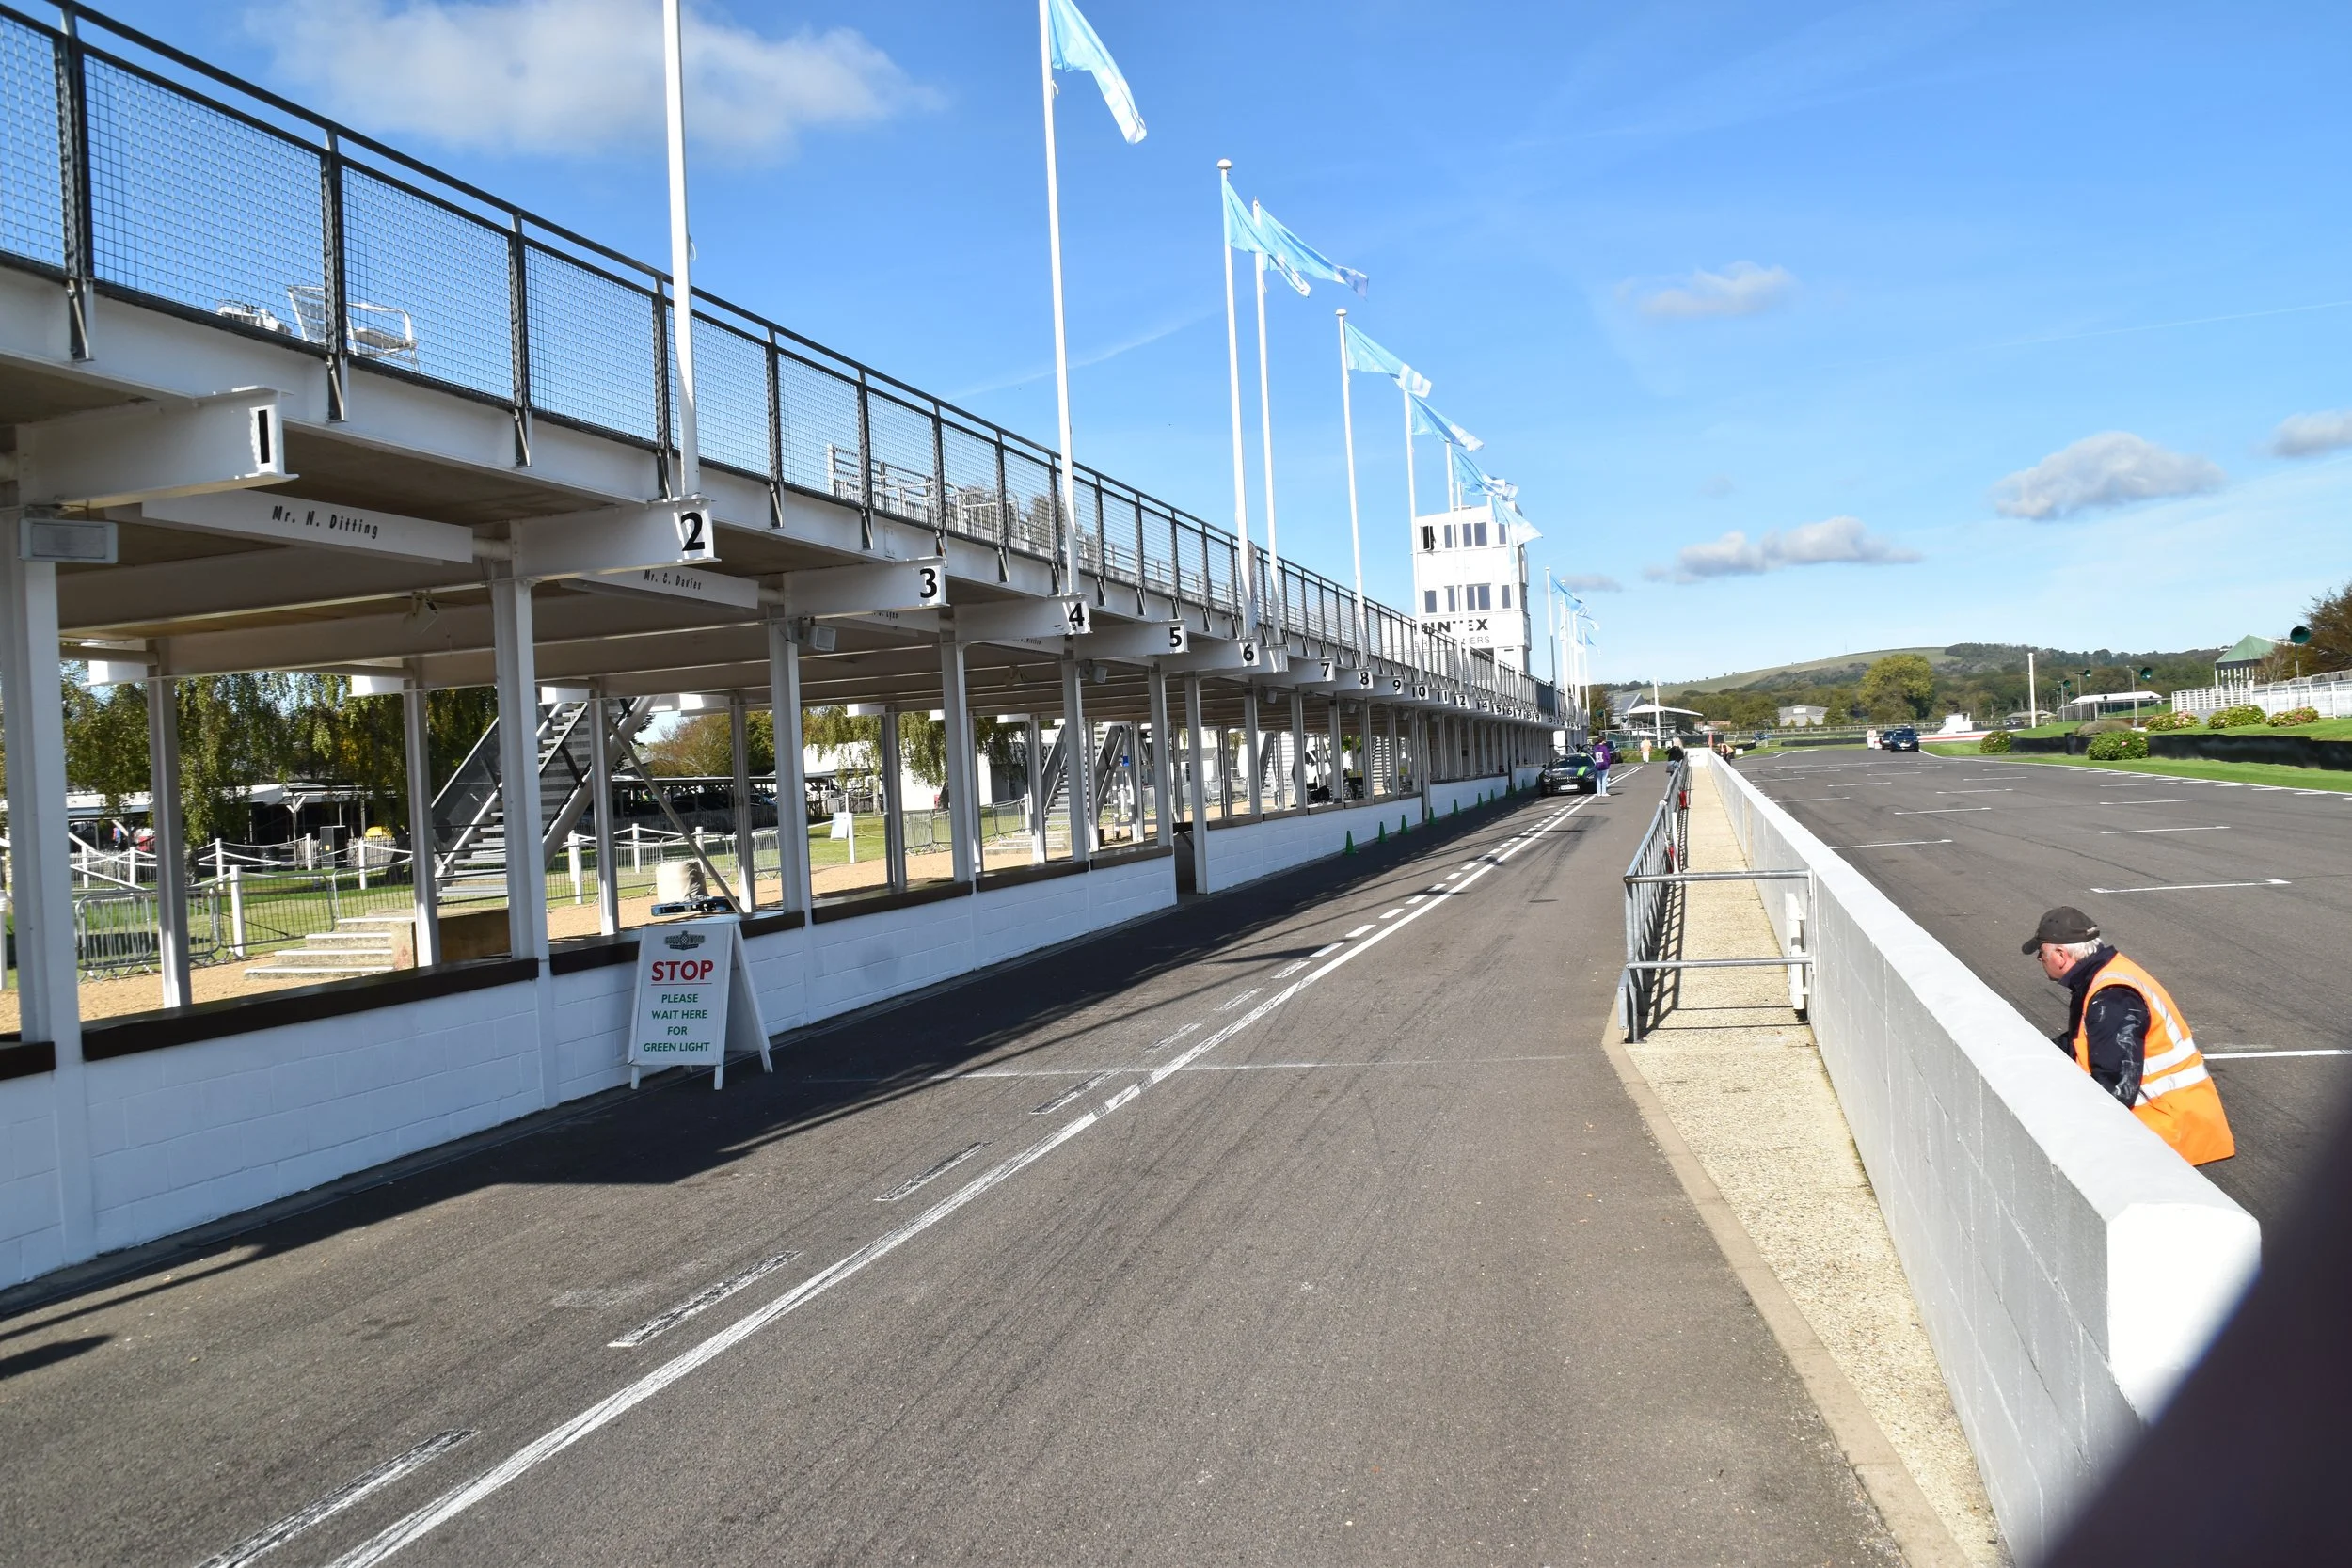

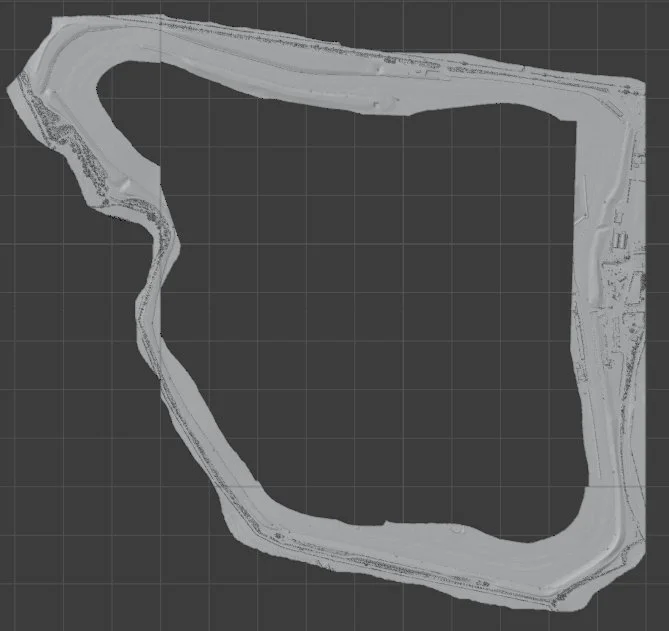
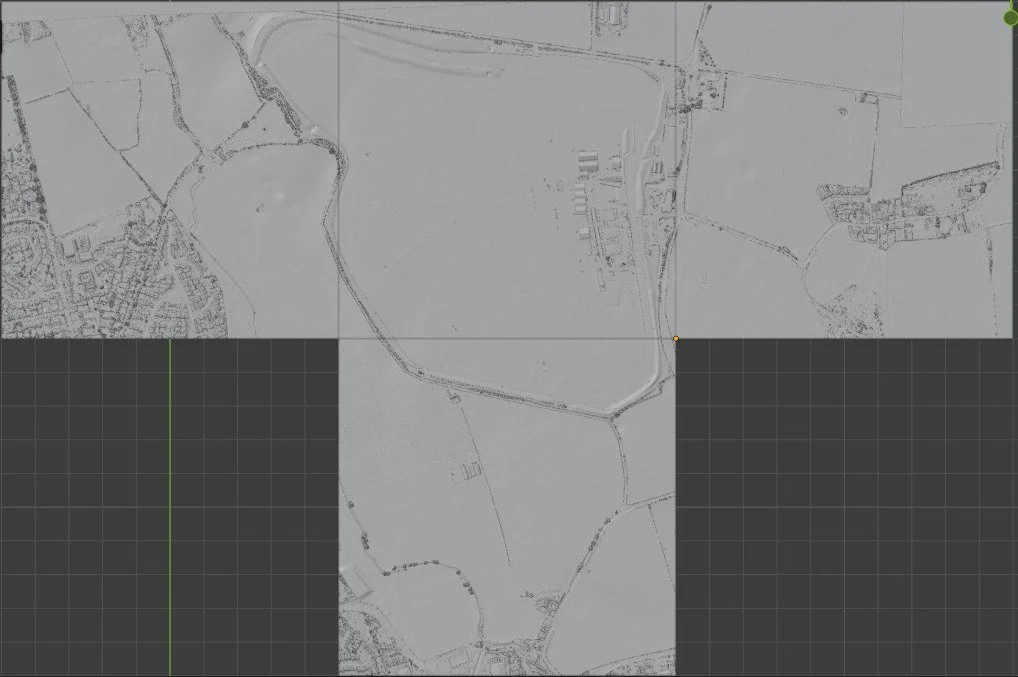
I started to scout around for a data set that i could use for this project. Since i wanted to make it look as realistic as possible, I needed to find LiDar data that would match what I was looking for. LiDar stands for Light Detection and Ranging and is a system that allows someone to take exact measurements using lasers. The UK Government does this using satalights and makes it freely available. The resolution I found was 50cm meaning that there was A measurement being done every 50cm. I downloaded the area that I needed but then had to do some cleaning of the data since it was over 2,000,000 polygons. I removed all the parts that wouldn’t be seen by the end user to make it so that my PC could run the scene. This was a really good start for me since it provided a lot of the information that I would need to make my scene.
Blender LiDar and OSM
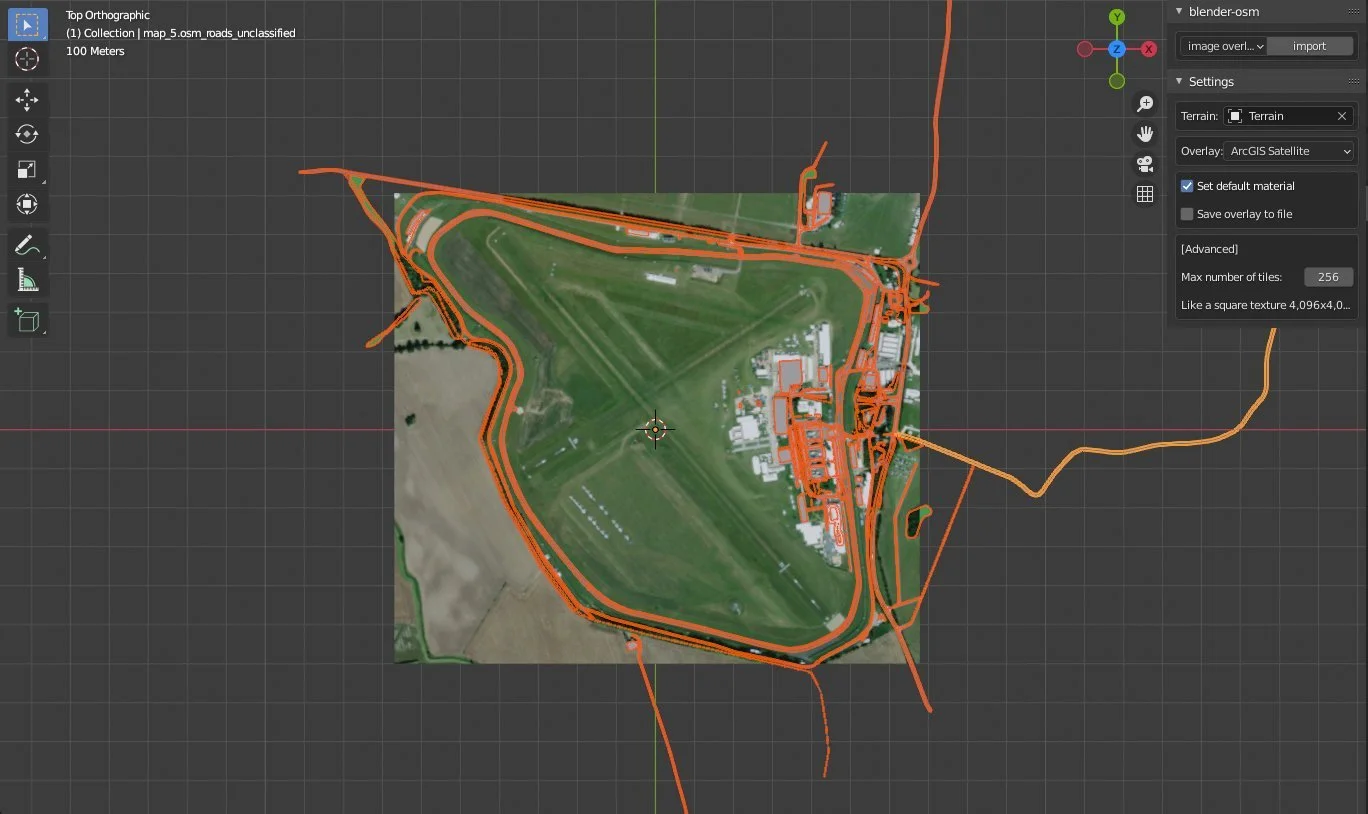
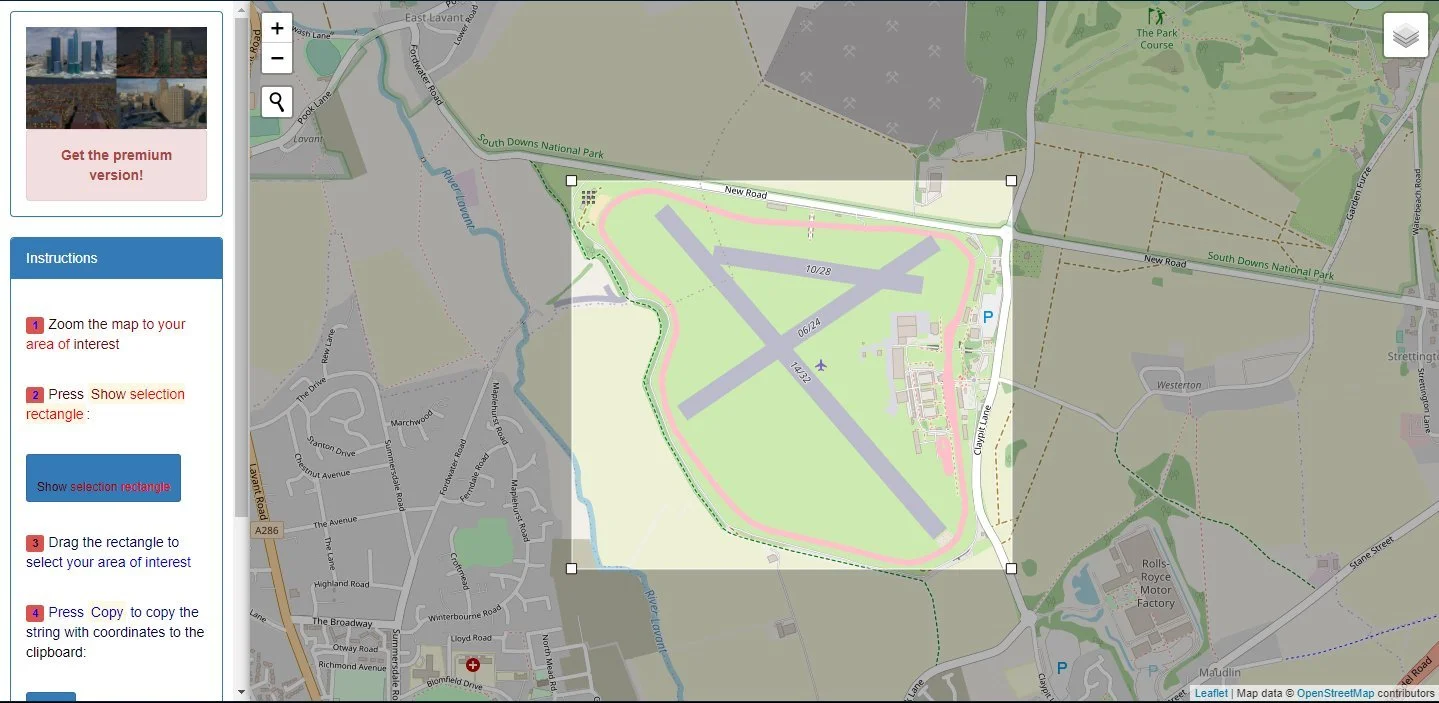
There is an addon for Blender called OSM. This allows the user to select the area that they want to import and copy it into Blender. This will import everything from roads and vegetation to water and even some rudimentary buildings. This would provide an invaluable tool for me while working on this project. Not only did it provide me with a really good starting point for my project, but It also gave me an exact layout of the tack and a terrain object that was mapped to the real elevation of the track. Although it is not an as high resolution as the LiDar data, I found that I could combine the 2 pieces of data to make something that would look really realistic.

I Found out that the best way to use the 2 data sets that I had was to use the track layout that was provided by the OSM addon and then add 2 different shrinkwrap modifiers to make it fit with the real track. This allows the Lidar Data to give the bumps in the road while allowing the data from the OSM to add more of the elevation change
Grandstand
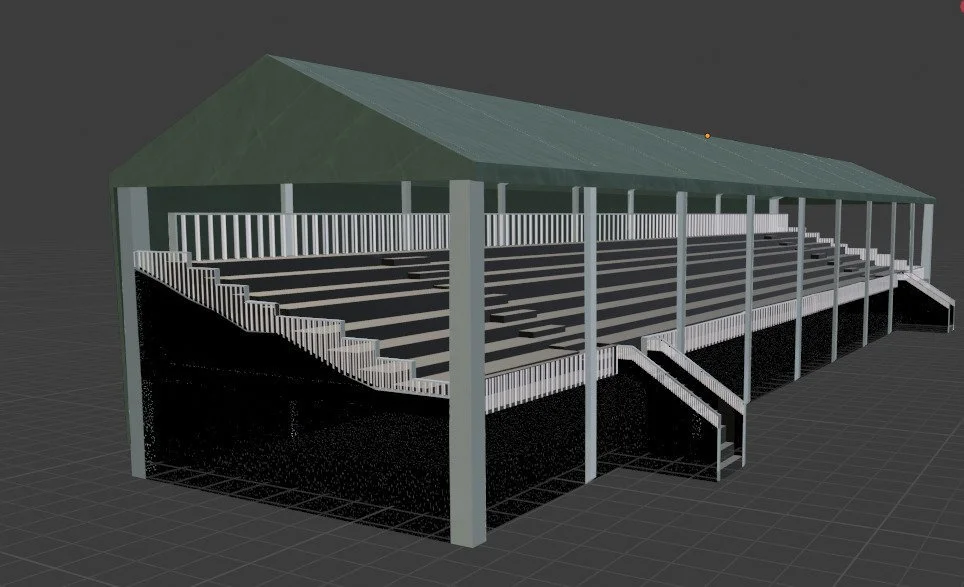
This is the grandstand that I made for this project. I feel that this is a really good representation of the grandstands that are used by Goodwood in real life. They are temporary structures meaning that they are made out of materials that are easy to transport around. They have a canvas roof and are made of scaffolding material. I feel that I have been able to recreate this feel really well in the model that I made. When I was making the rails, I decided that to reduce the face count of the scene, I would use a texture. This texture was a metal link fence that I stretched using a Mapping node to make it straight. This was then painted white to give the look that I required.

Pit Garage
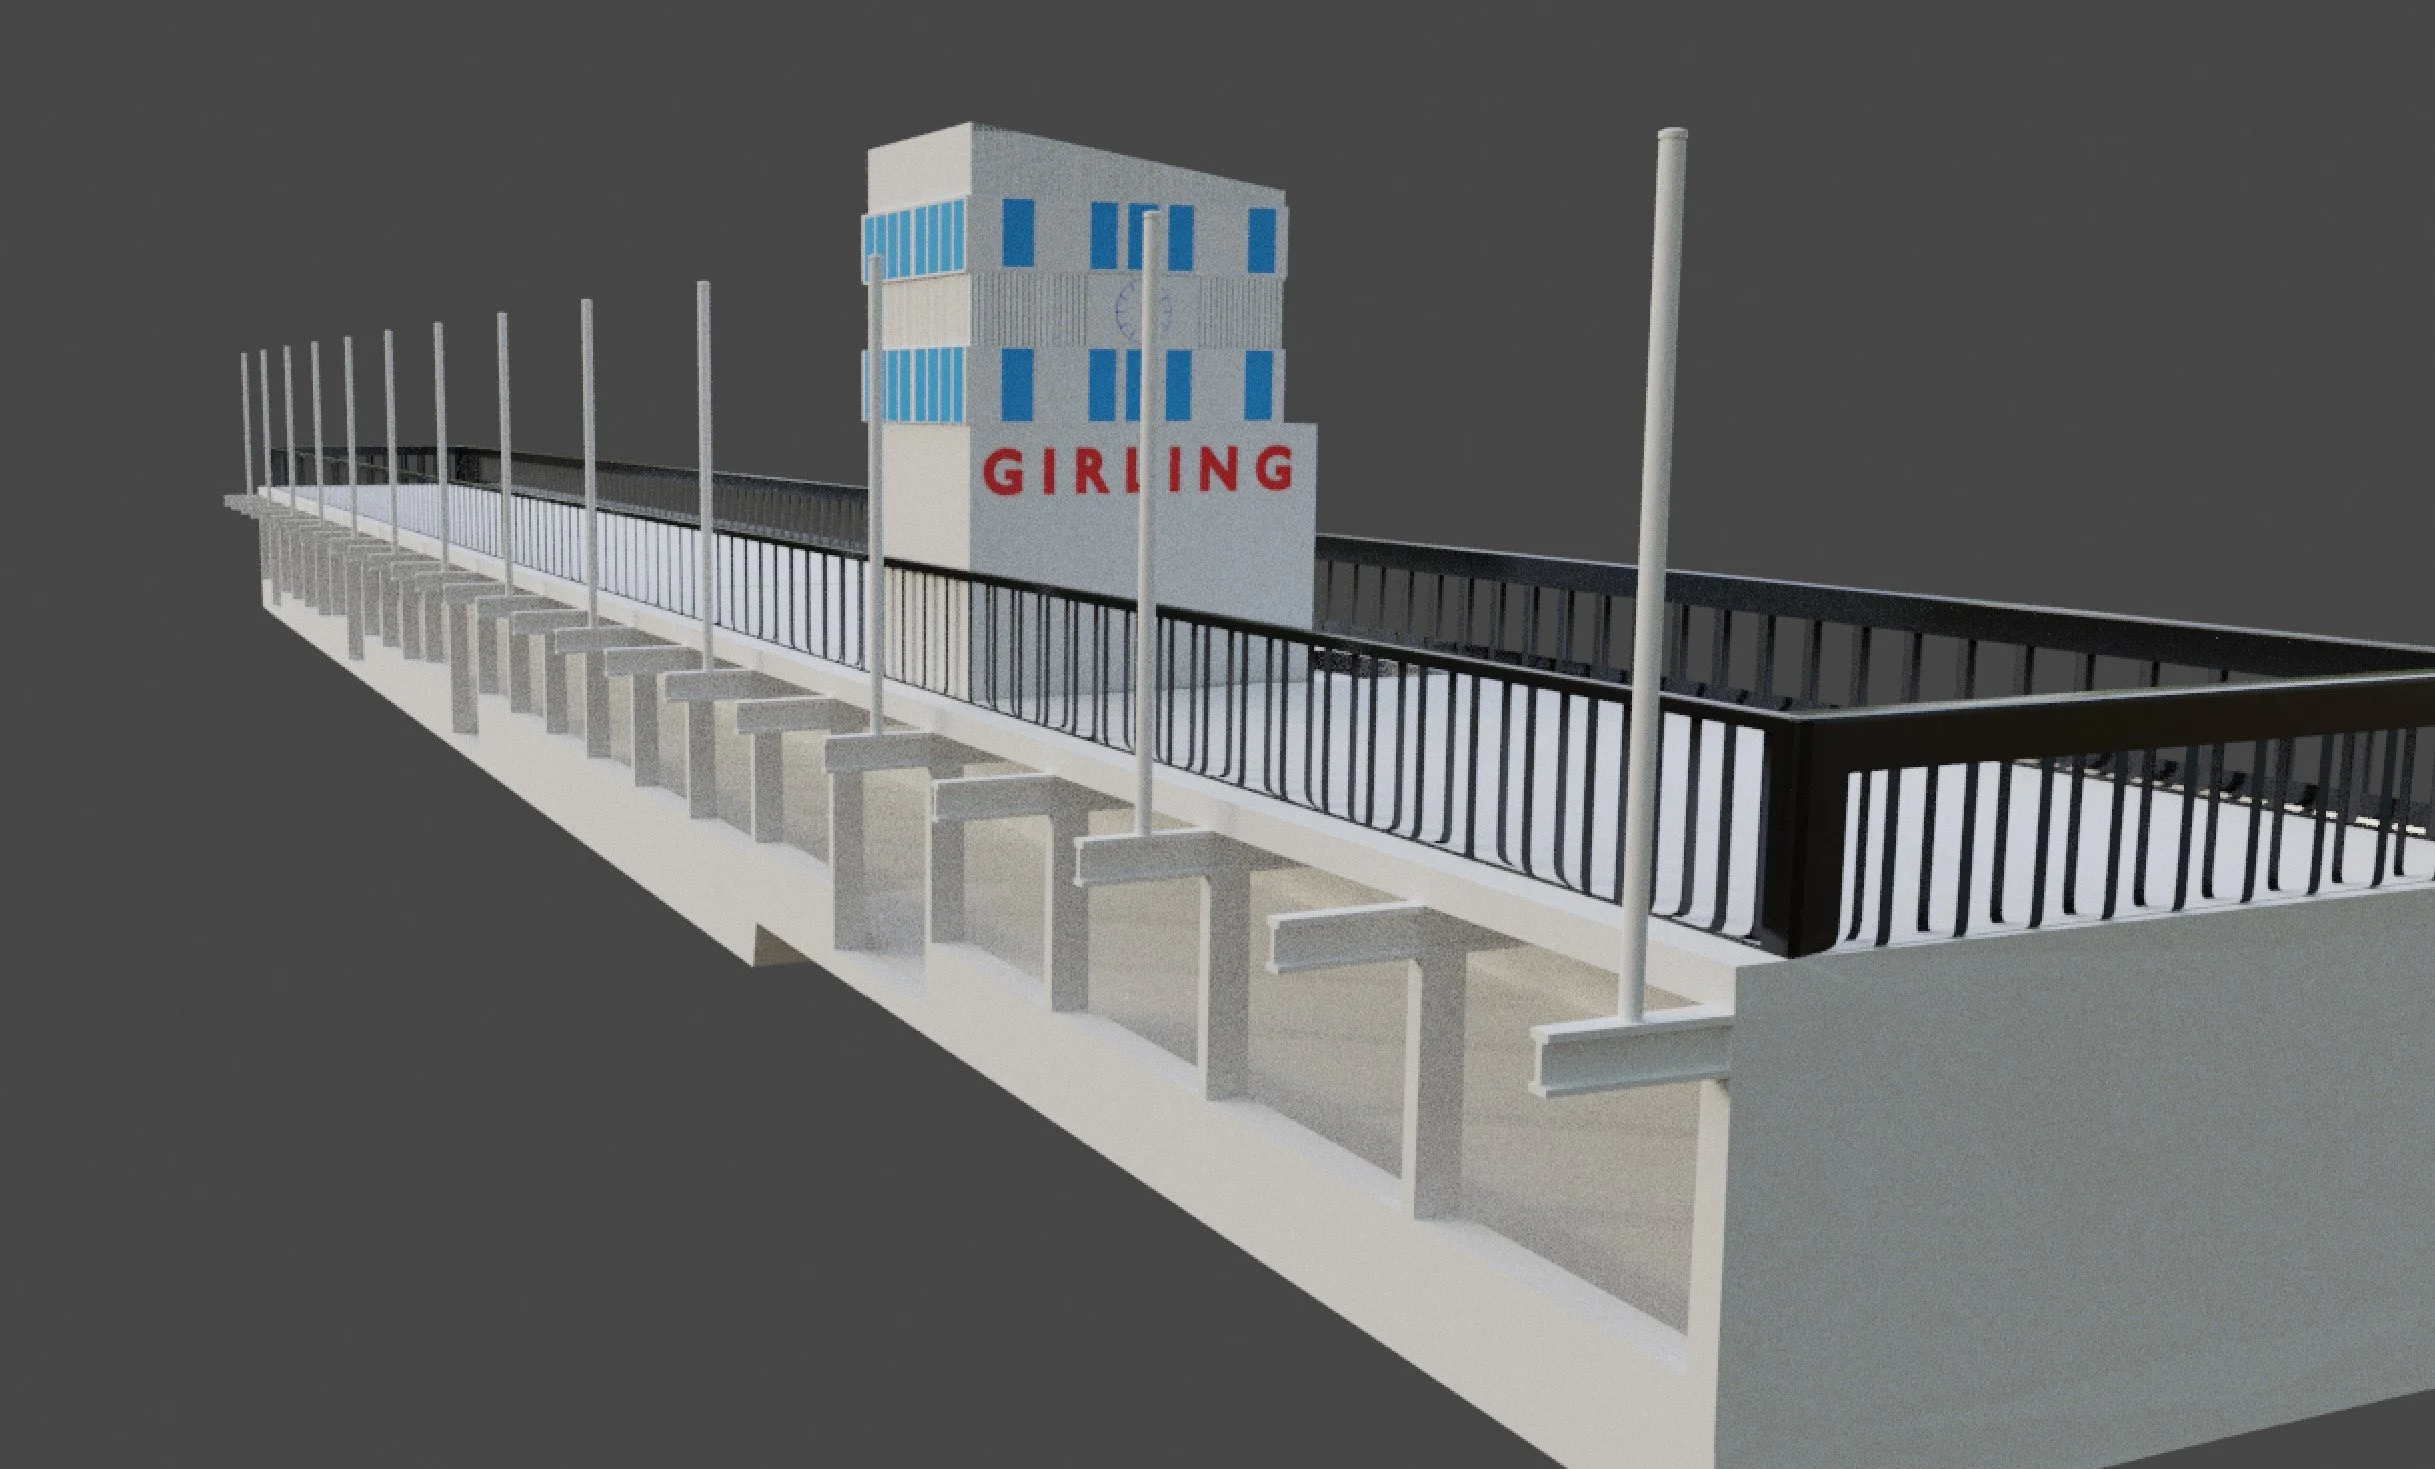
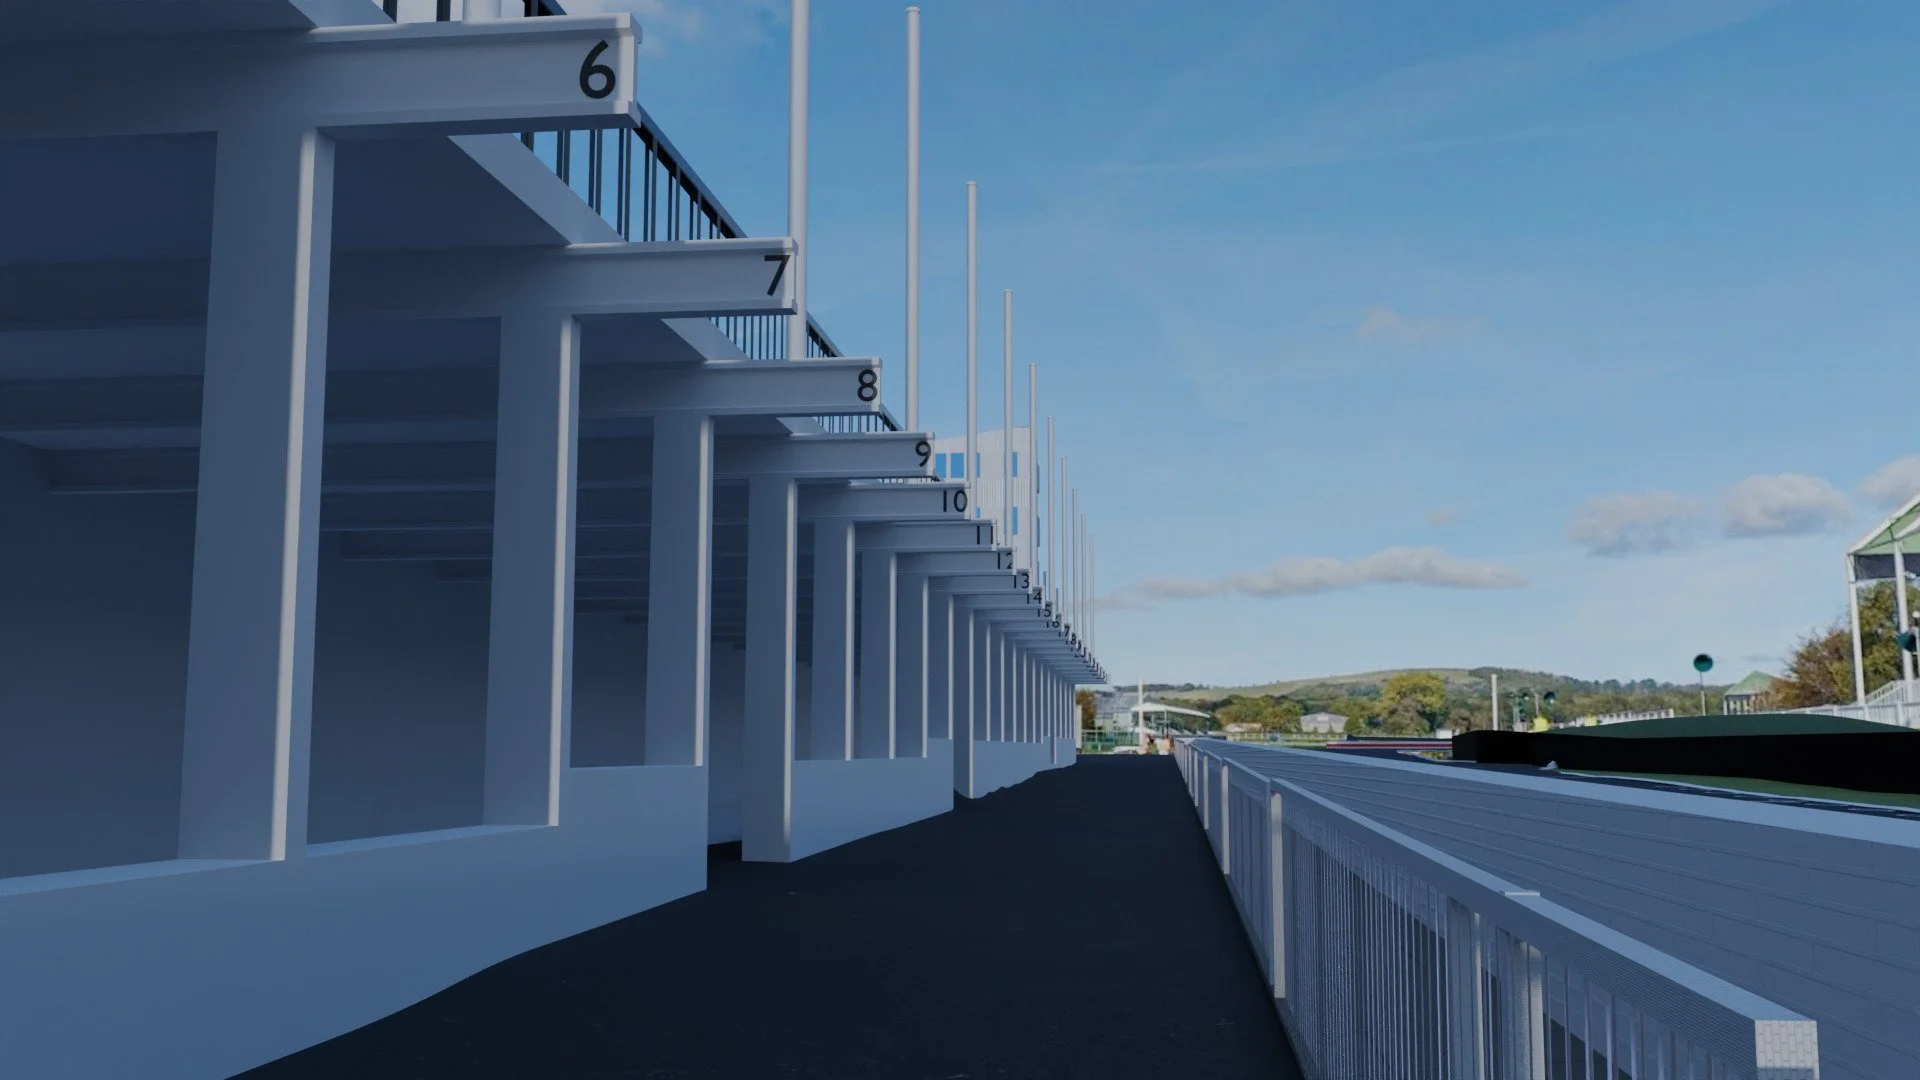
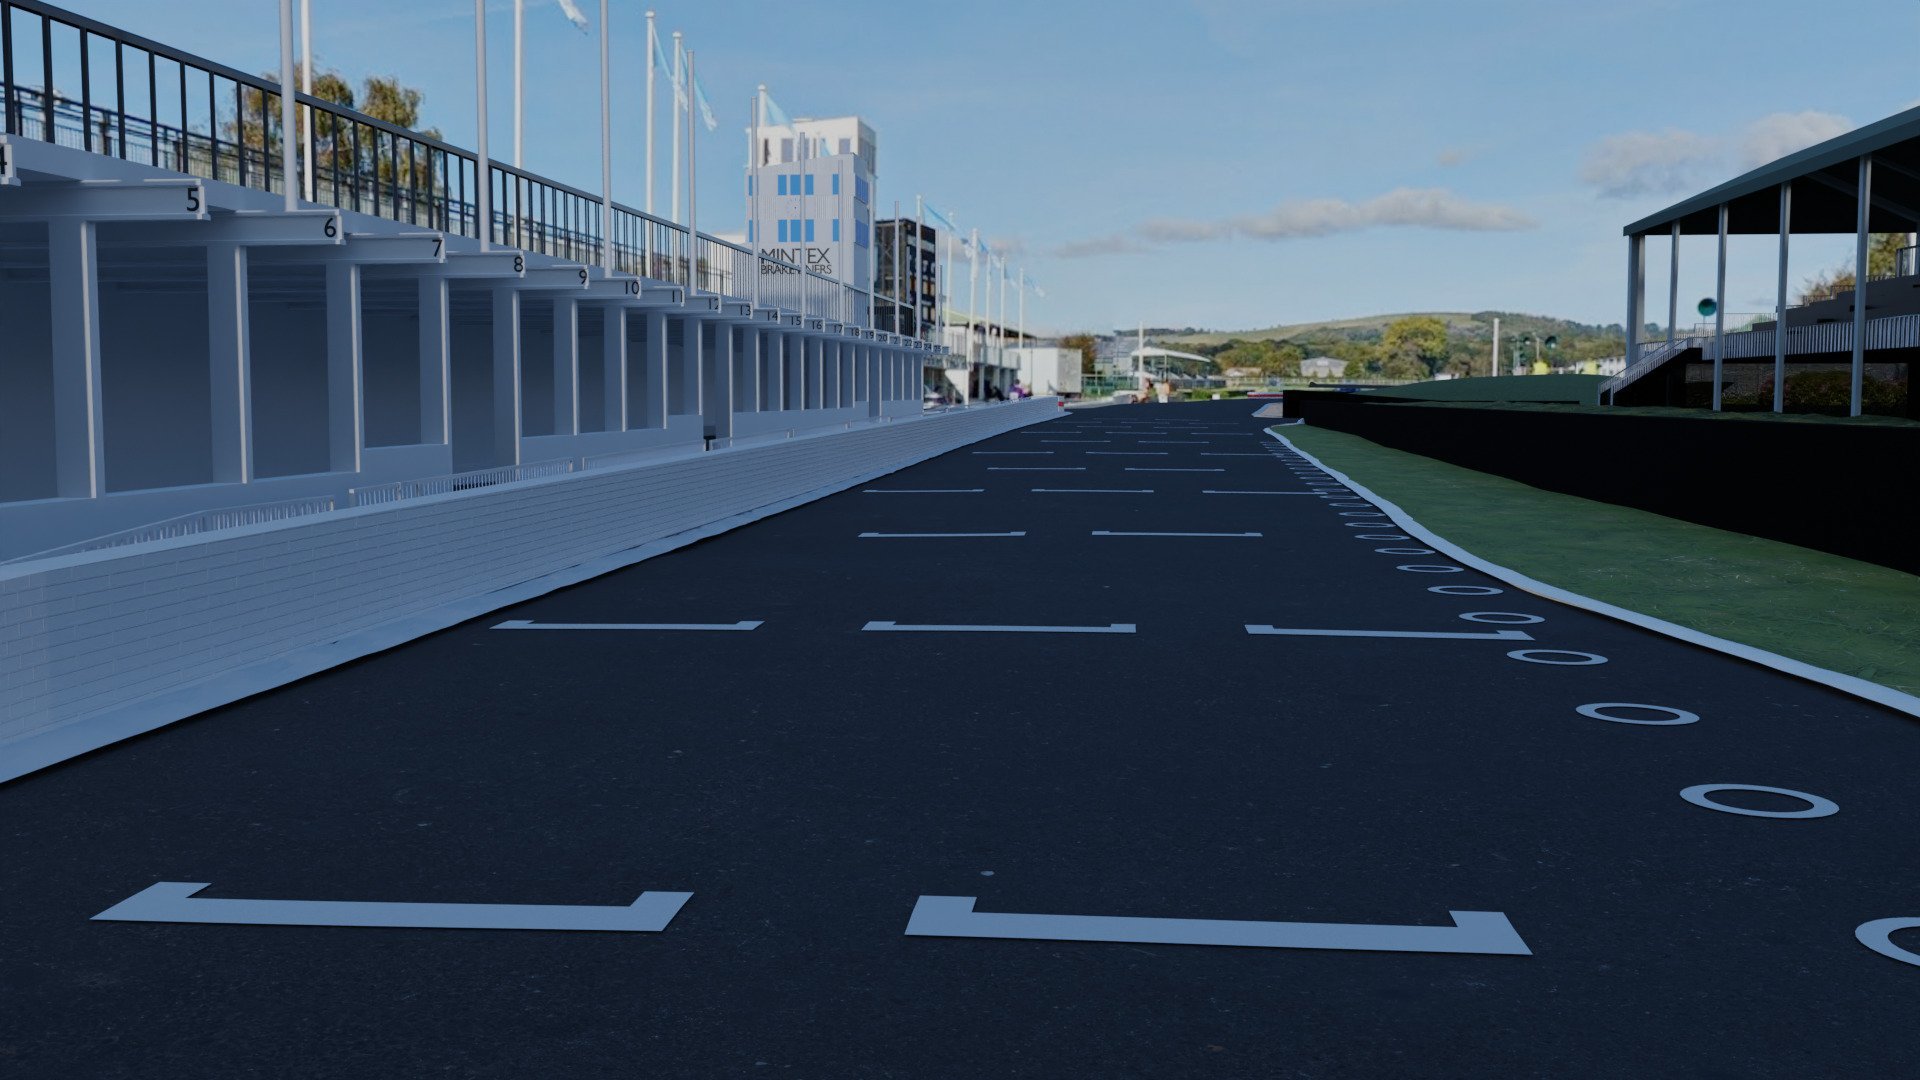
The next building I made was the Pit Garage that is used by competitors. It has a comentry tower on top of it and has Railings so that people can stand on top and watch the racing take place. I used the same material that I used on the grandstand for the railings but I changed the colour to match the asthetic. I used Blenders text tool to add numbers to each of the pit boxes since I felt that this would have been the best way of displaying this. Another way that I could have added the numbers would be to make a Texture for them. However since this scene is being used for renders rather than a game engine, The method that I ended up using was suitable.

Starting Grid
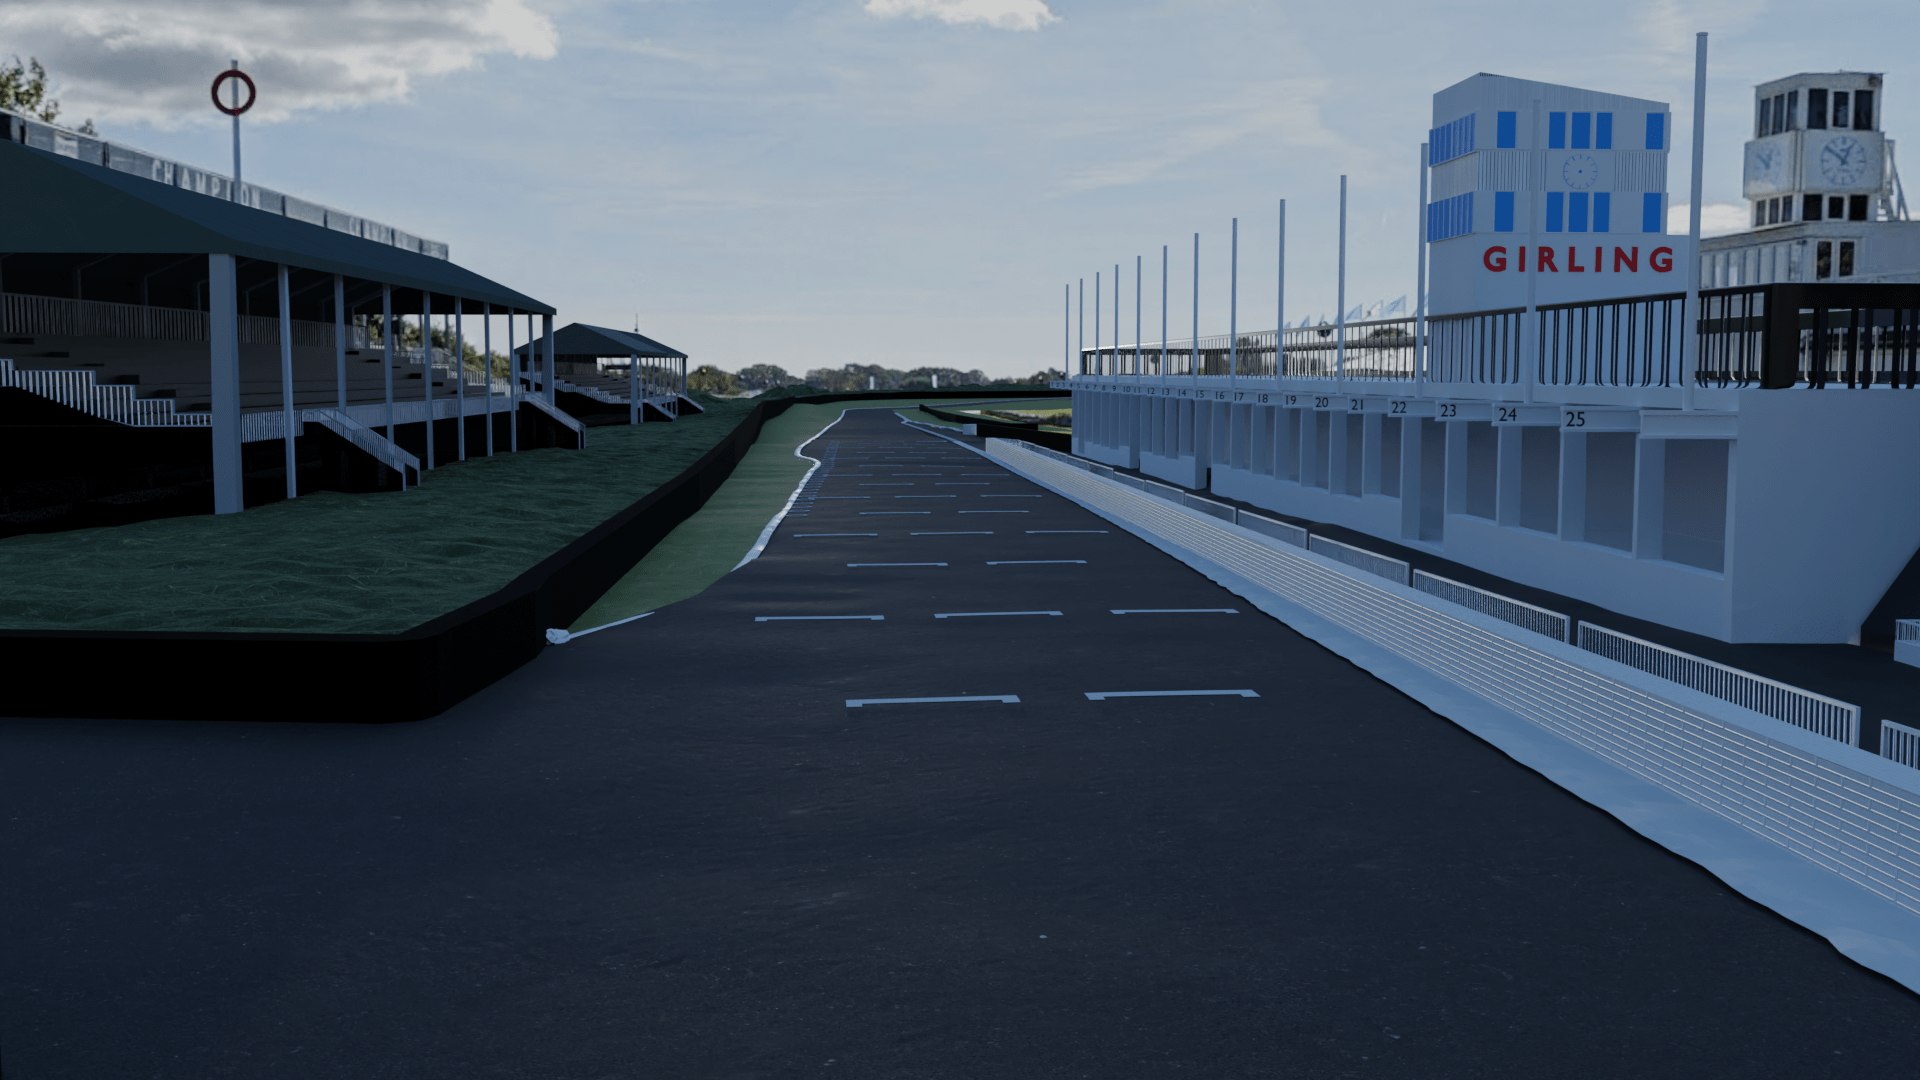
Another major part of the track that took me a while to work out was the track decals. Things like the grid boxes where the drivers would line up and the white line around the edge of the track. I used a very similar technique to making the track by using the shrinkwrap modifier. This would allow me to make the shape stick to the floor while not providing a Lip that could be felt if I was to put it into a game. Much like the timing board, Making a texture for this would be better since it would reduce the face count. However, the reason that I didn’t was to do with how I made the track. Since I was using the OSM track, the topology was not ideal. I had to spend a lot of time fixing the geometry to remove Ngons and allow the track to map correctly to the LiDar Data. This meant that using UVs was going to be very difficult.

Final Renders

Final Render 2
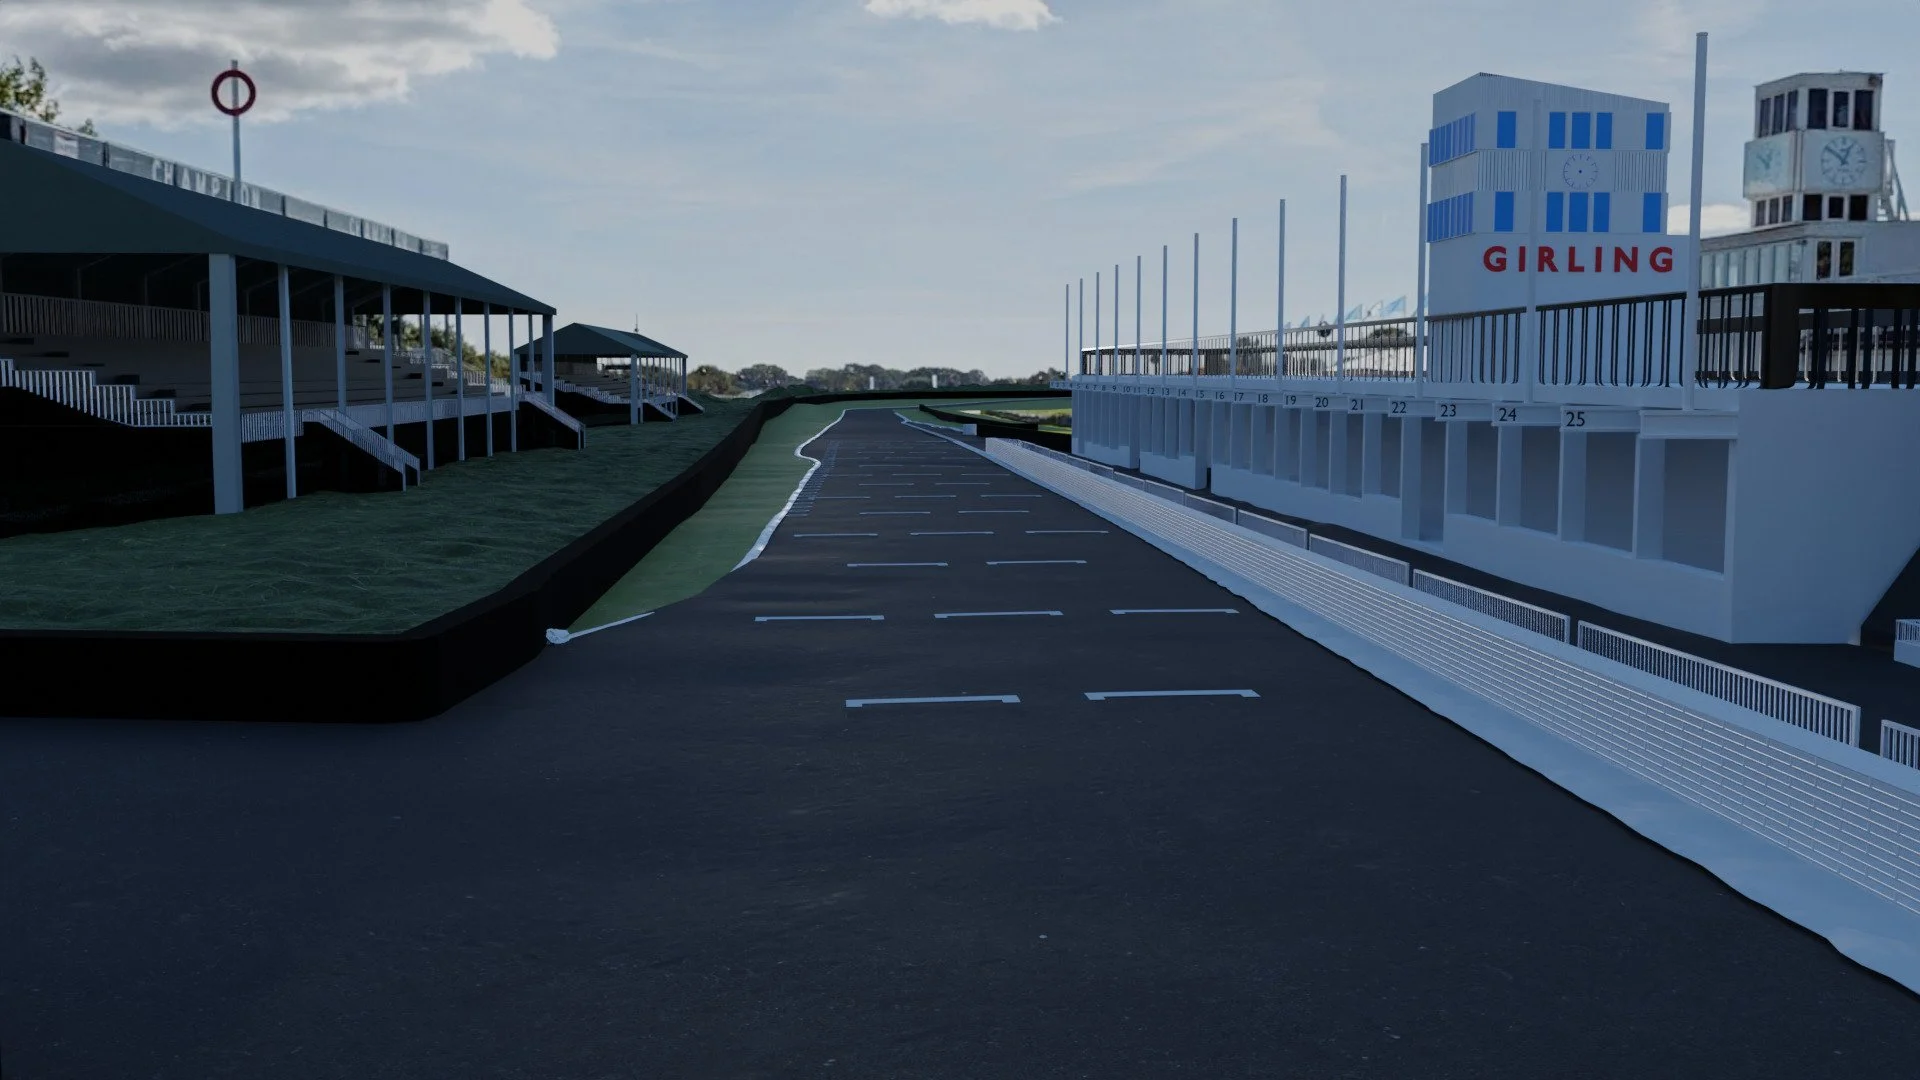
Final Render 1
Final Render 3


