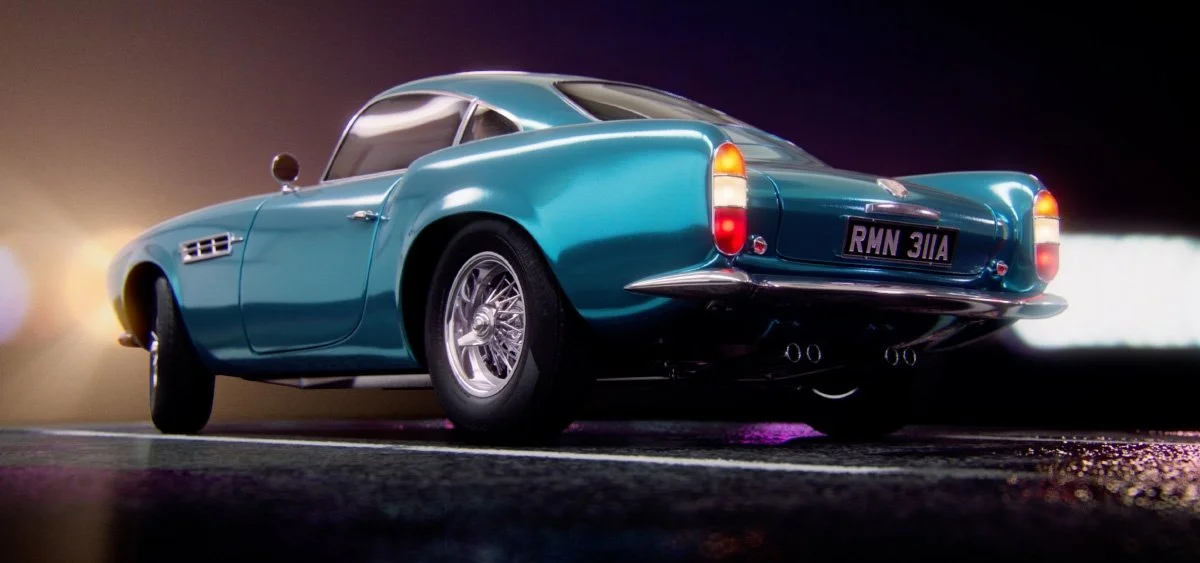
1973 BMW 2002 Turbo
The BMW 2002 has been a big part of my life for many years, having had one in the family when I was growing up. There are photos of me from when I was about 5 standing next to one as it was being restored. It has been my dads favourite car for as long as I can remember and that has an infuence on me. I have always found the car facinating, especally when comparing it to the more modern cars. Its box-like design was not very areodynamic but it was still able to put down 170 Break Horse Power, allowing top speeds of 131mph.


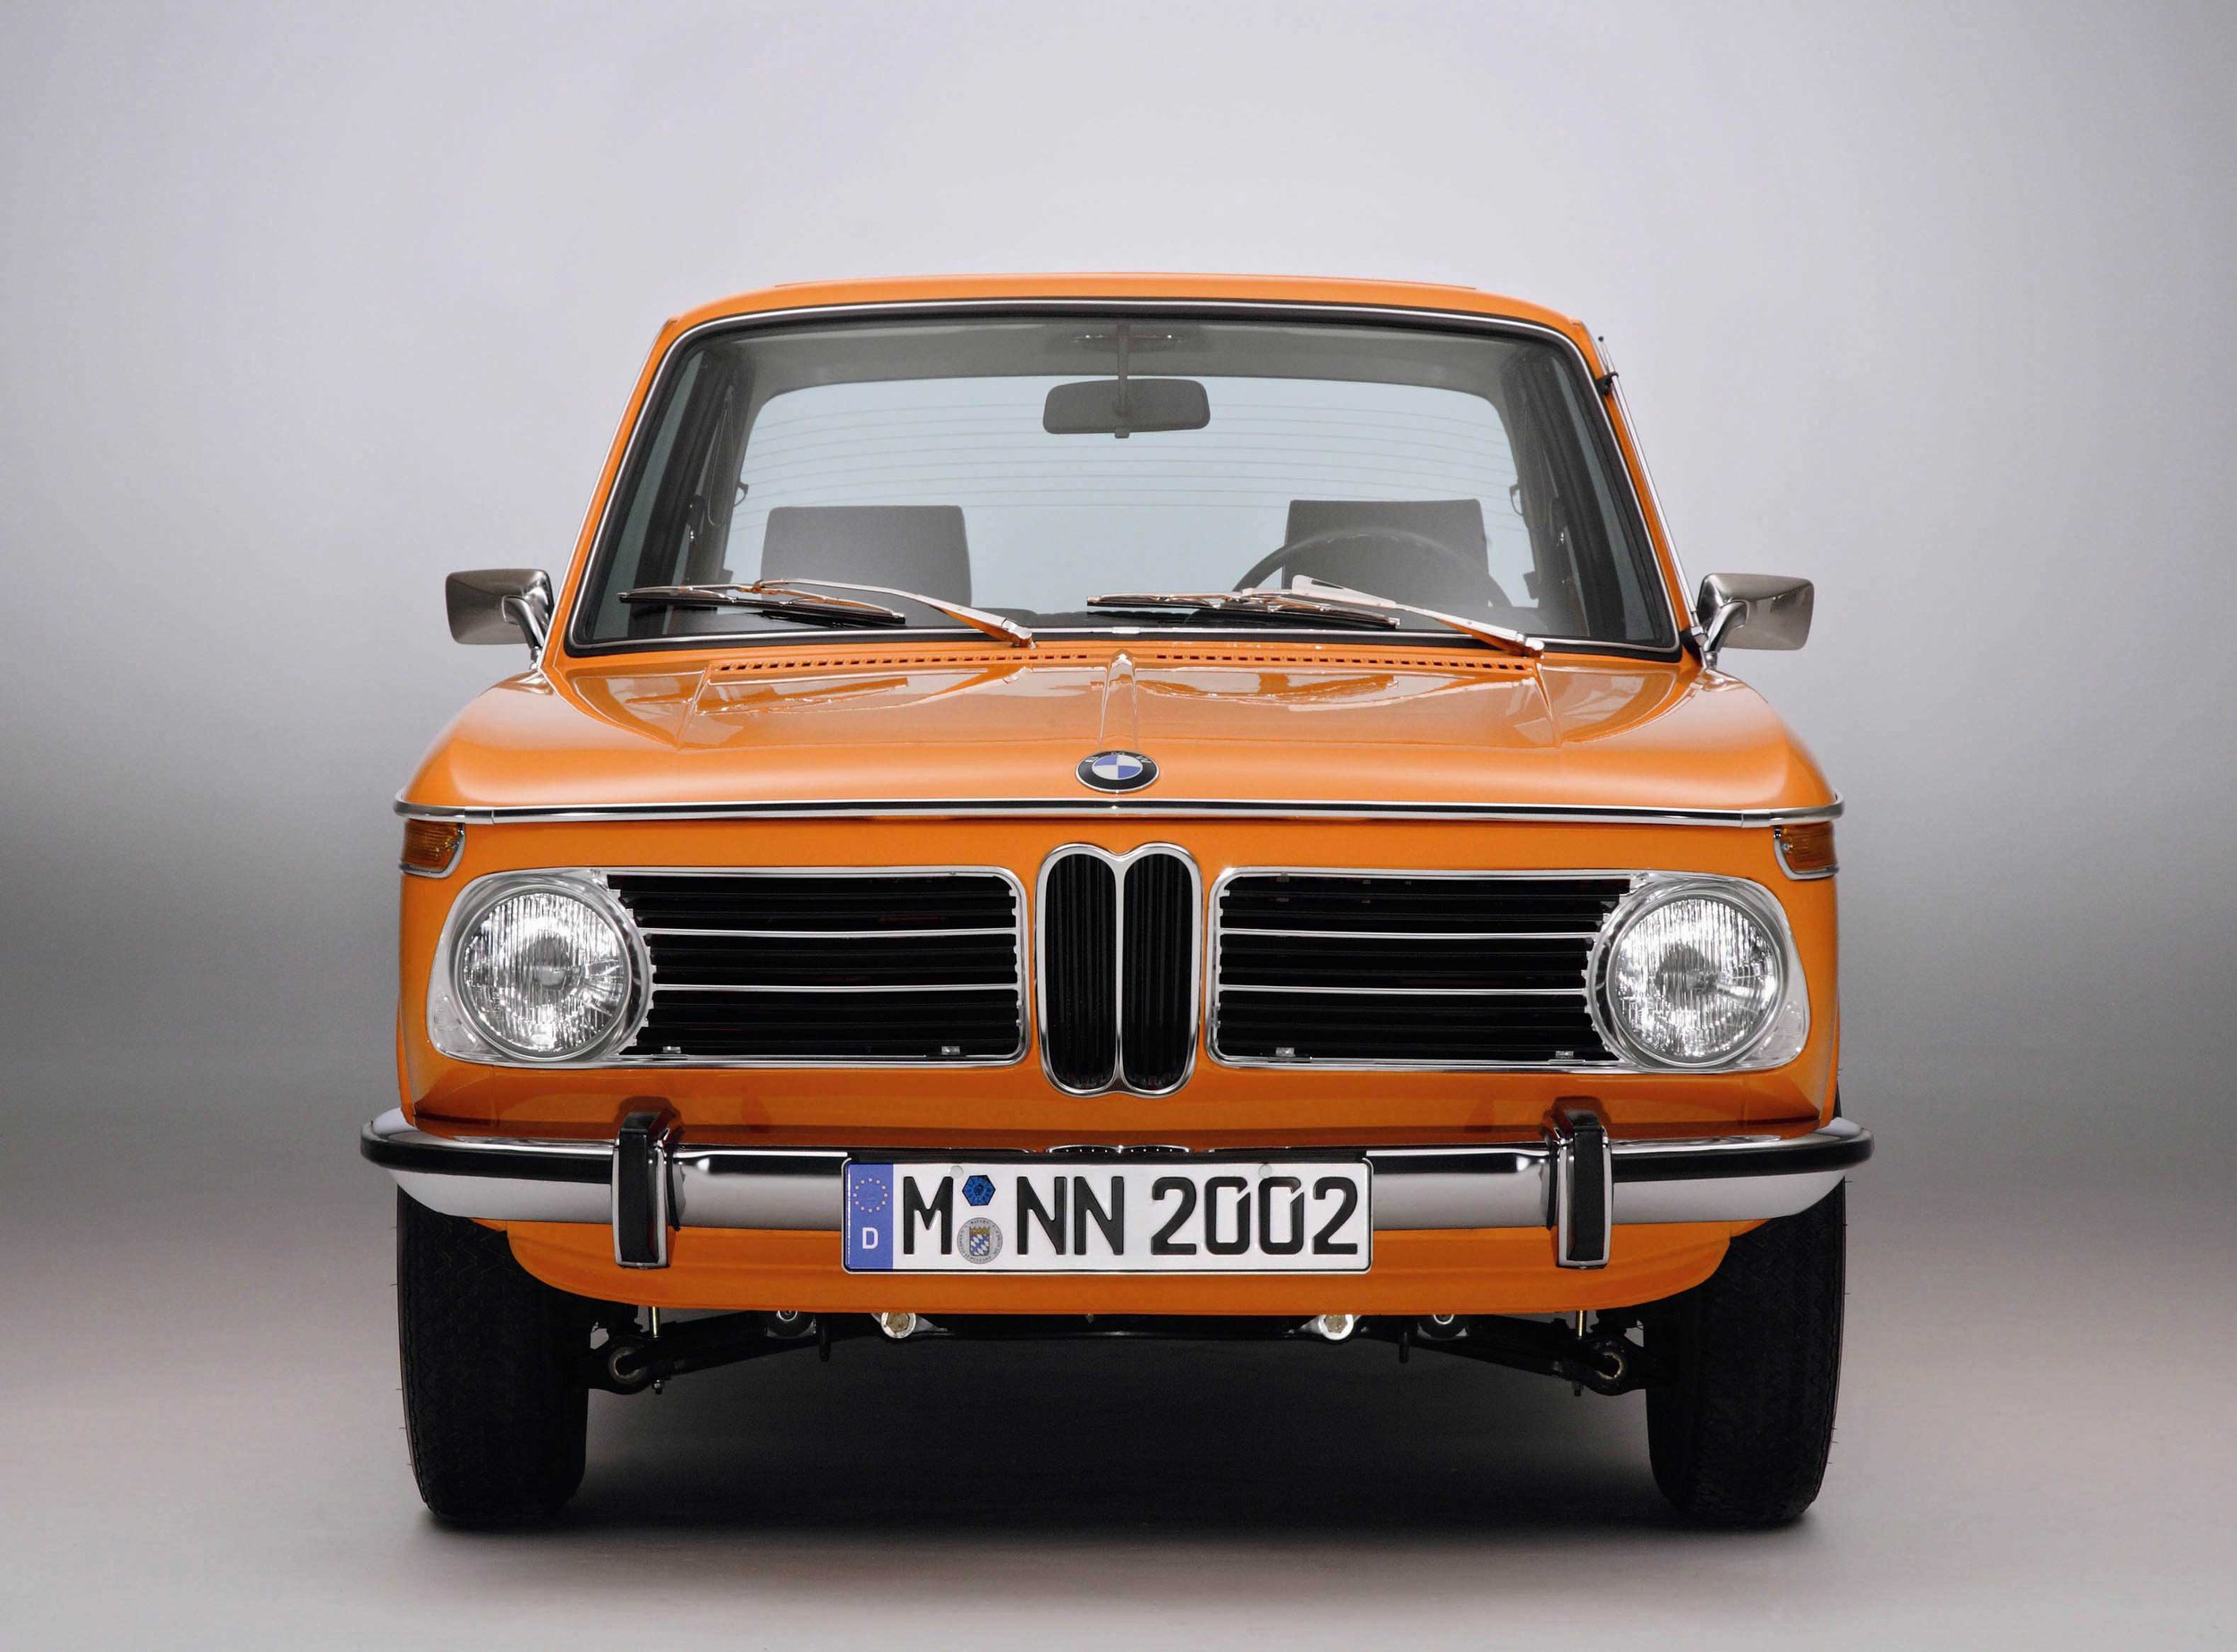
BMW 2002 Front On
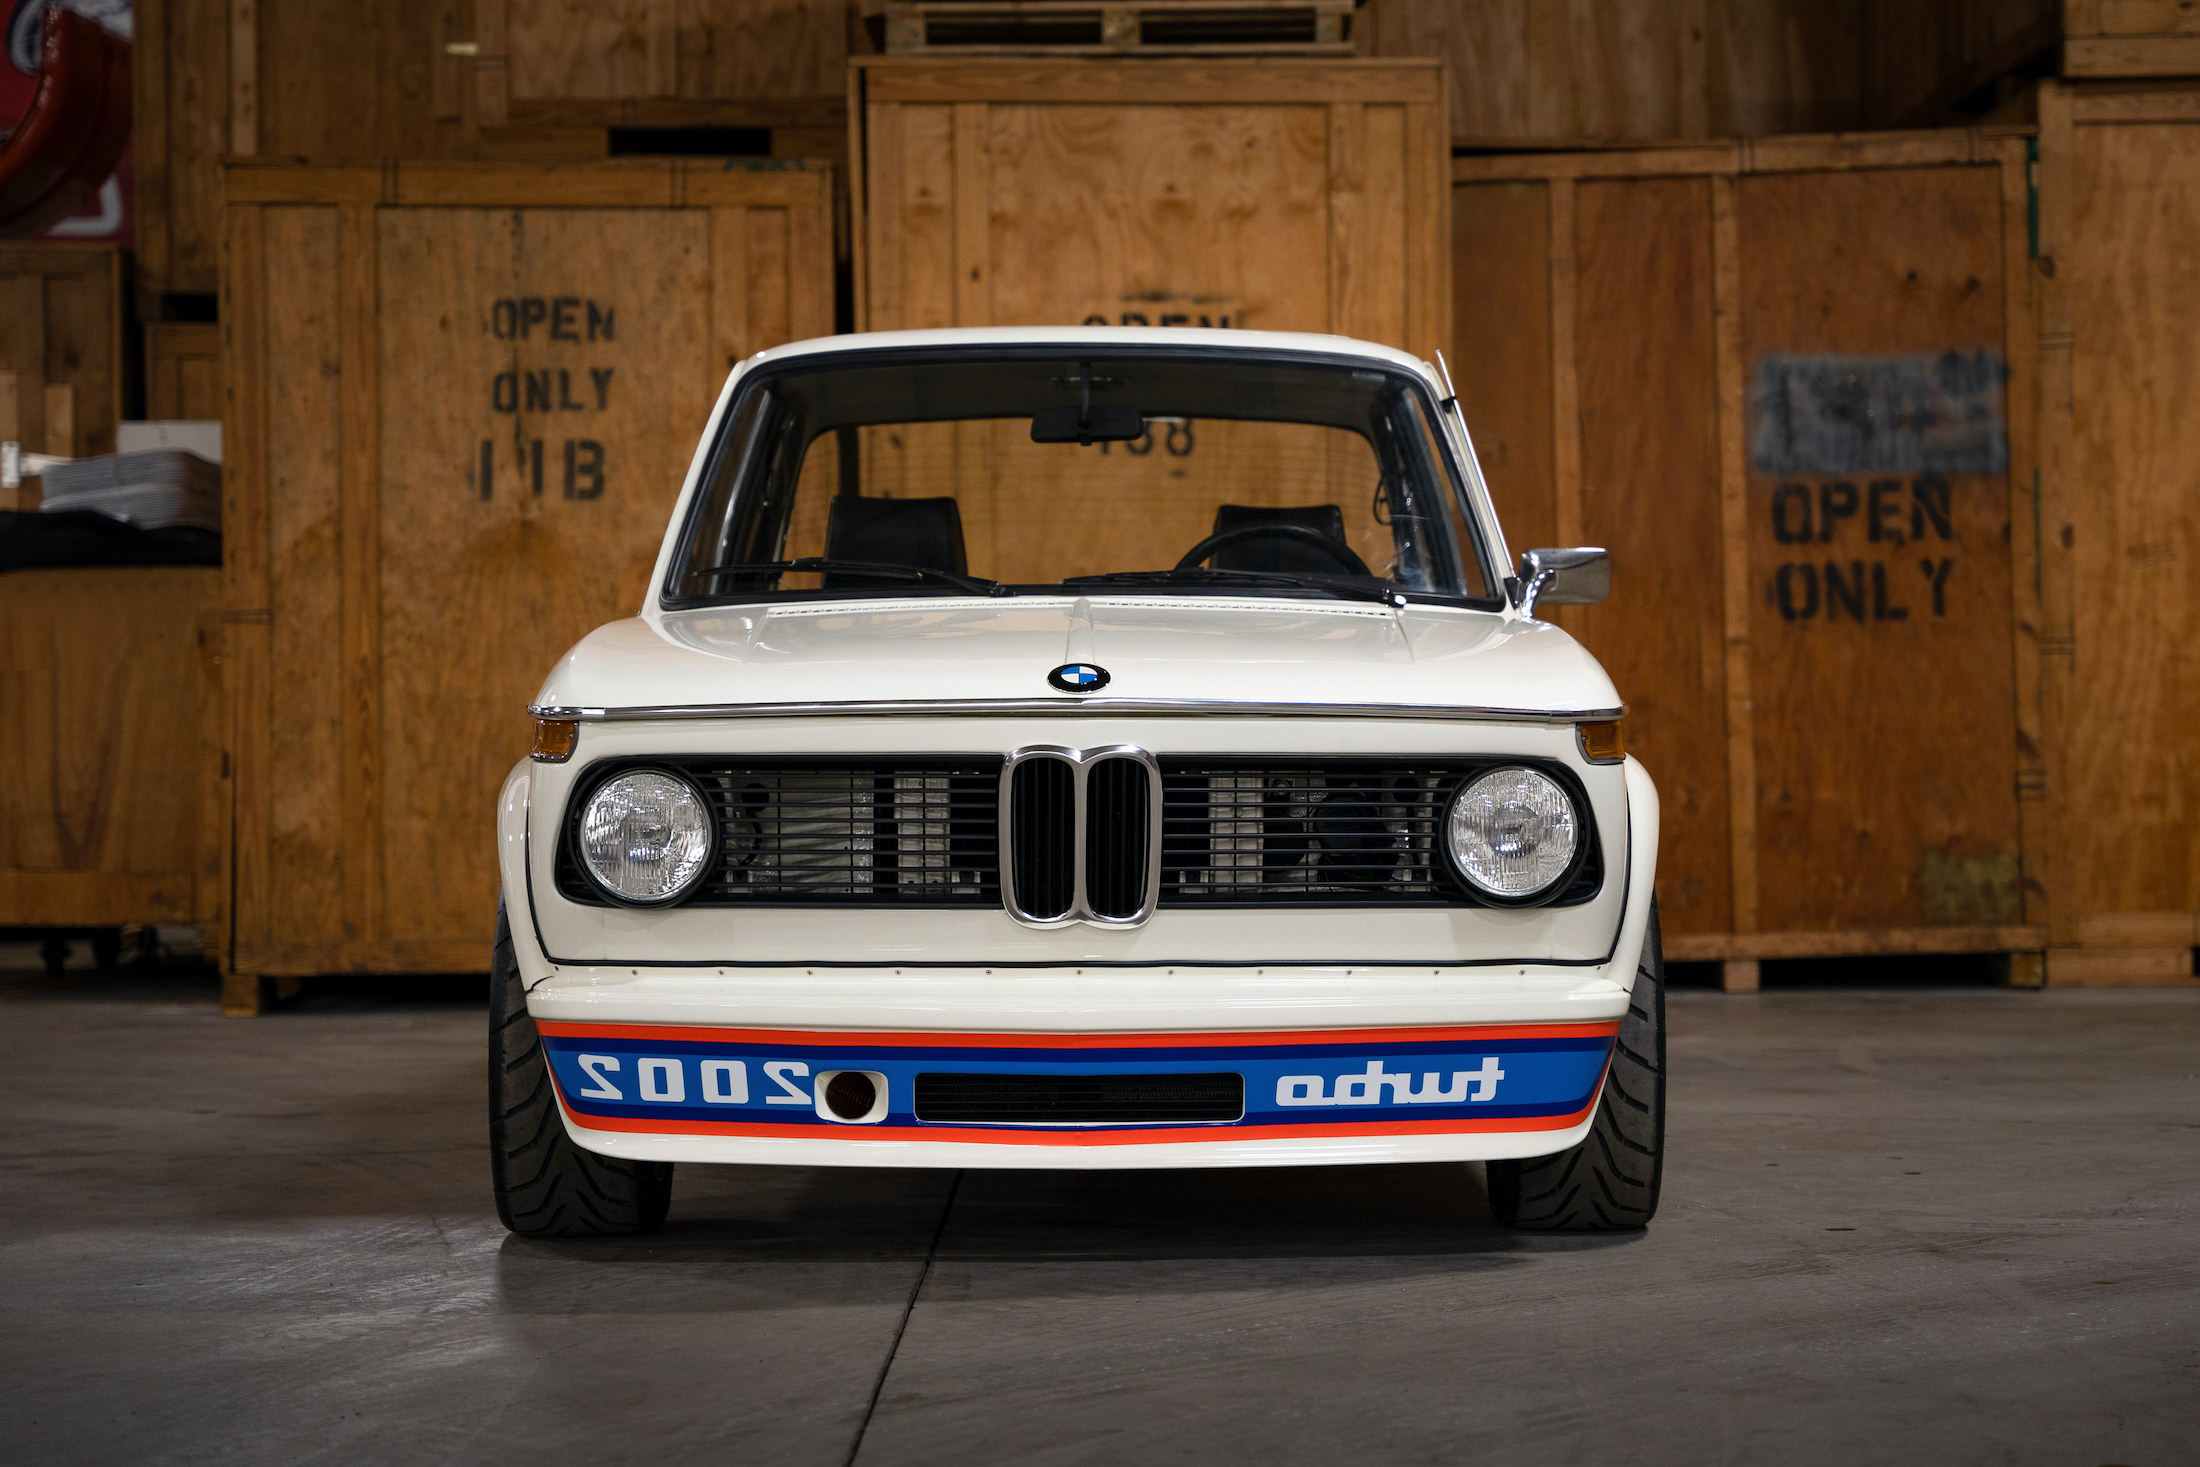
BMW 2002 Turbo Front On

BMW 2002 Side On

BMW 2002 Turbo Side on

BMW 2002 Rear
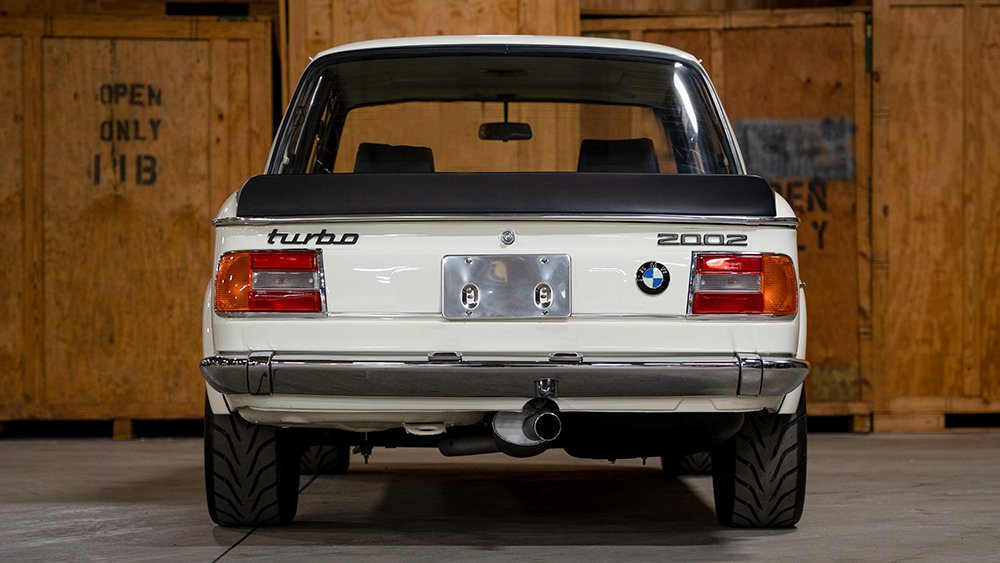
BMW 2002 Turbo Rear On

RenderMan
Renderman is the render engine that is used by Pixar for their films. It can also be used for photoreal rendering due to the way that it calculates light bounces. It has a lot of really good looking premade materials including metal flake that is used in most vehicle paints to give them a shine at certain angles. I would also try texturing the mini that I made a while back. This was only to experiment and see if I could work out how RenderMan Works. When I tried to render the Mini, it came up without any materials on it at all. This was due to me not knowing that Rednerman materials were different to Blender materials and so I was rendering with no materials at all. The second attempt at rendering the mini resulted in it glowing. This was due to me turning the gain right up to get the colour to show. This is turn caused the material to reflect more of the light back to the surface of the scene.
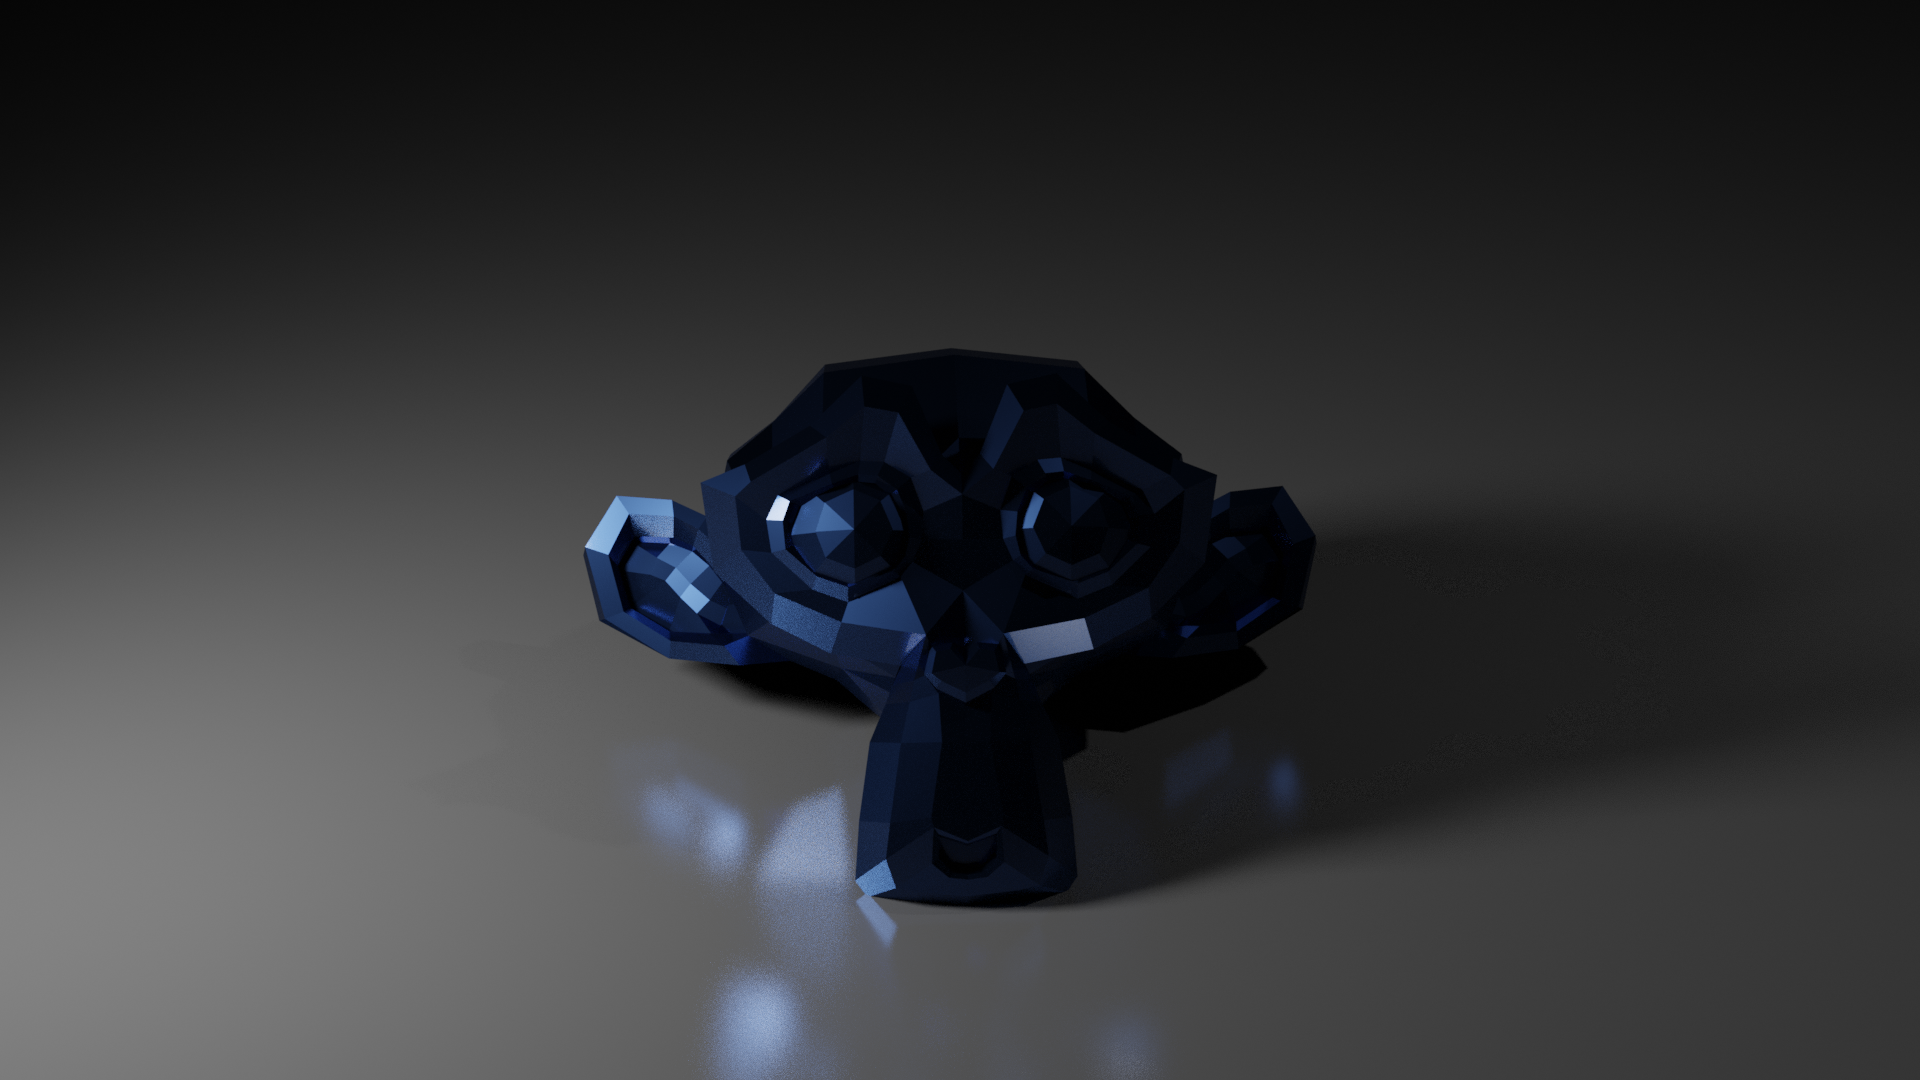
Susan Head with blue glossy paint
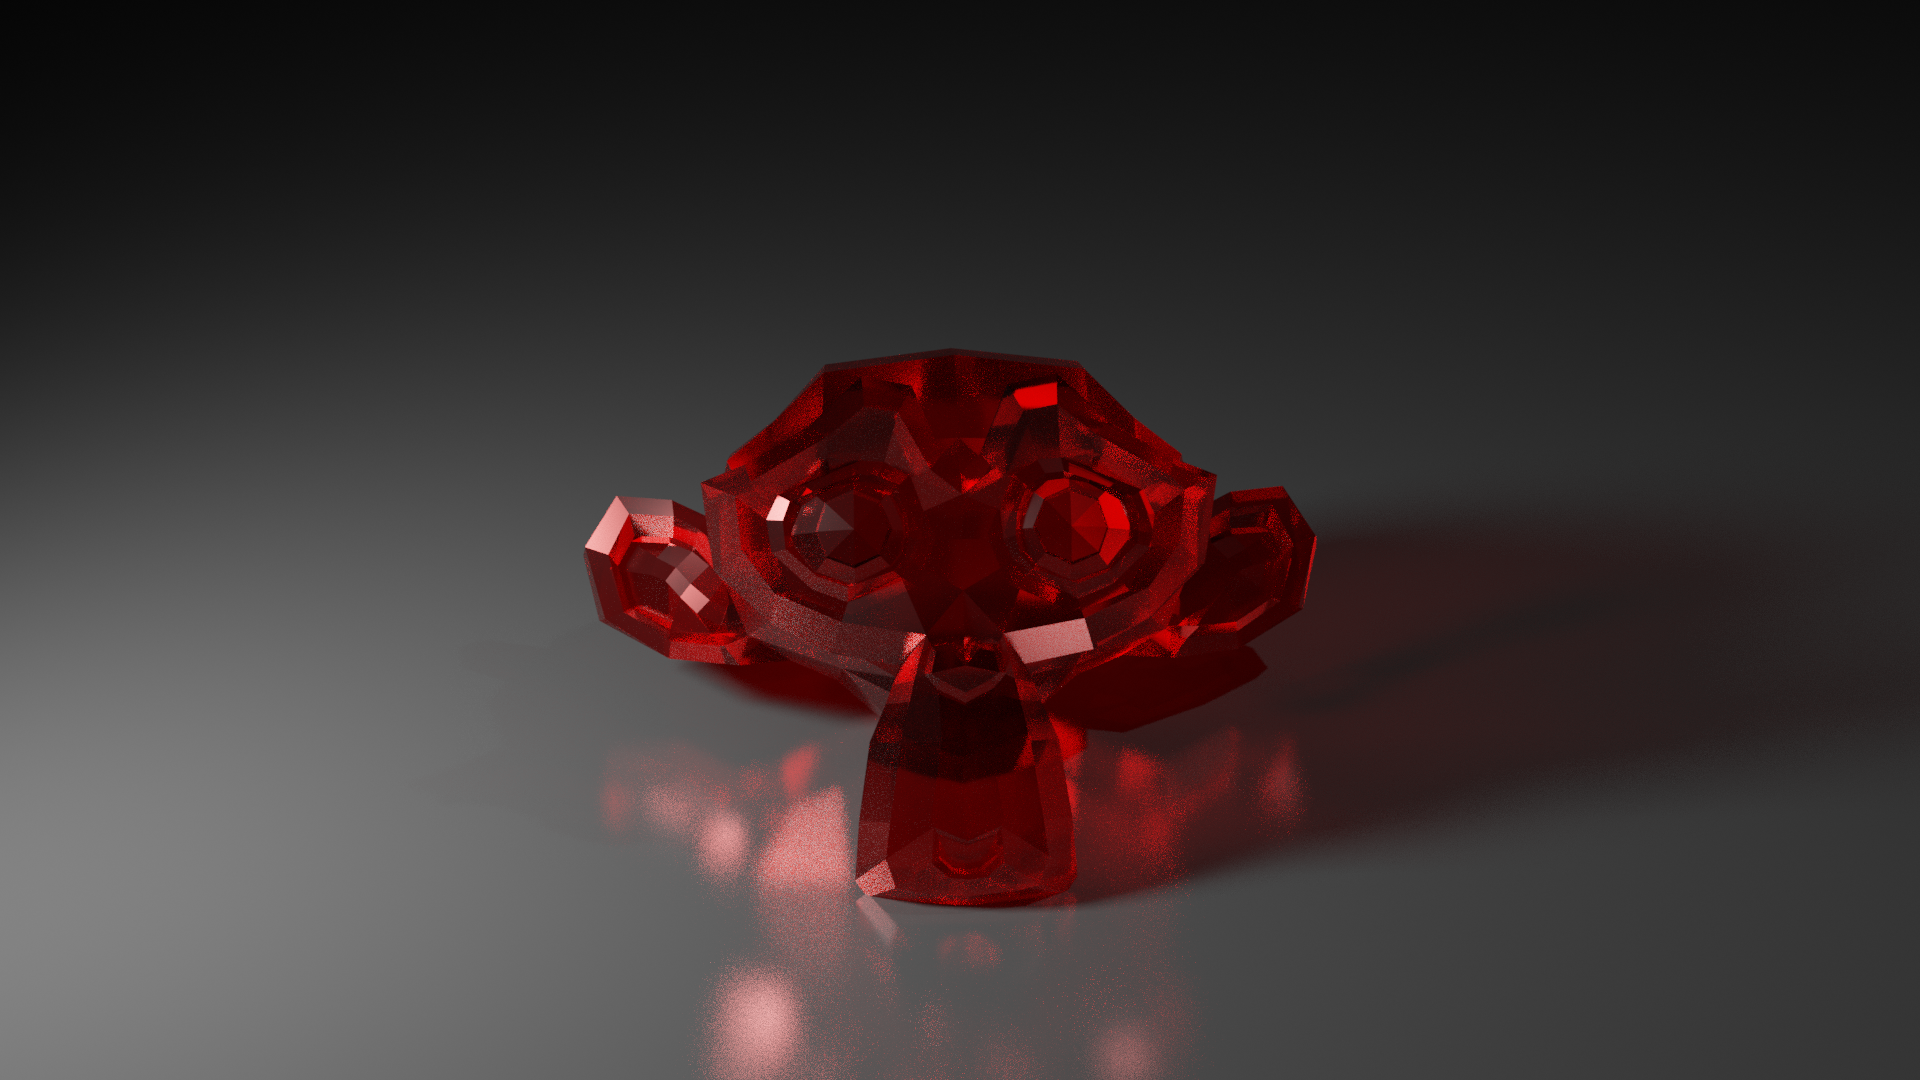
Susan head with red glass
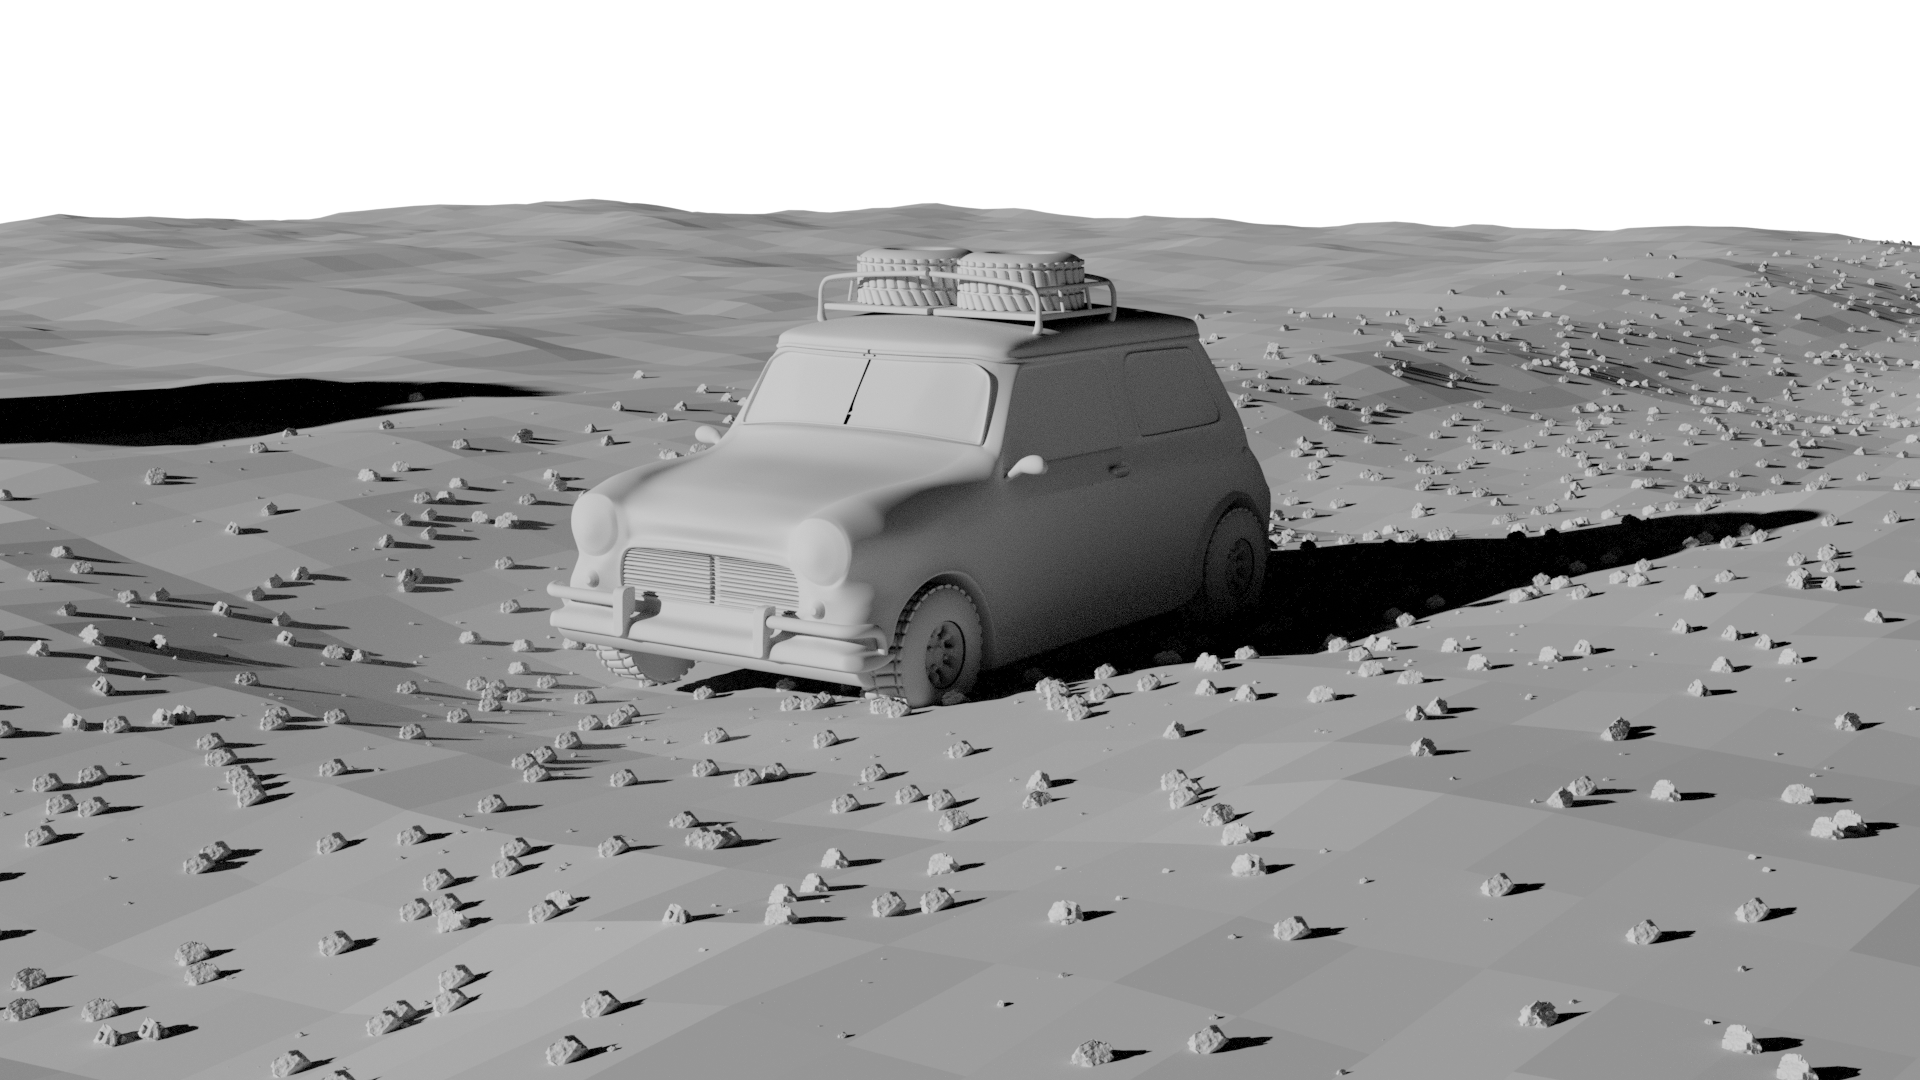
First render without materials
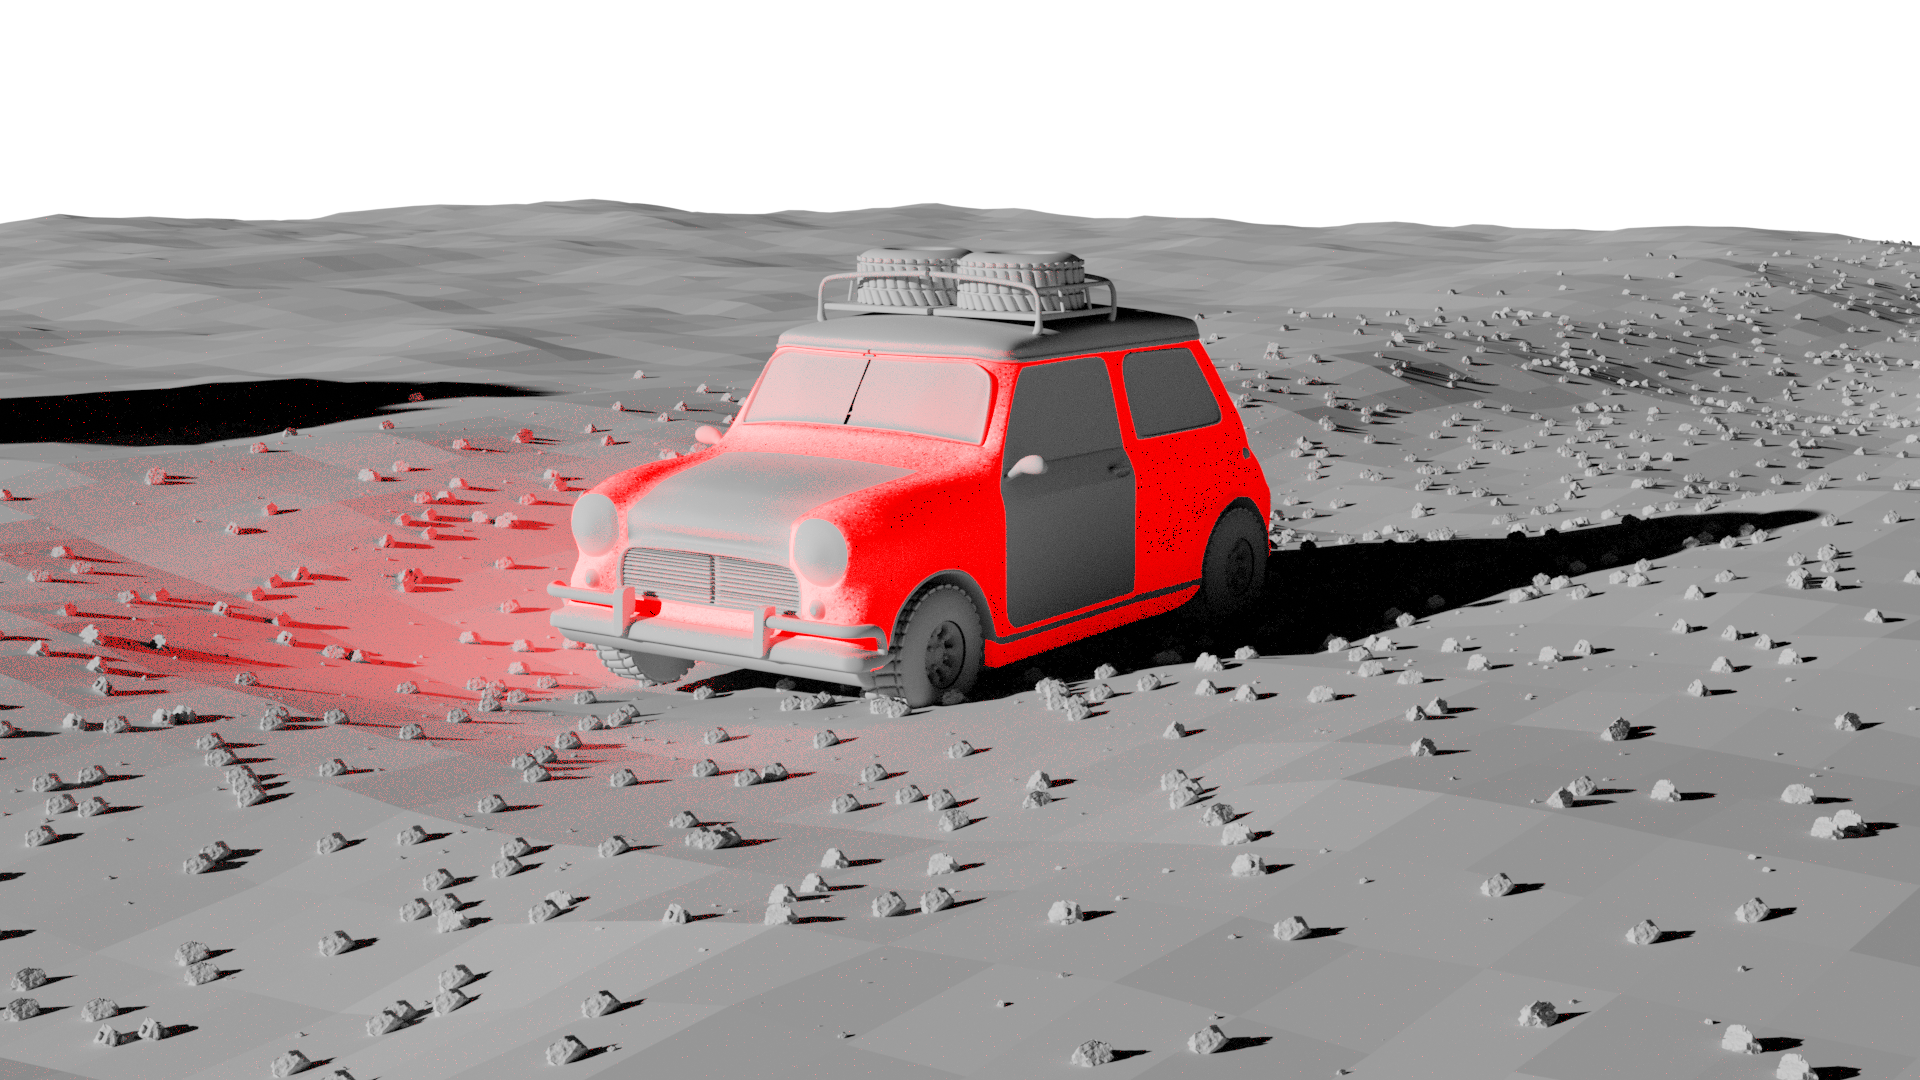
Render attempt with materials

Research
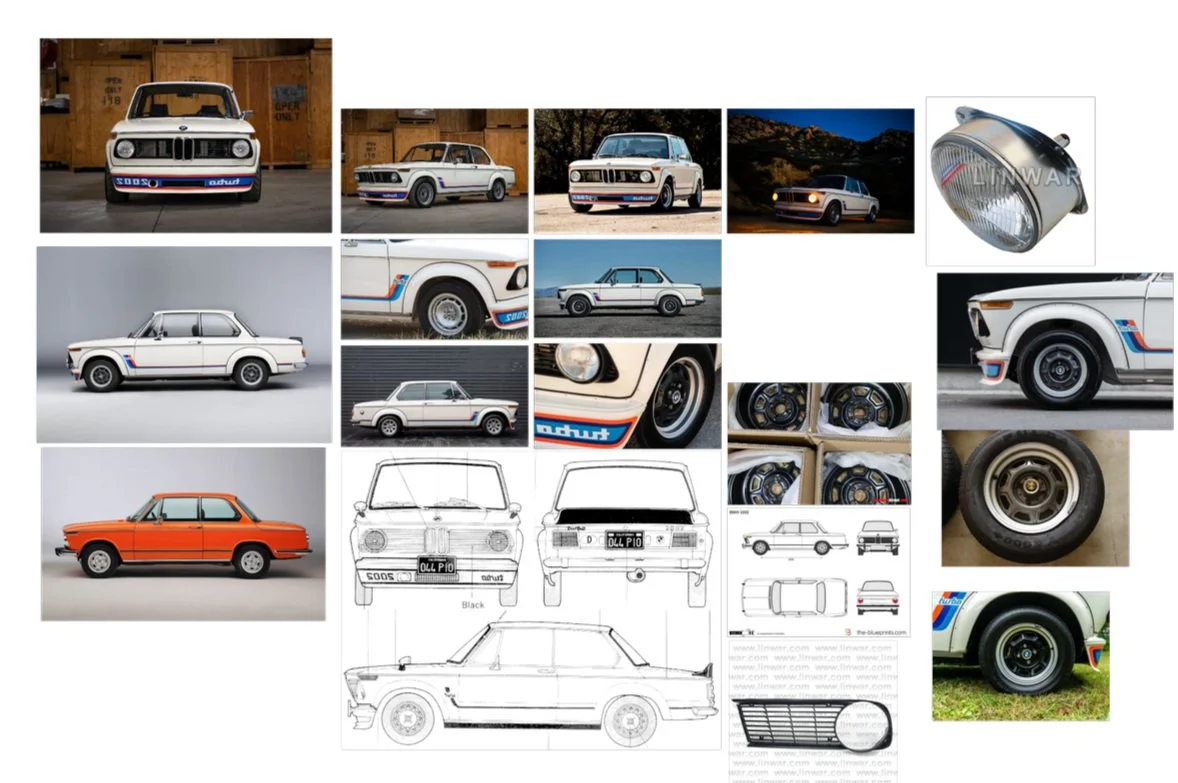
I made a moodboard of refrence images for the car using PureRef. I collected a lot of images of the car from all sorts of different angles as well as finding images of key elements of the car like the wheels.
I also had a scale model of the car and had headlight that I could use to help me model the car. All of these elements would come in very important when trying to build the car. The scale model in particular was a massive help especially during the last stages of the project when it was mostly tinkering and getting the finishing touches done
Wheel Modelling
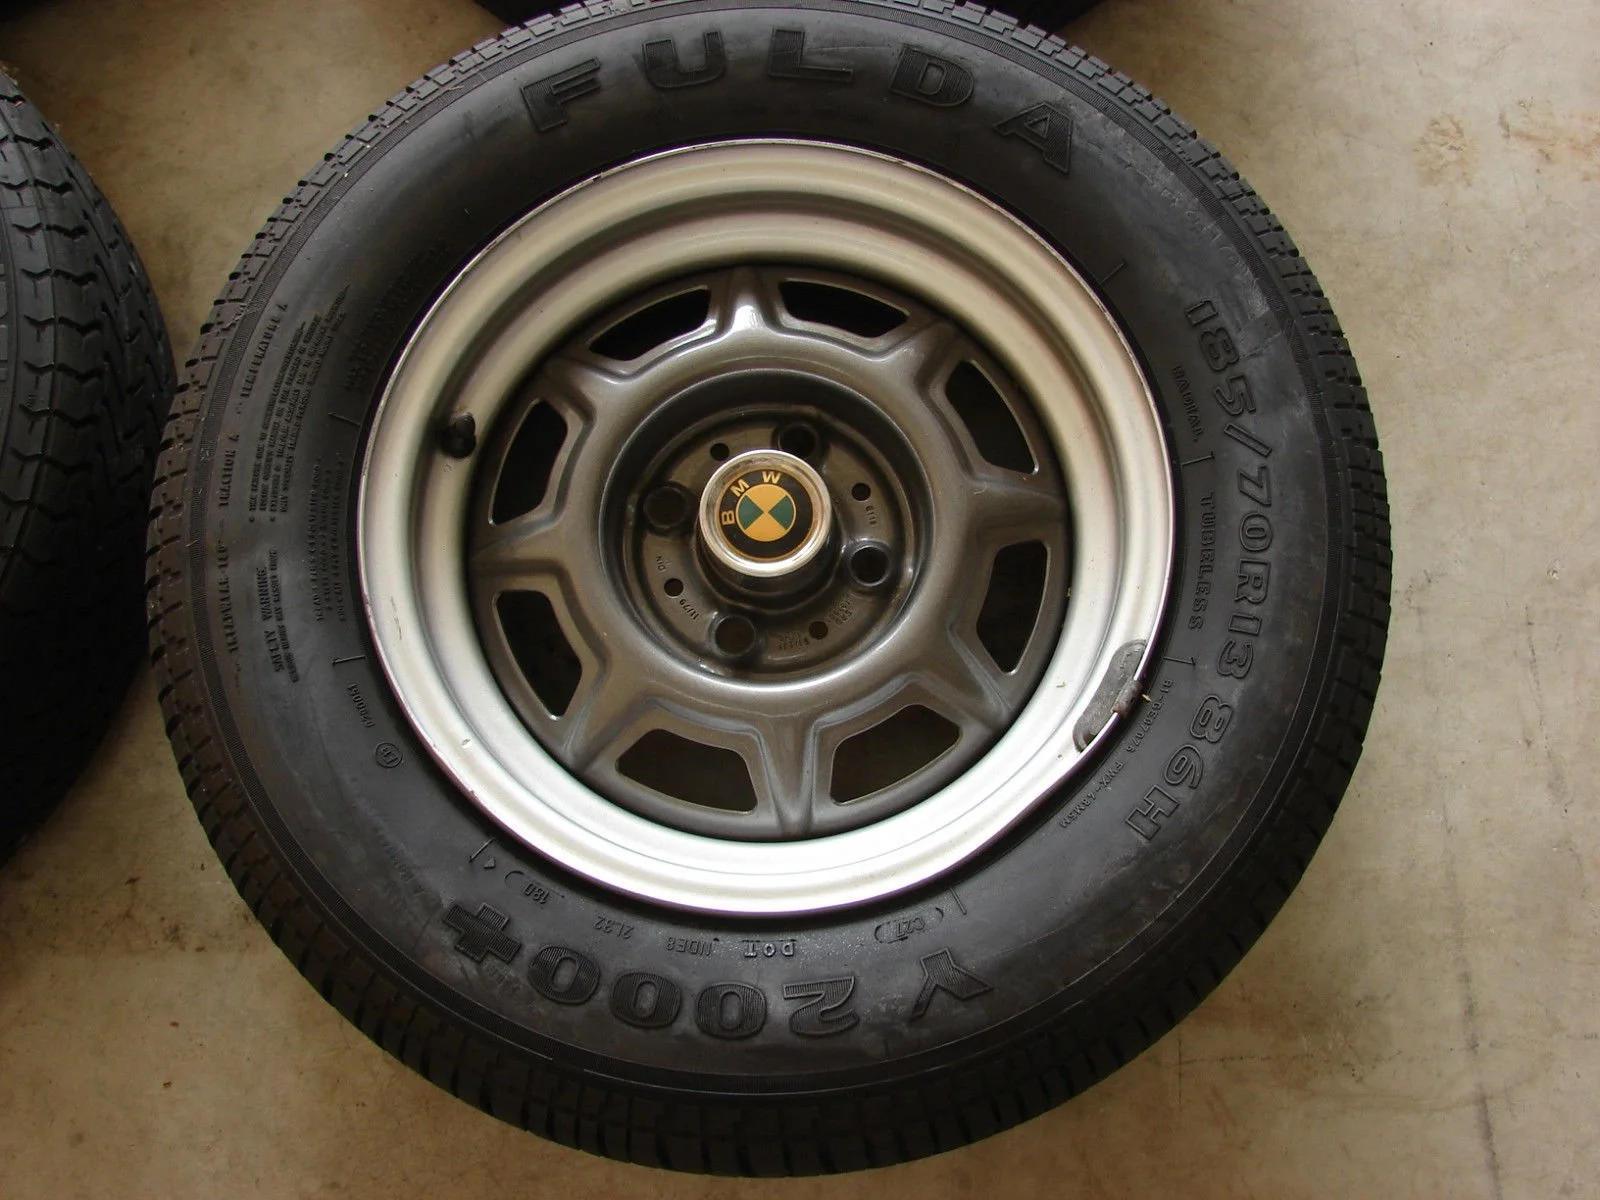
The wheel of the 2002 Turbo is very iconic and is not the same as the wheels used in the base model 2002. This meant that I would have to get the wheel looking perfect. I made the model in 2 stages. The black inner rim, The grey outer rim and then the tyre.

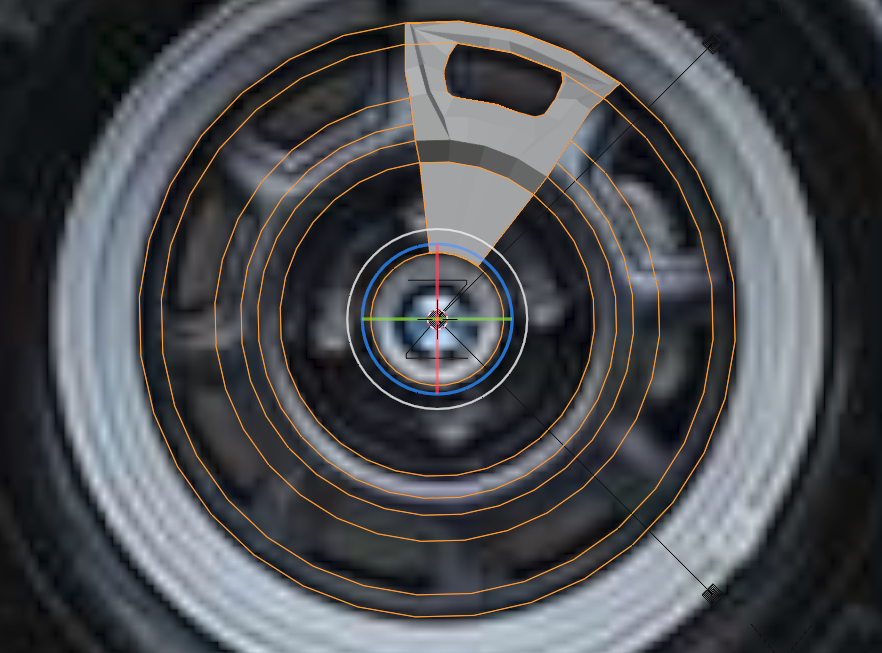
This image shows how I went about modeling the wheel correctly. I used 6 different circles at different sizes around the inner wheel to ensure that I was keeping the wheel flat where it needed to be and in a circular pattern everywhere else. For example, The inner most and outermost circles ensure that the wheel stayed circular while the second and third one in were to ensure the hole in the rim had the even edges it needed.
The wheel is split into 8 sections that are all the same meaning that making one and then rotating it around the center would mean that the wheel would be perfecly circular and would have all parts of it exactly the same.
The outer Rim was a lot more simple than the inner rim since its just a step affect from the inner rim to the tyre. This meant that it took a lot less time to make than the inner rim.
The tyre was made by modeling a cross section of the tyre and then using the spin tool inside blender to spin it around the wheel rim. All tyres are the same sections that repeat around the circumrance of the wheel. The cross section of the wheel included the tread and the tyrewall that would go on to make the whole tyre.
Final Wheel
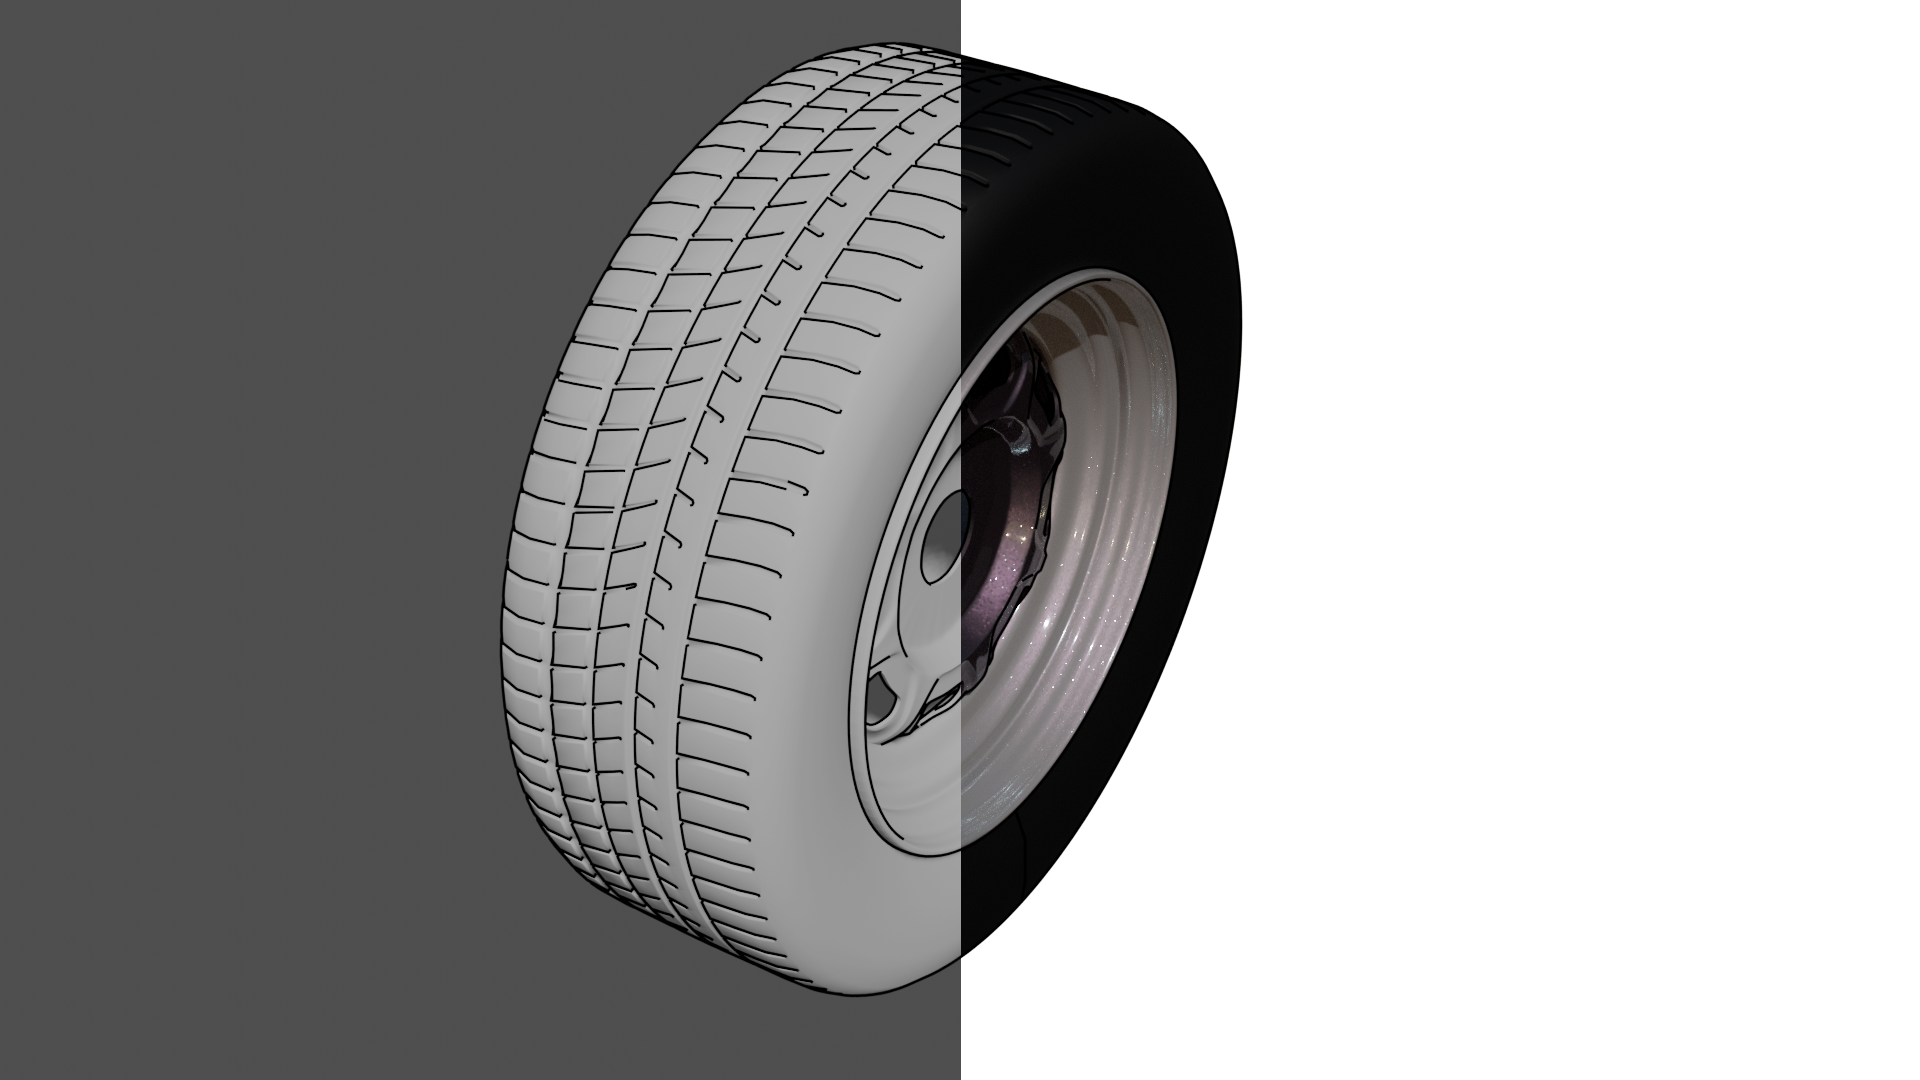
This is the final wheel that was made. This view shows the “Freestyle” and the material view. This shows how indepth the tyre model is as you can see all the tread on the tyre. It also shows the rough materials that I intend to use for the final wheel but that is likley to change this early on in the project. Since all 4 wheels are the exact same, having one done means that the wheels are finished completley.

Front End Modelling
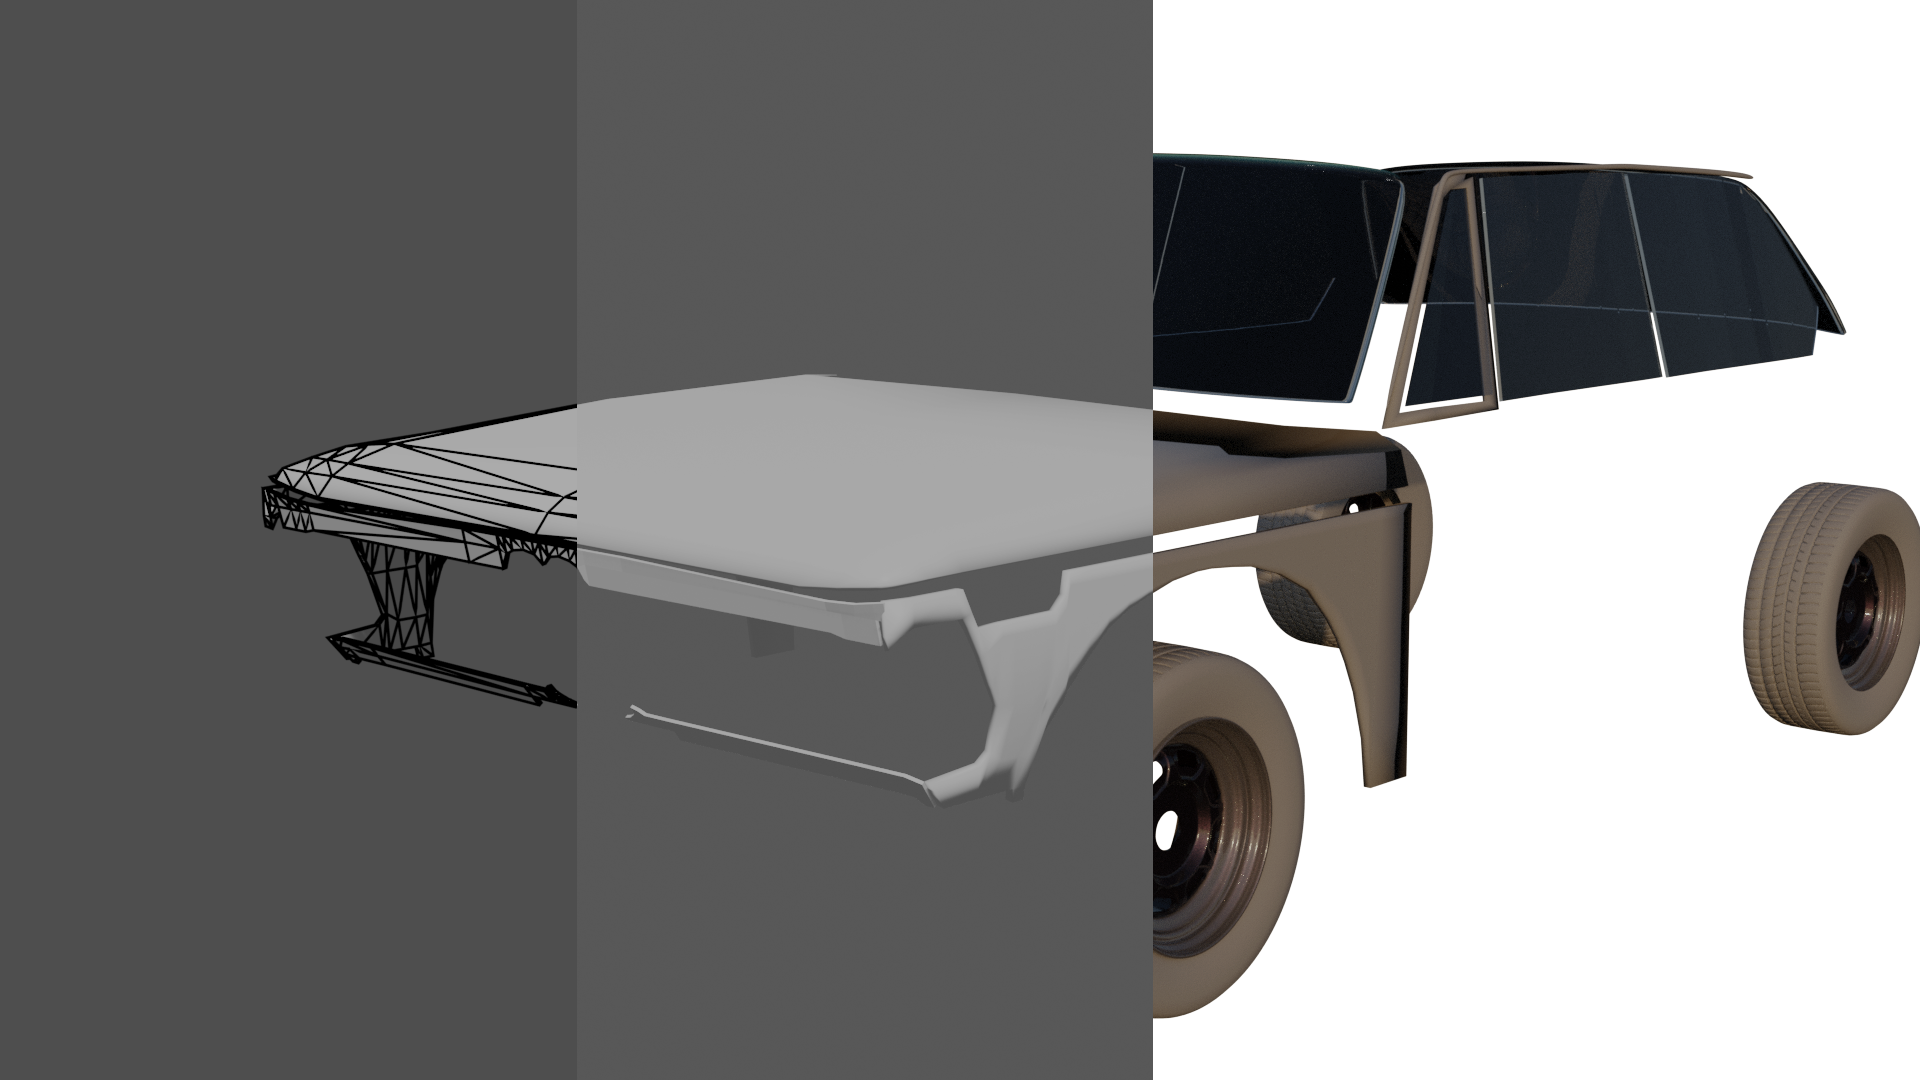
Here you can see the front end of the car as a blockout. This shows the bonet of the car, the front fenders and the windows. The windows were textured with the glass material that renderman provides. It also shows the bodywork around the front grill. This part of the car is iconic and needs to be made correctly. This is only a blockout but all the elements are placed in the area that they need to be in. This was achived using the autogrpahic sketches that were found for the research.
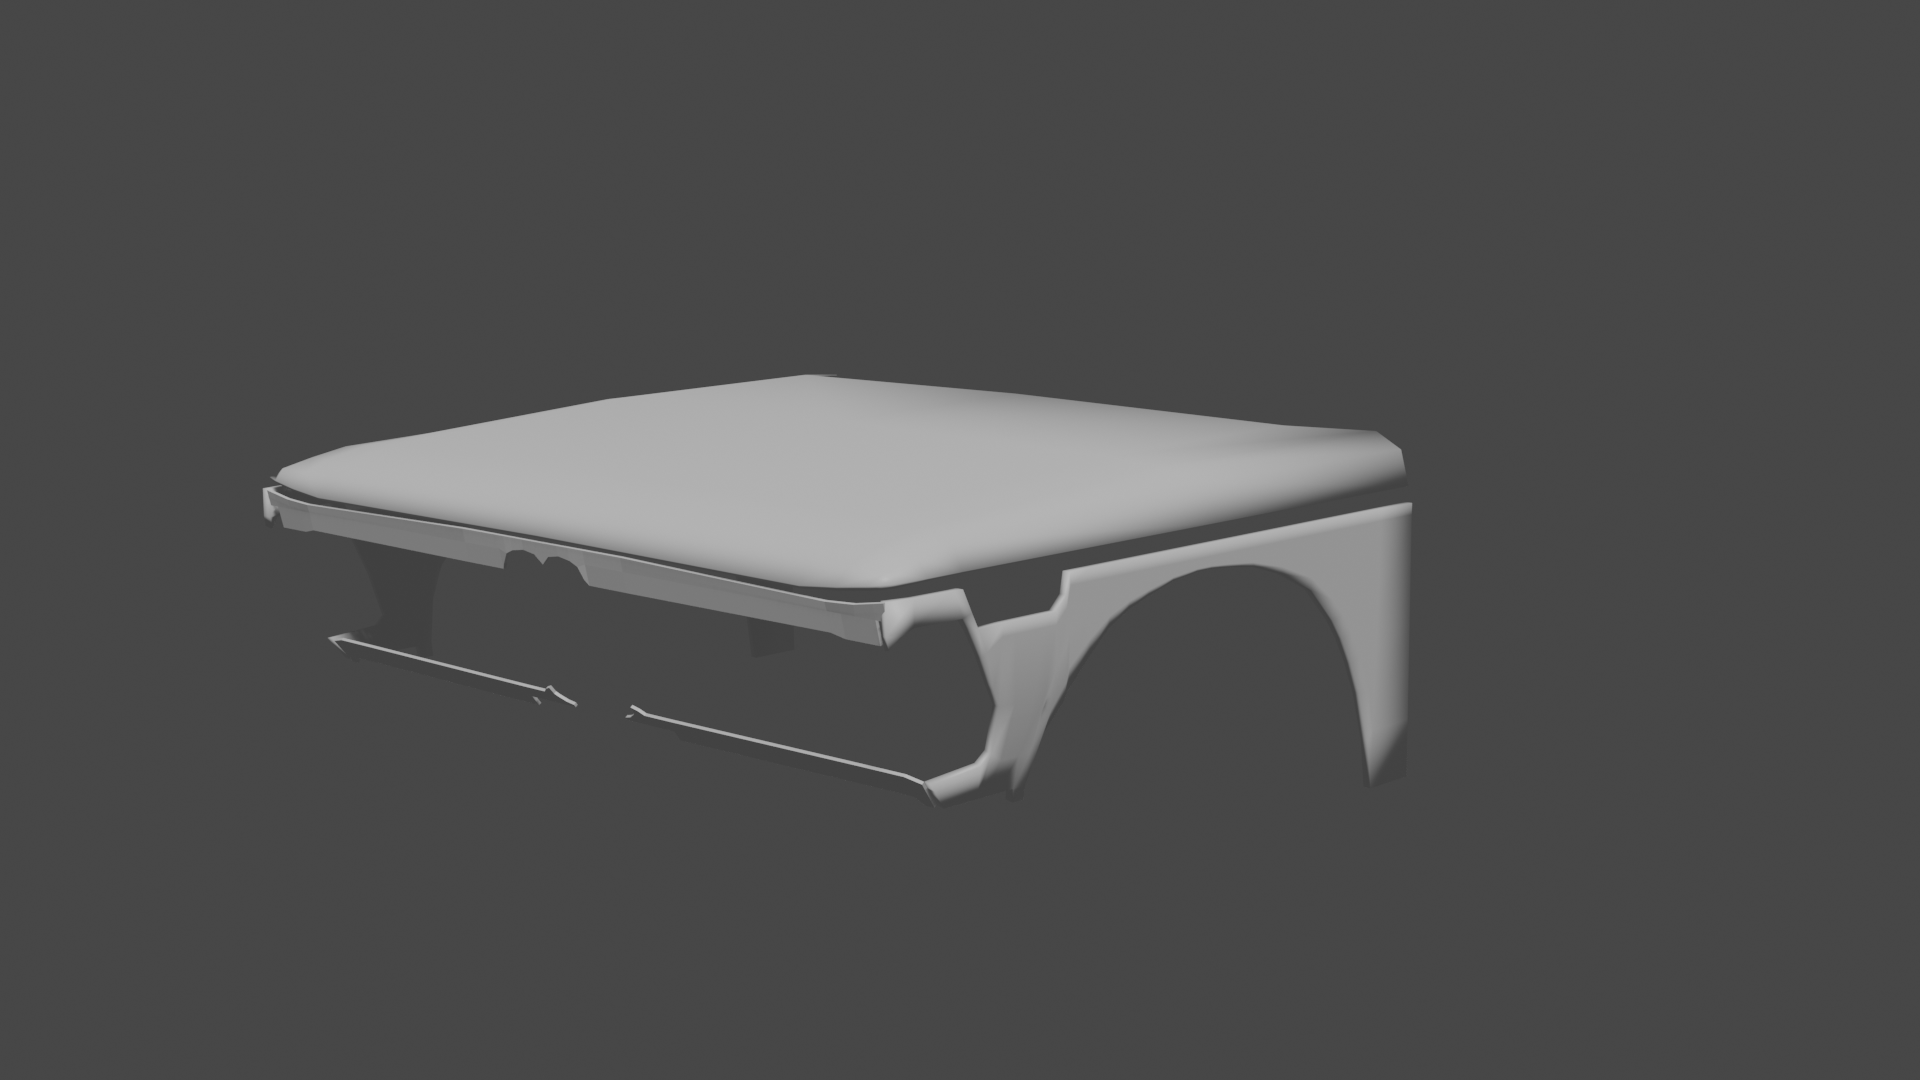
Front End blockout
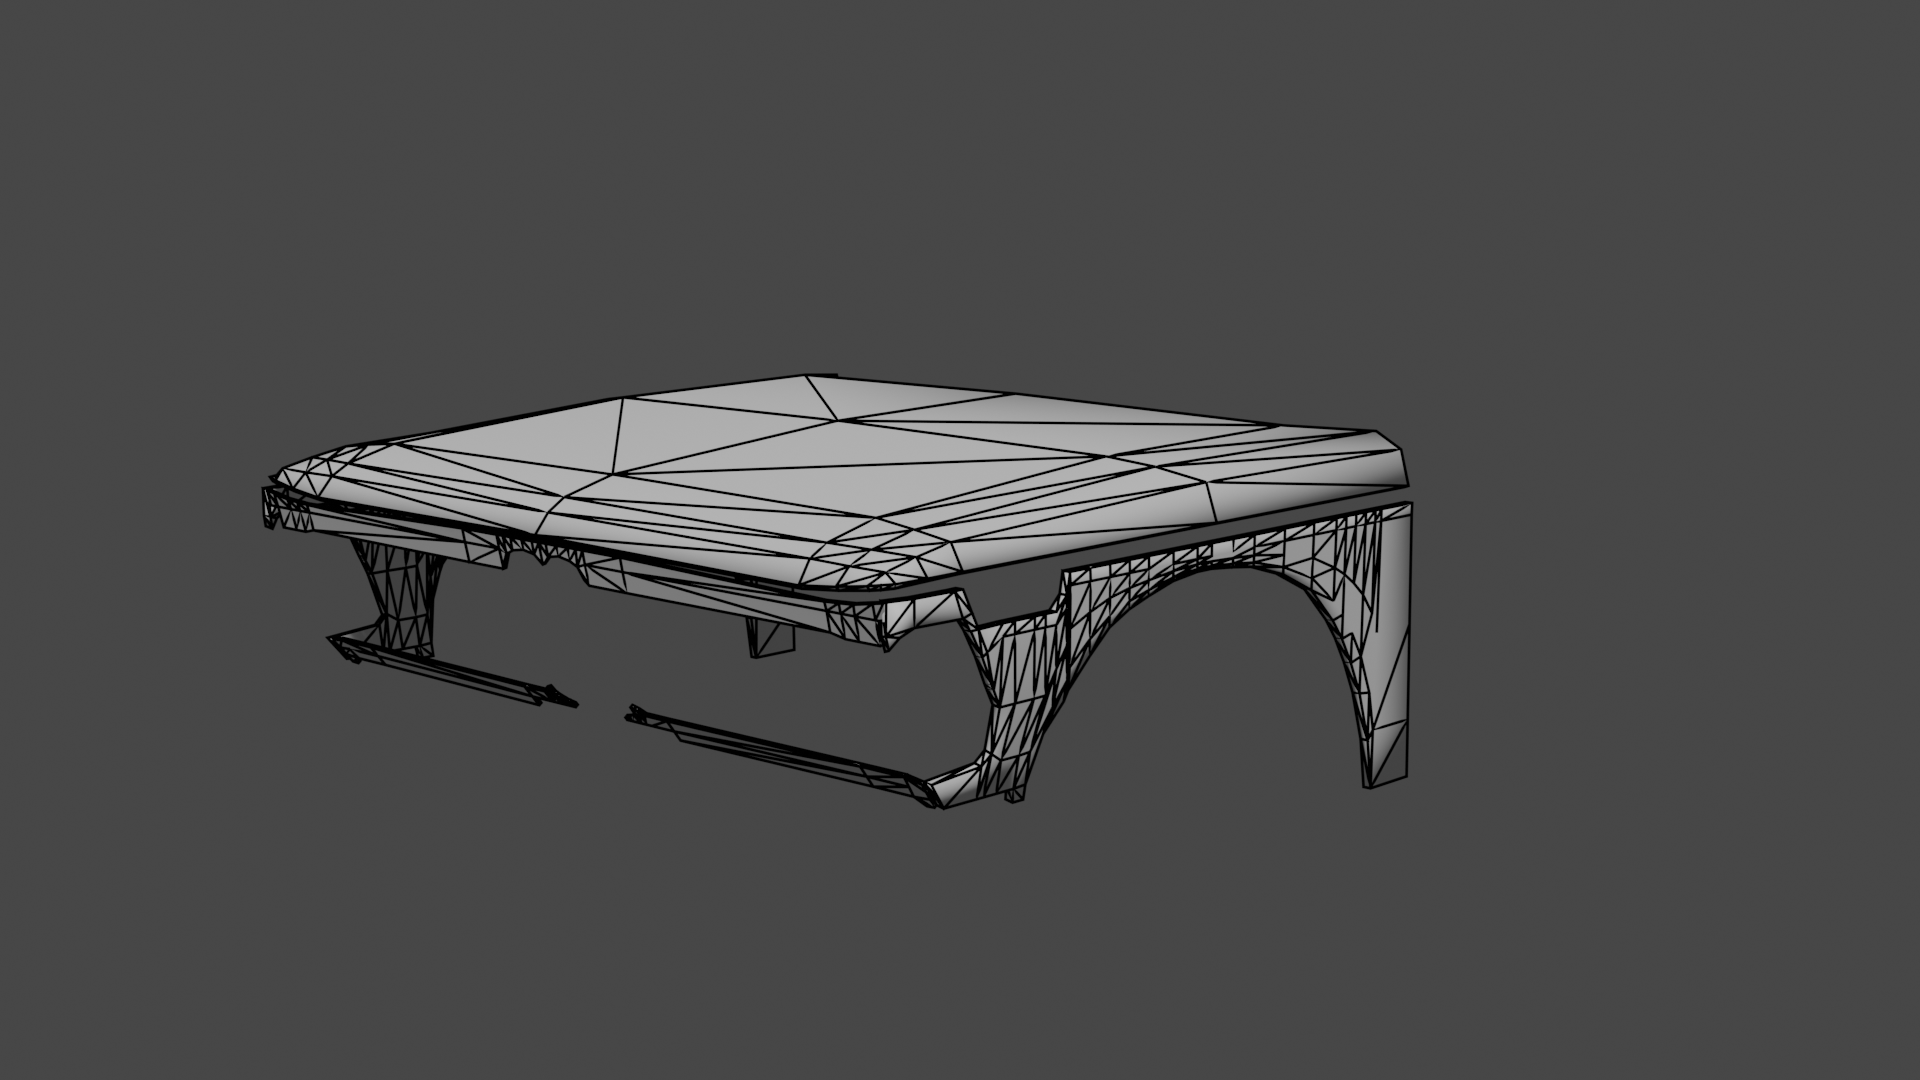
Front End Wireframe
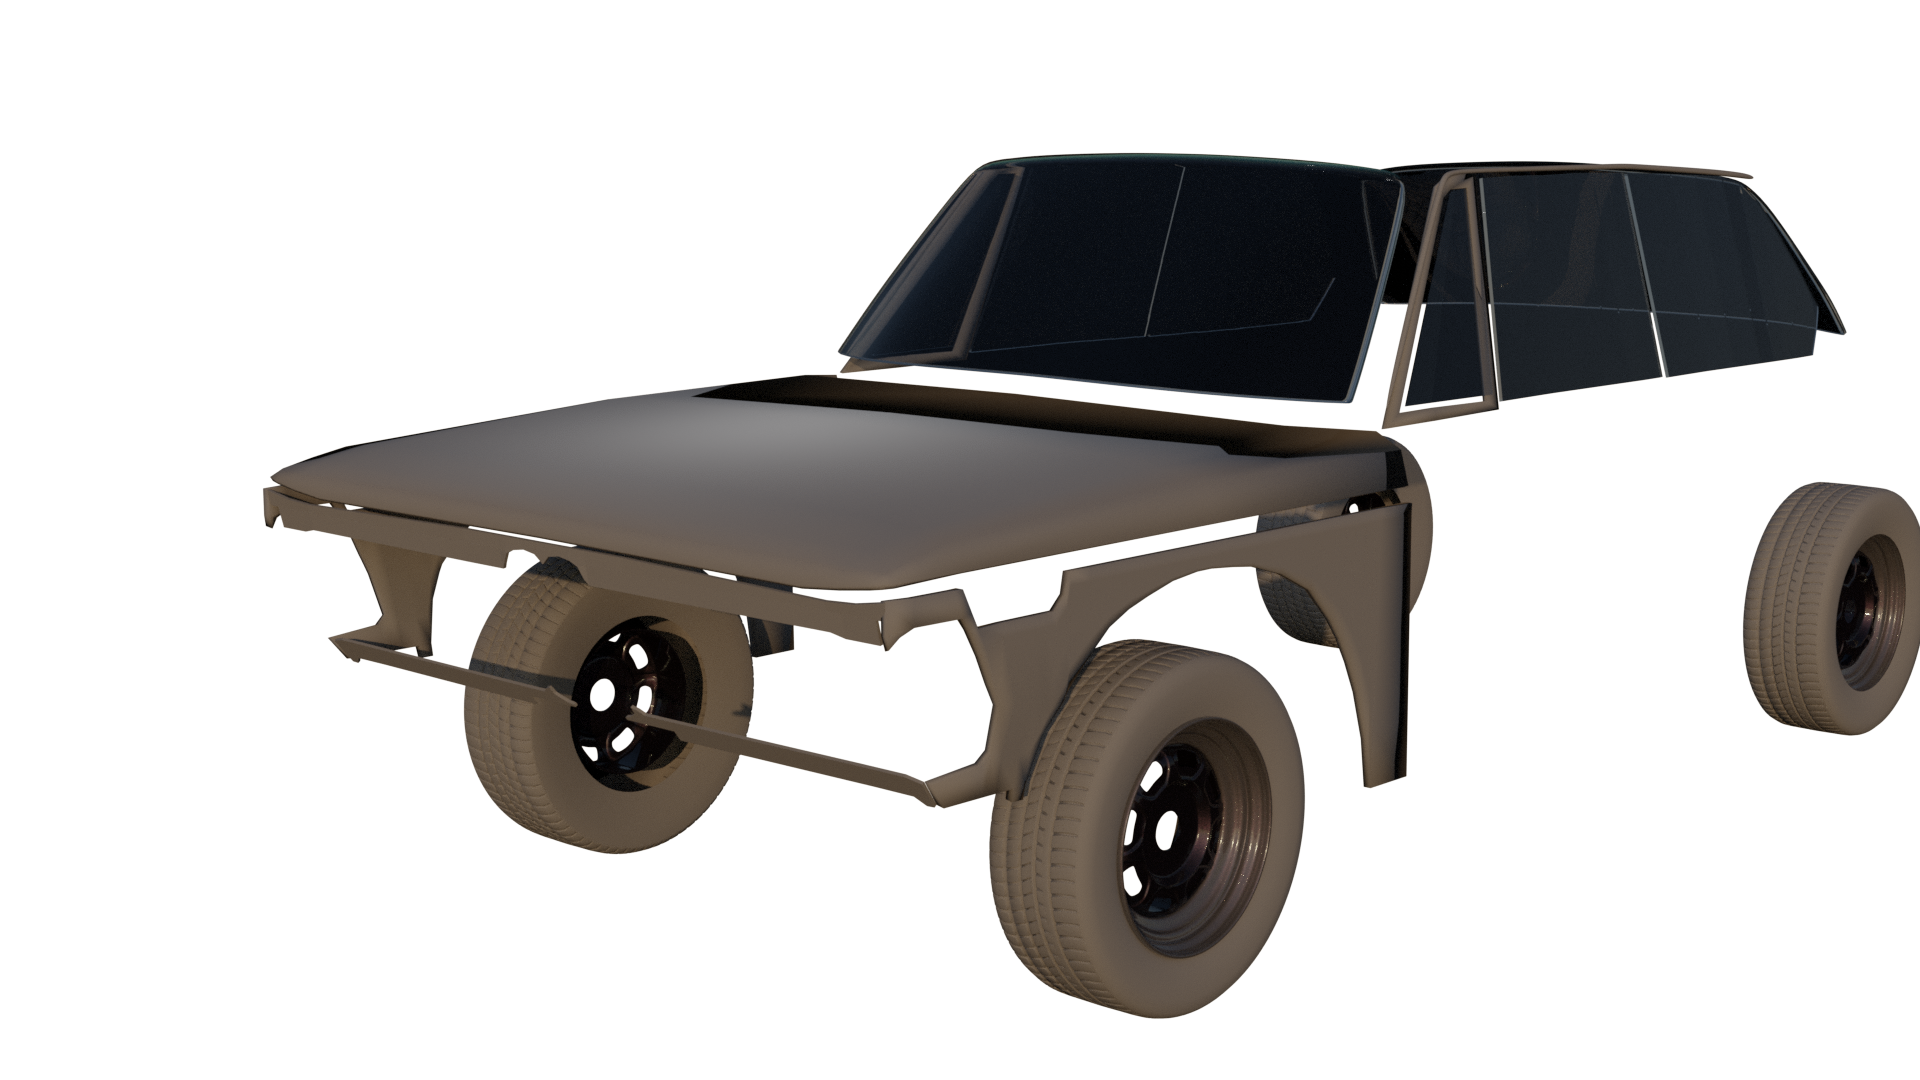
Front End Rendered

Car Update
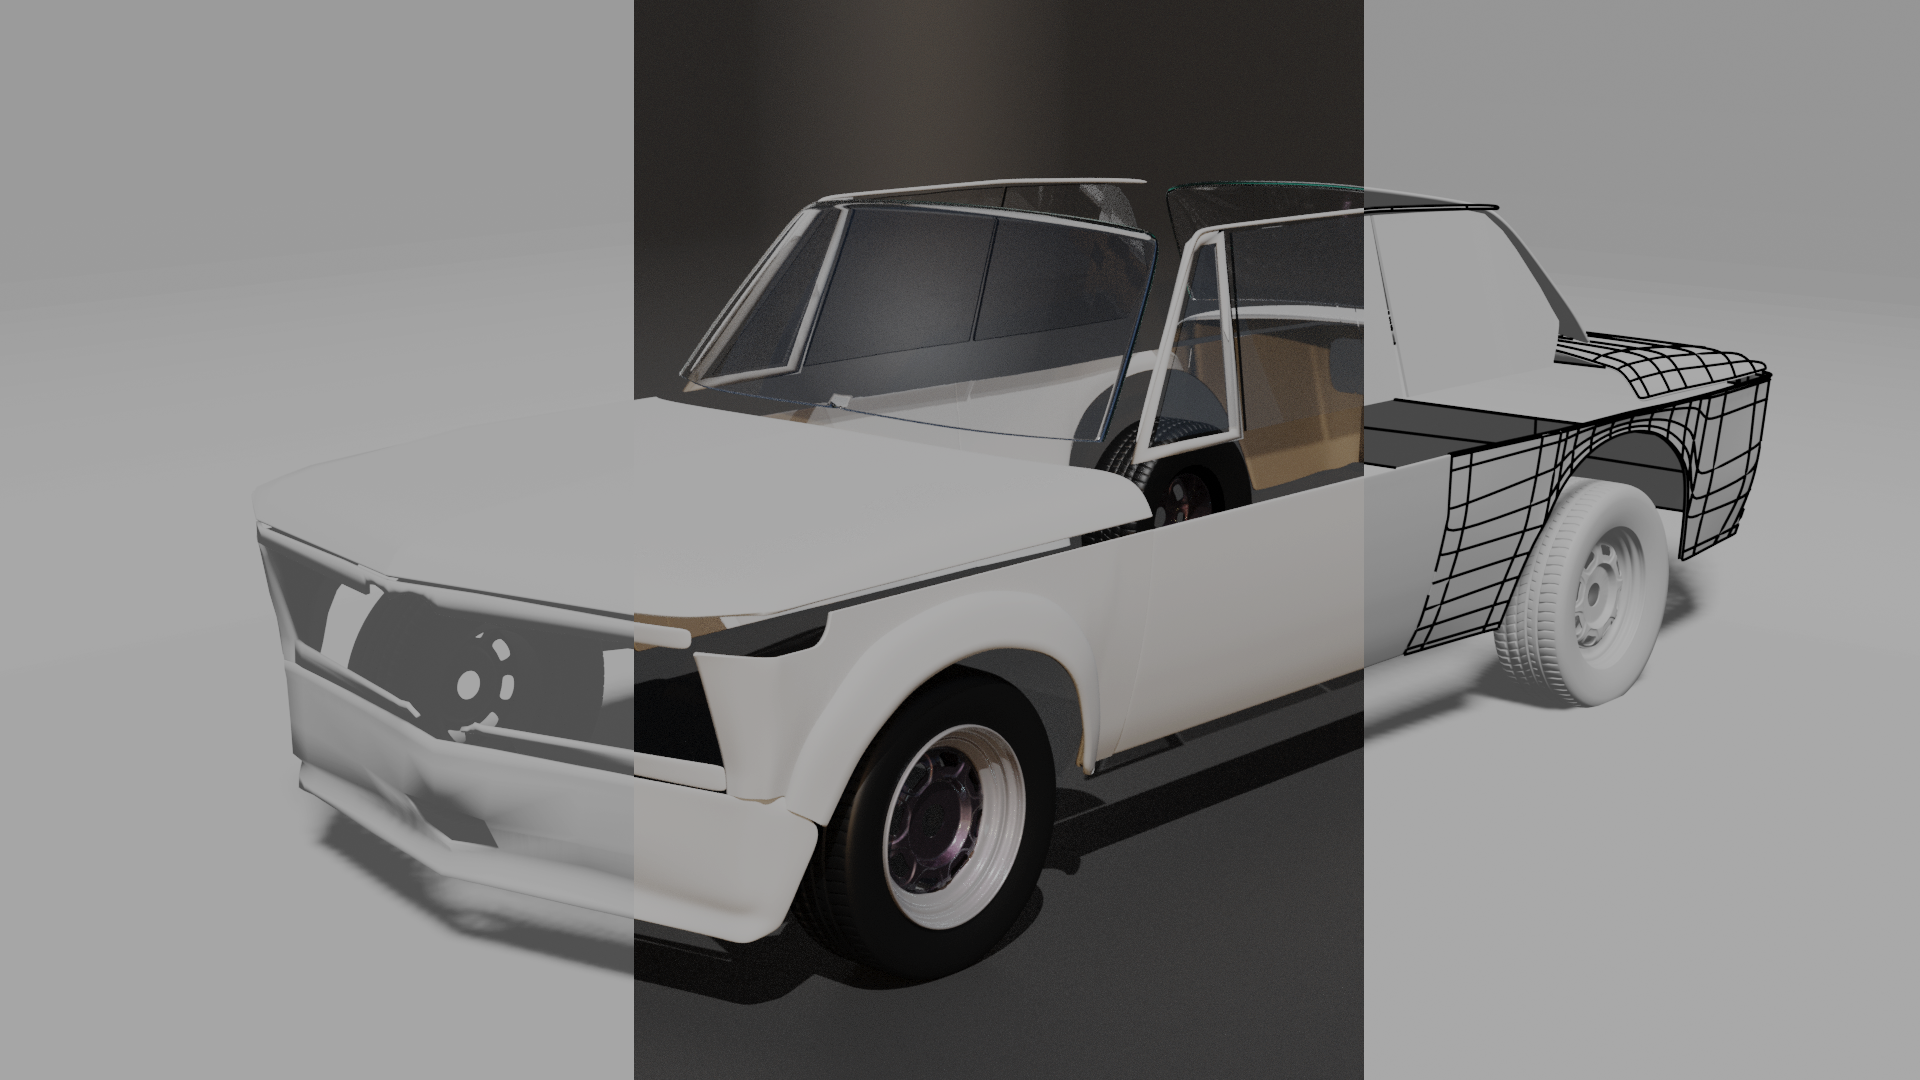
This image was taken part way though the process. I have made the doors and rear of the car as well as the wheel arch and the front splitter. This was giving the car more feeling and helped to make the smaller, more intricate parts of the car. The body was textures with a simple white metal material to give the car the look I need.
All of the glass windows have been made at this point and I had started to plot out the chrome accent elements of the windows.
All of the different body pannels were made as different objects for this part of the project. This was so I could work on one pannel and not have to worry about how it might mess with the rest of the car.
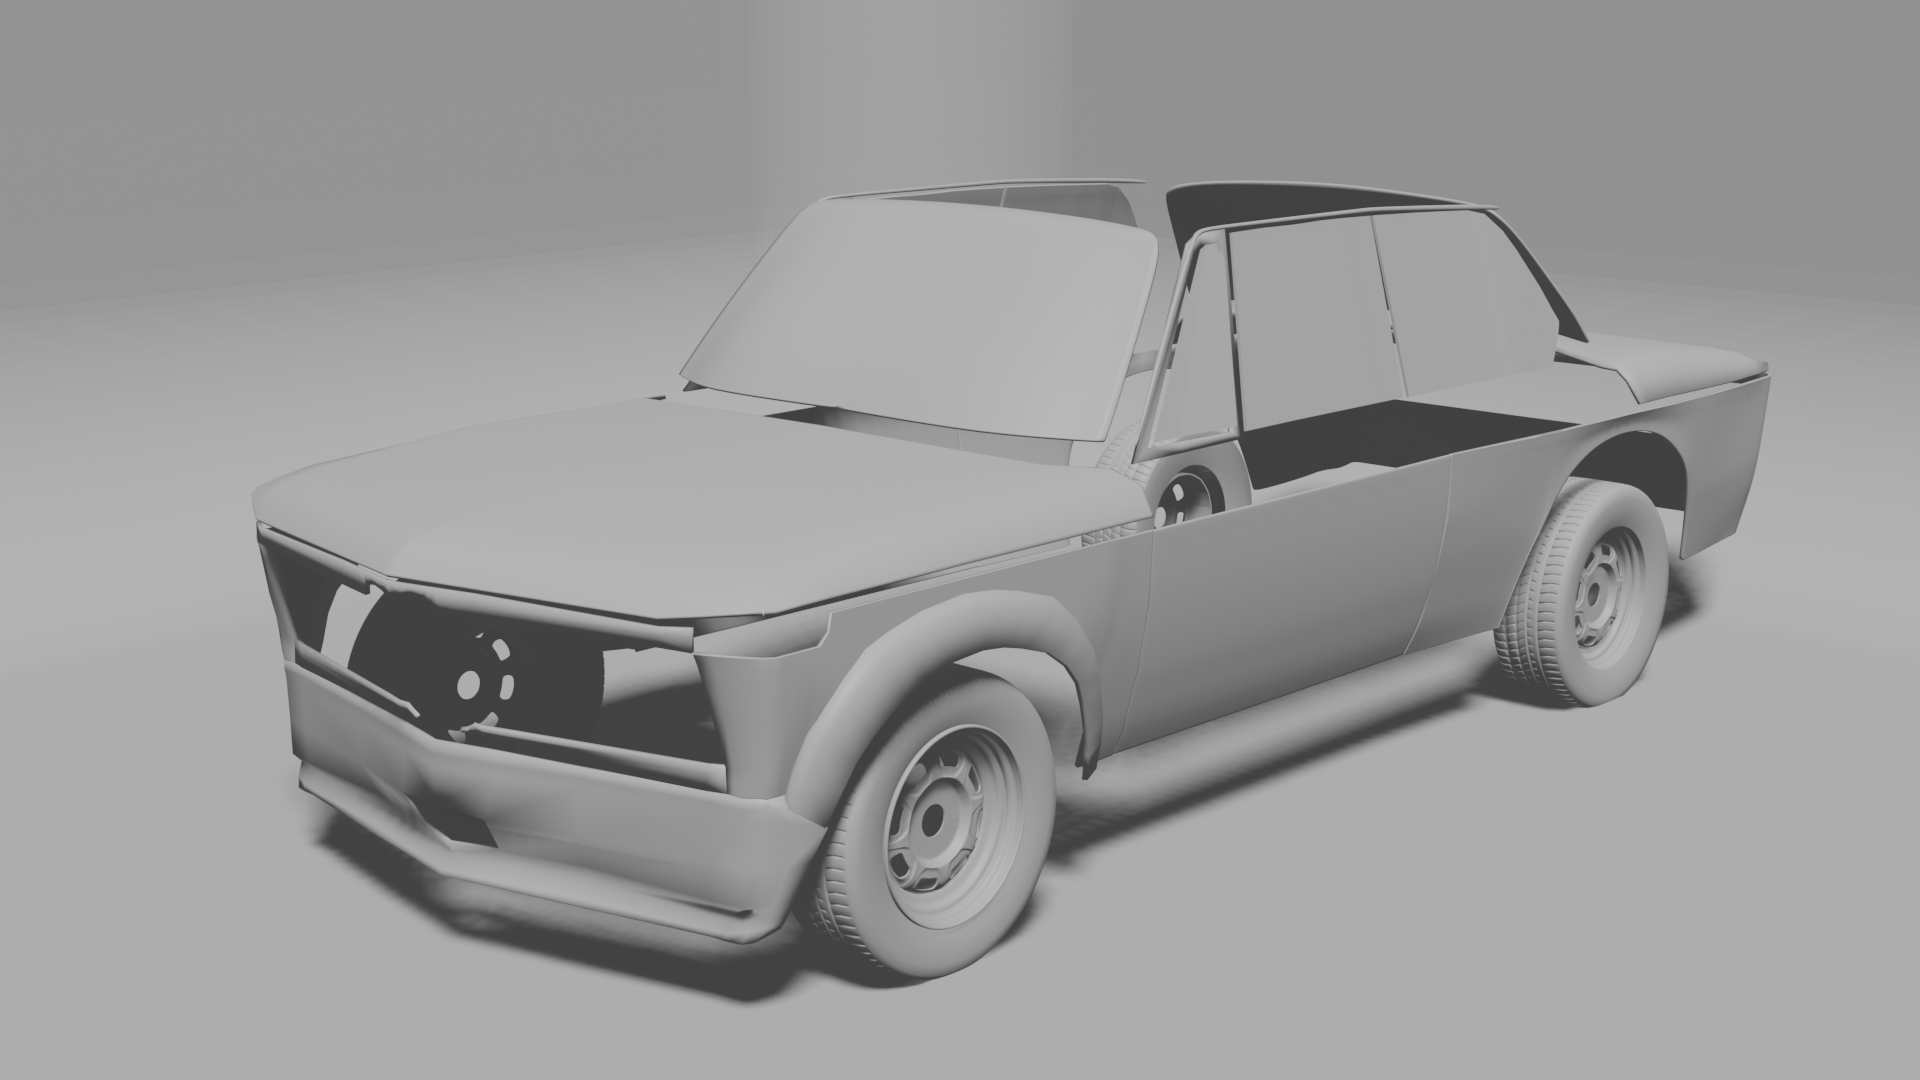
Car Blockout

Car Wireframe

Car Render

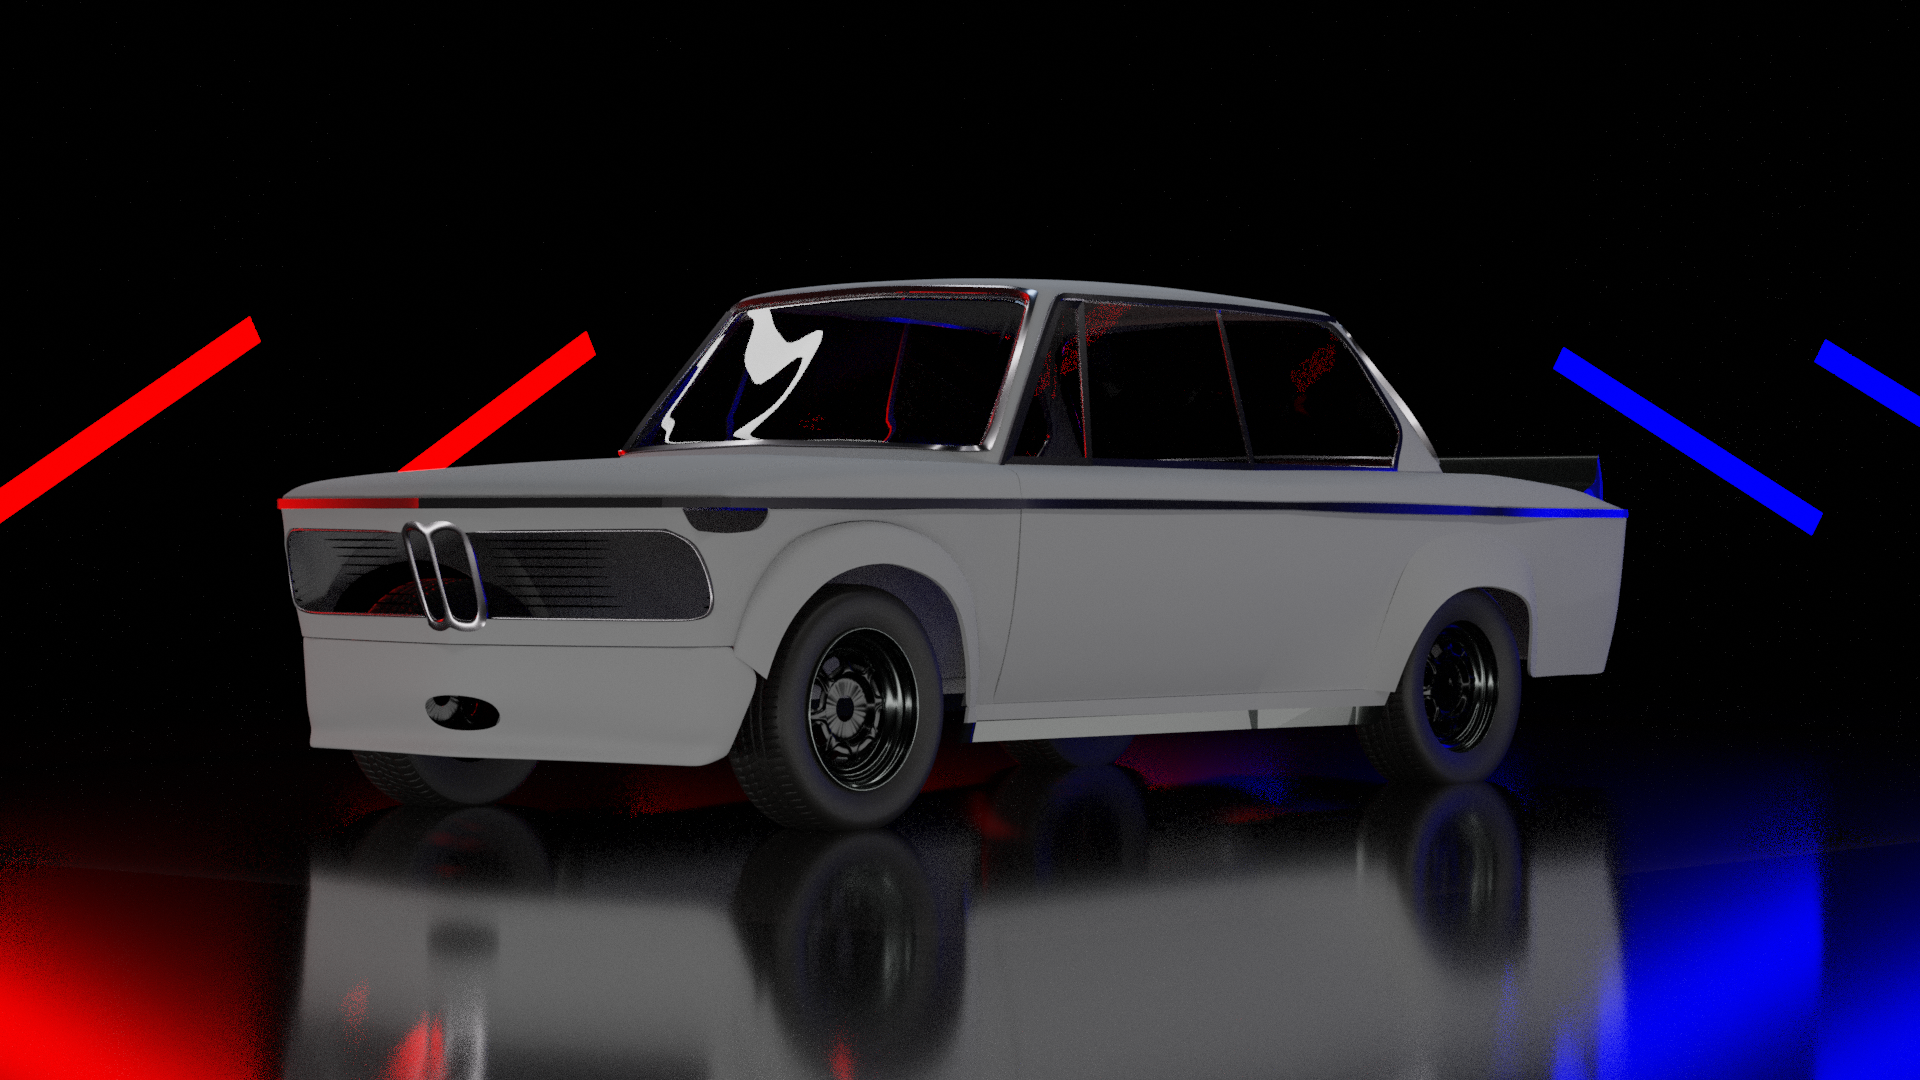
This is another chunk of the way though the modelling process. For effect I had added some blue and red lights as well as a shiny floor to mimic a car showroom with its clean aesthetic.
By this point, The main parts of the car were finished. The roof was on and the rear was made, the skirts were added and all 4 wheels had their wheel arches. The front fender was modelled to go around to the front of the car and go around the front grill. This is instead of the 2 different panels that I was making earlier on in the process.
I had also made the chrome surrounds that go around a lot of the panels like the radiator grill and the windows. I had also added the spoiler, which is one of the main differences between the base 2002 and the 2002 turbo.
Car Update 2
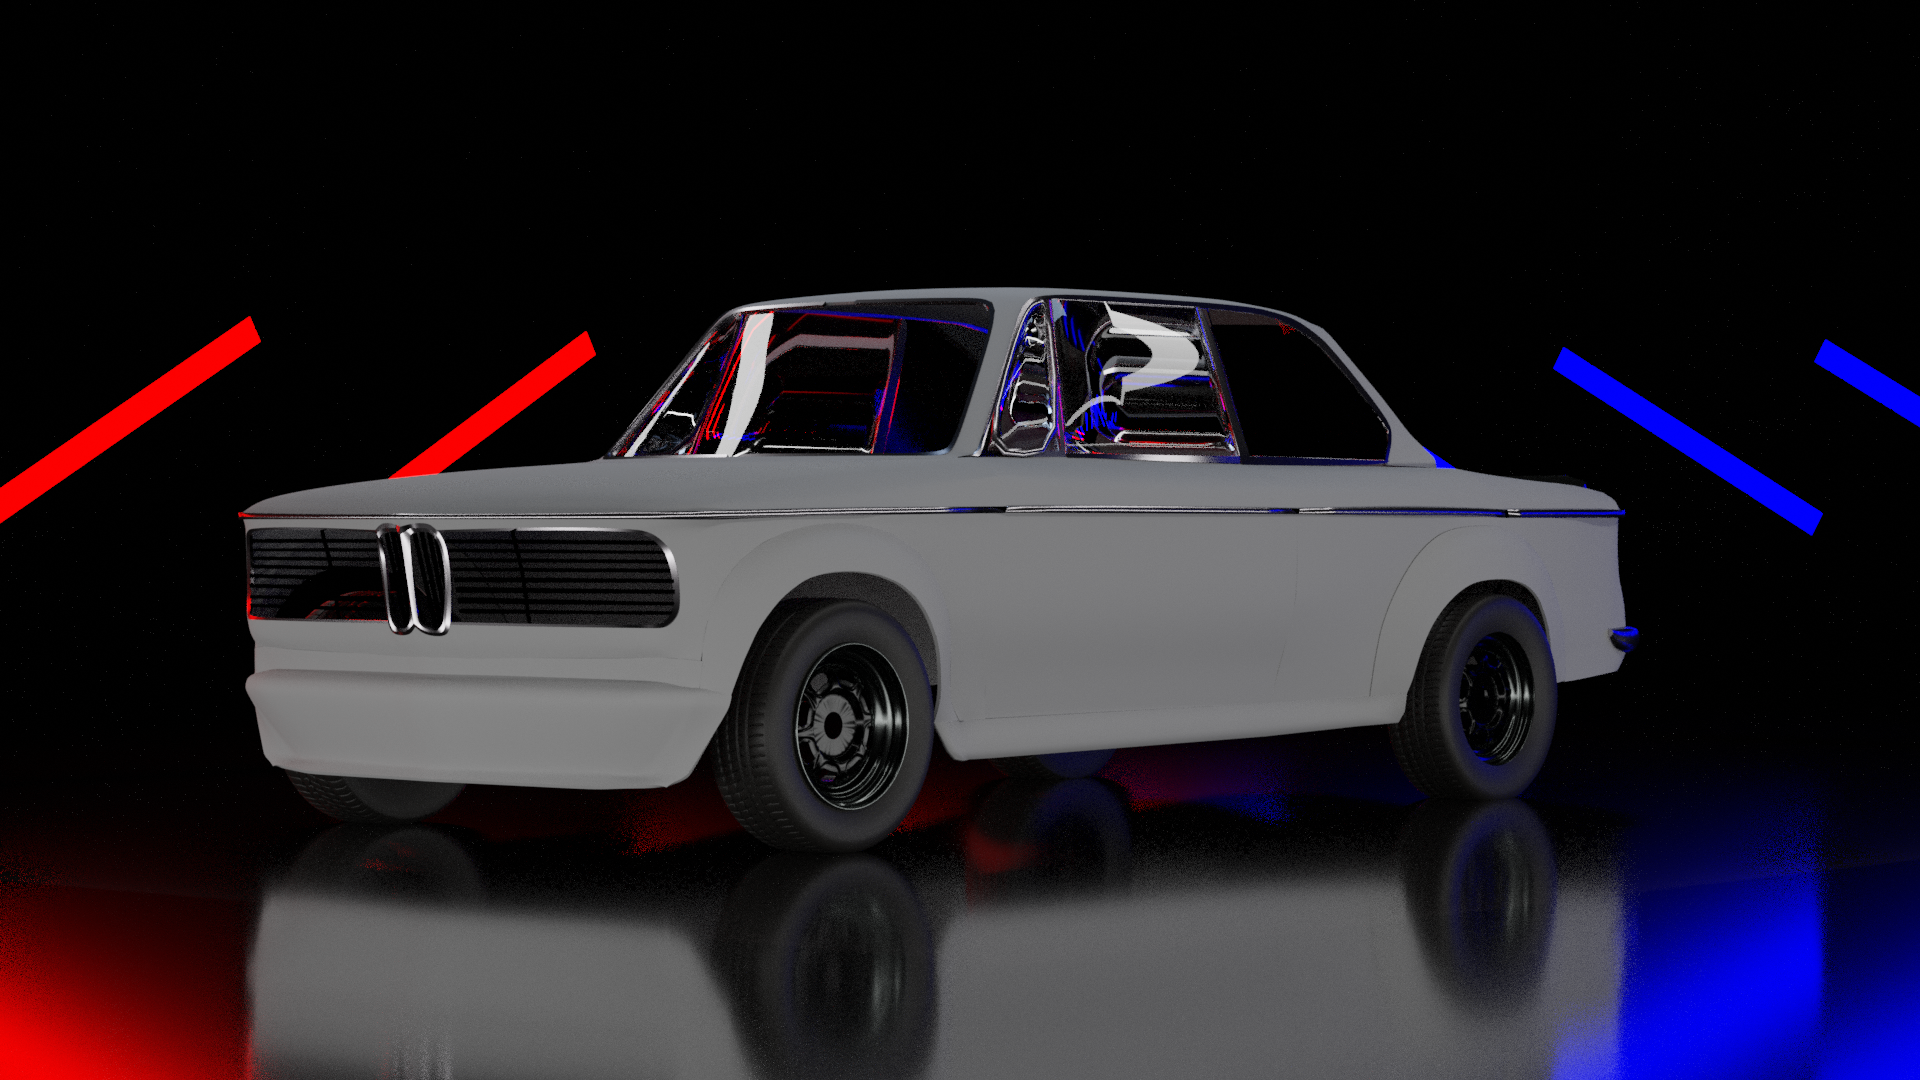
At this point in the project, I had a look around the car and felt that compared to the model that I had, it wasn’t fitting right. I found another side on image and stared to move the front and rear around to make it fit the image. I did this with the width of the car as well.
As well as repositioning the different panels, I fixed the edge of panels to make them flow better than they were before. This is most evident in the door corners and the corner that connects the front splitter, the wheel arch and the front fender. These just make the car feel more real as the real cars would not have that kind of imperfections in the car.
Car Re-model

Final Renderman Render
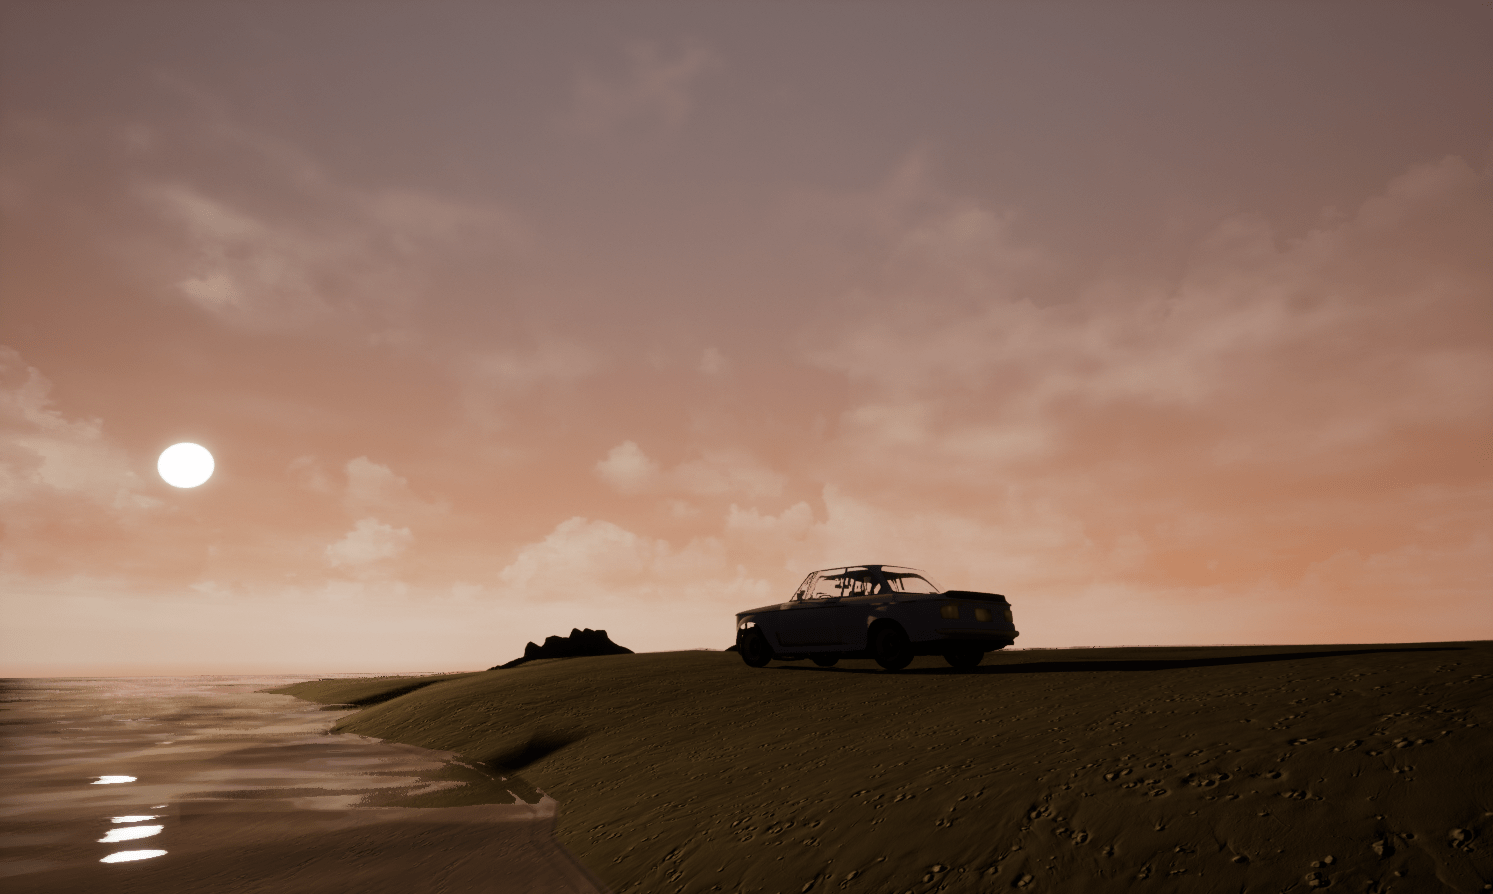
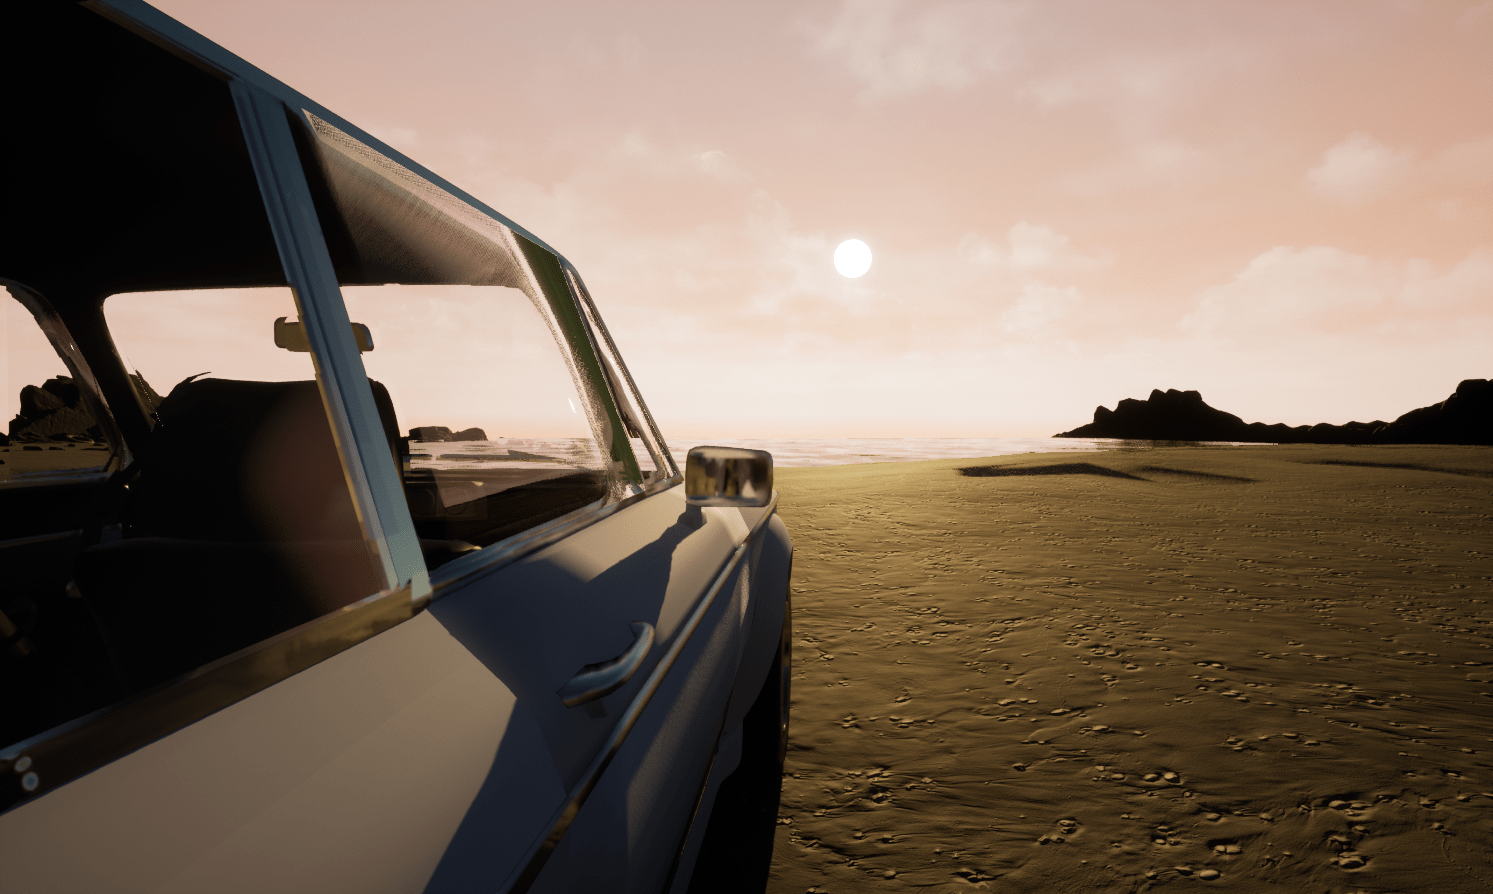
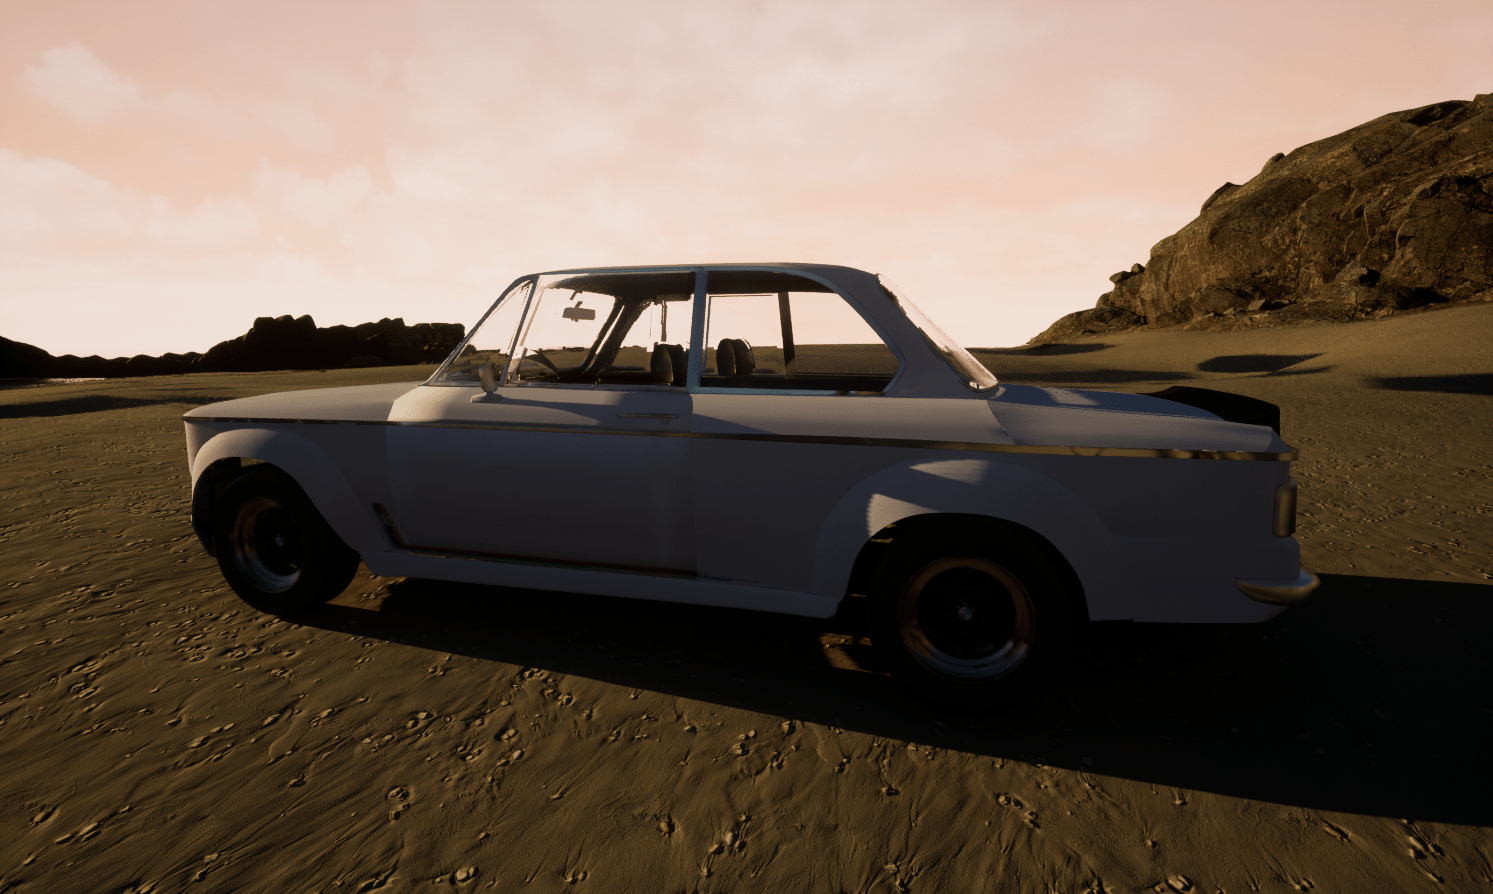
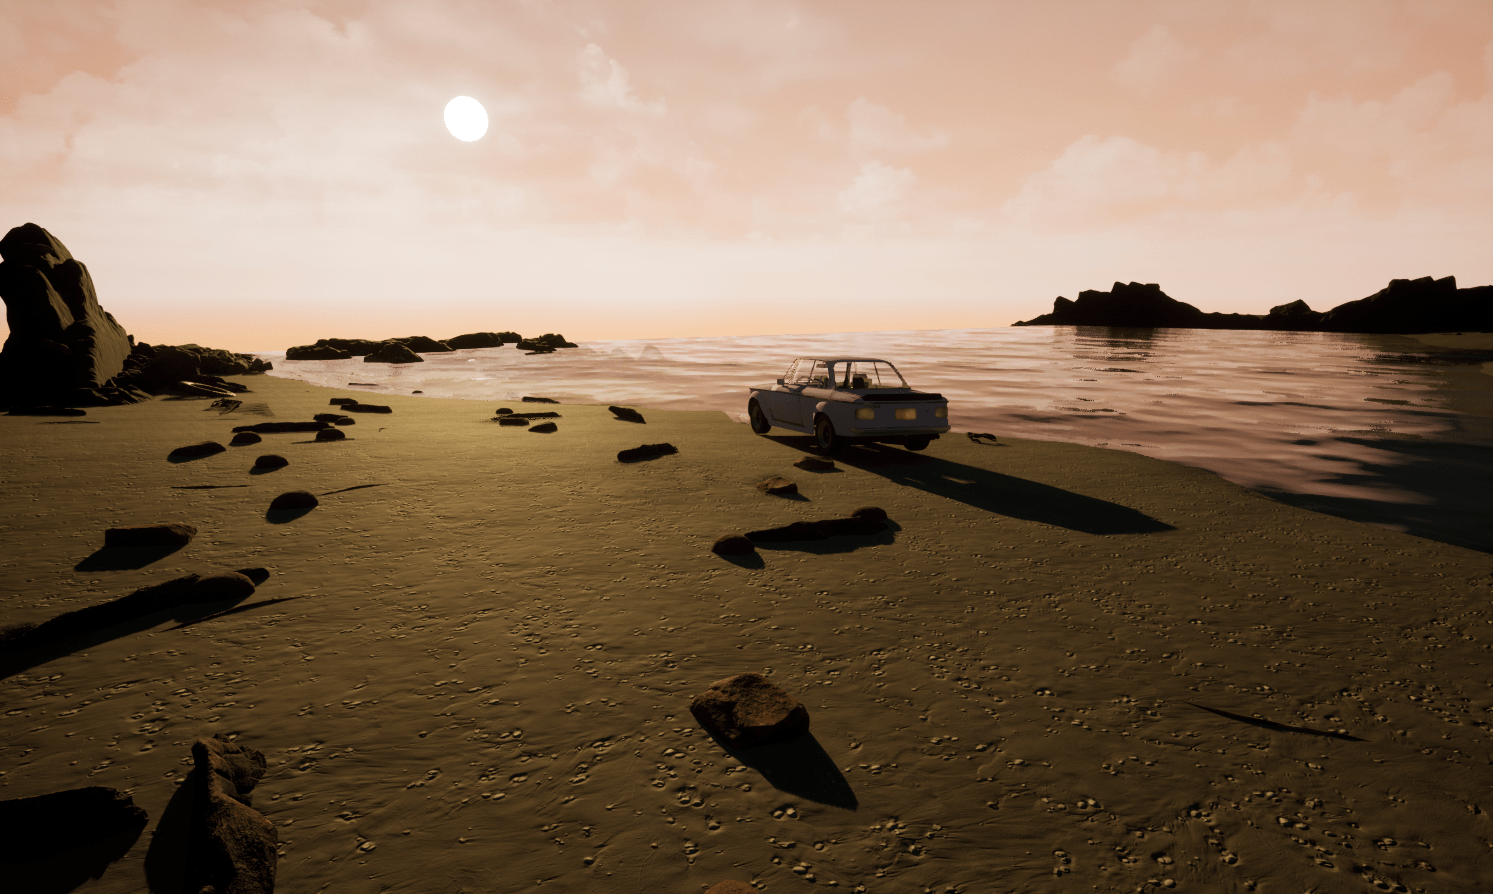
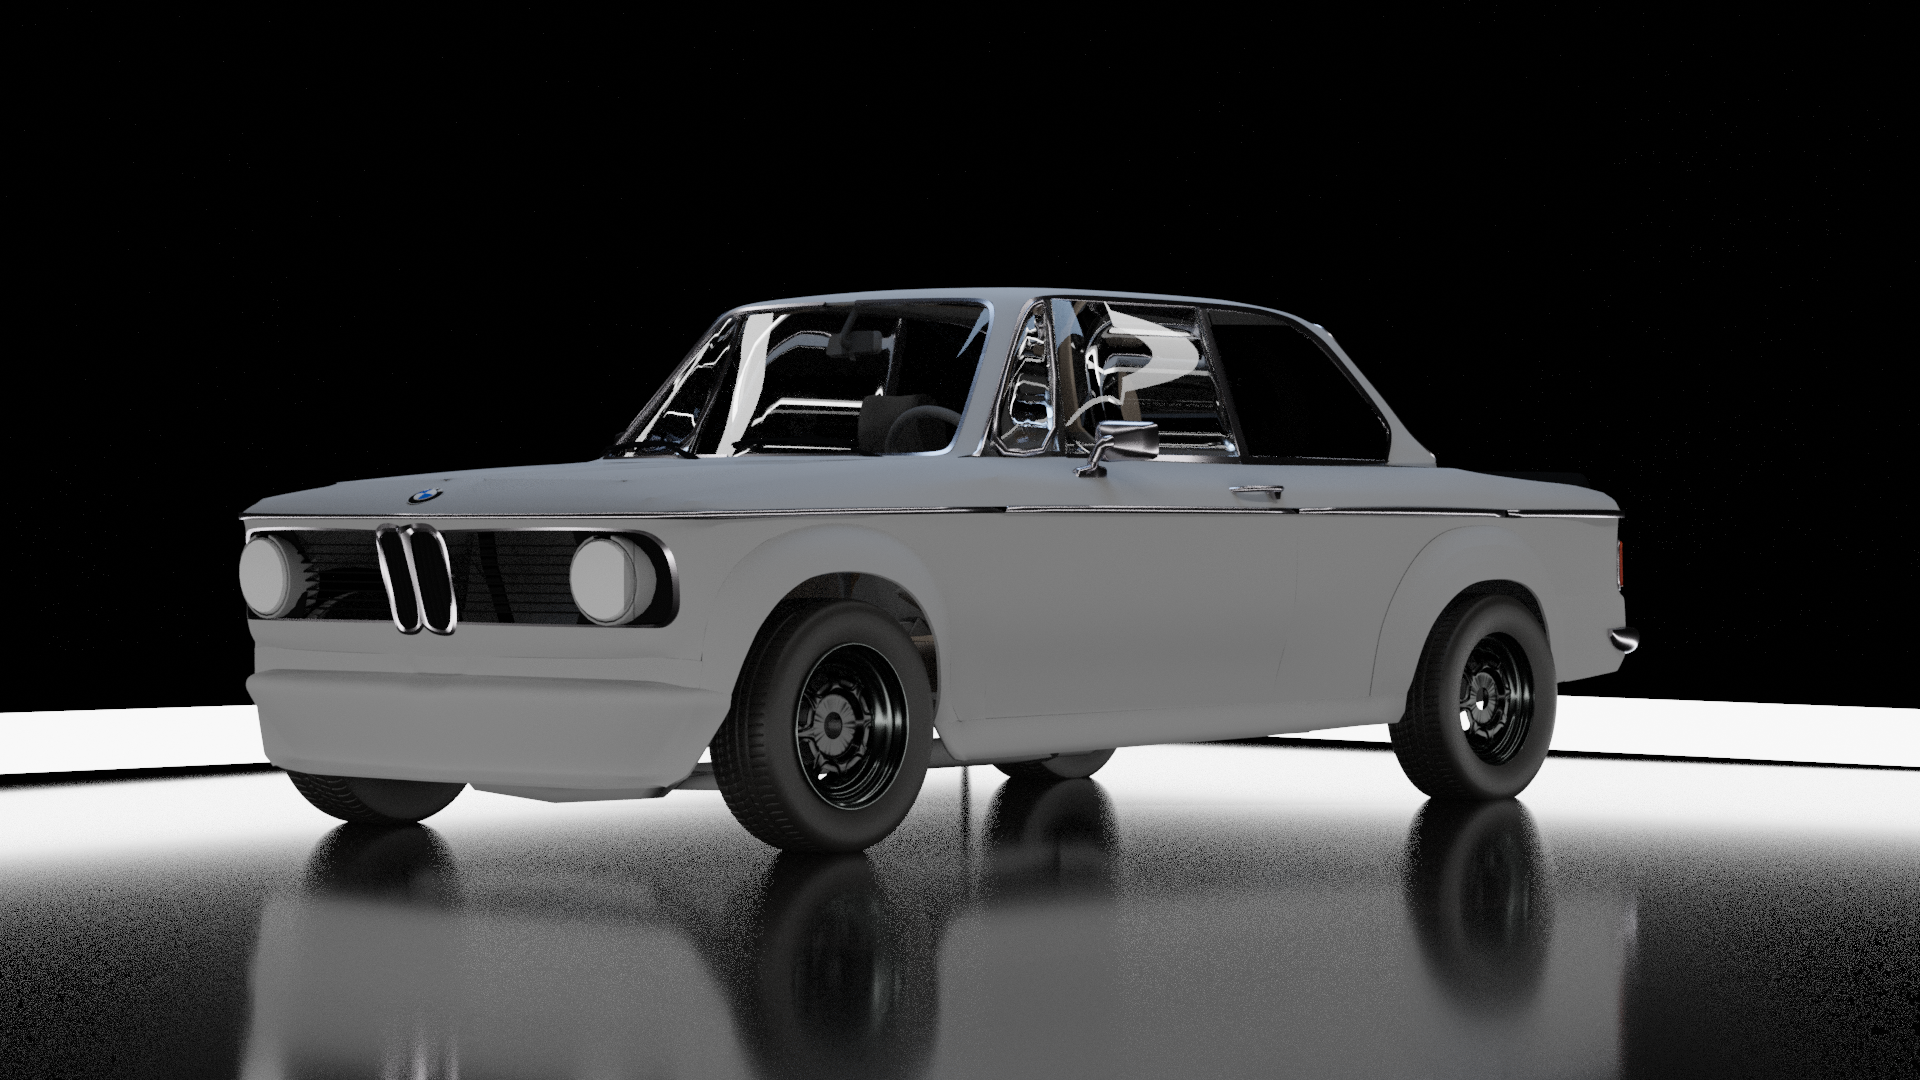
These are the final renders that were taken using the Renderman Render engine. I decided that I was going to take the car, texture it using Quixel Mixer and put it in an Unreal Engine 5 scene. This is an engine that is well known for its hyper-realistic style and it is now easier than ever to make a scene that looks amazing using the Megascans Libary.
To finish the model, I found the interior of the car online and decided to put it in the car to make it feel more real and full. These elements can be seen in the door handle and mirrors for example. I also changed the scene that it was being rendered in. Changed the lights to highlight the car and highlight the materials that were used for this render.


Preparing the Unreal engine scene
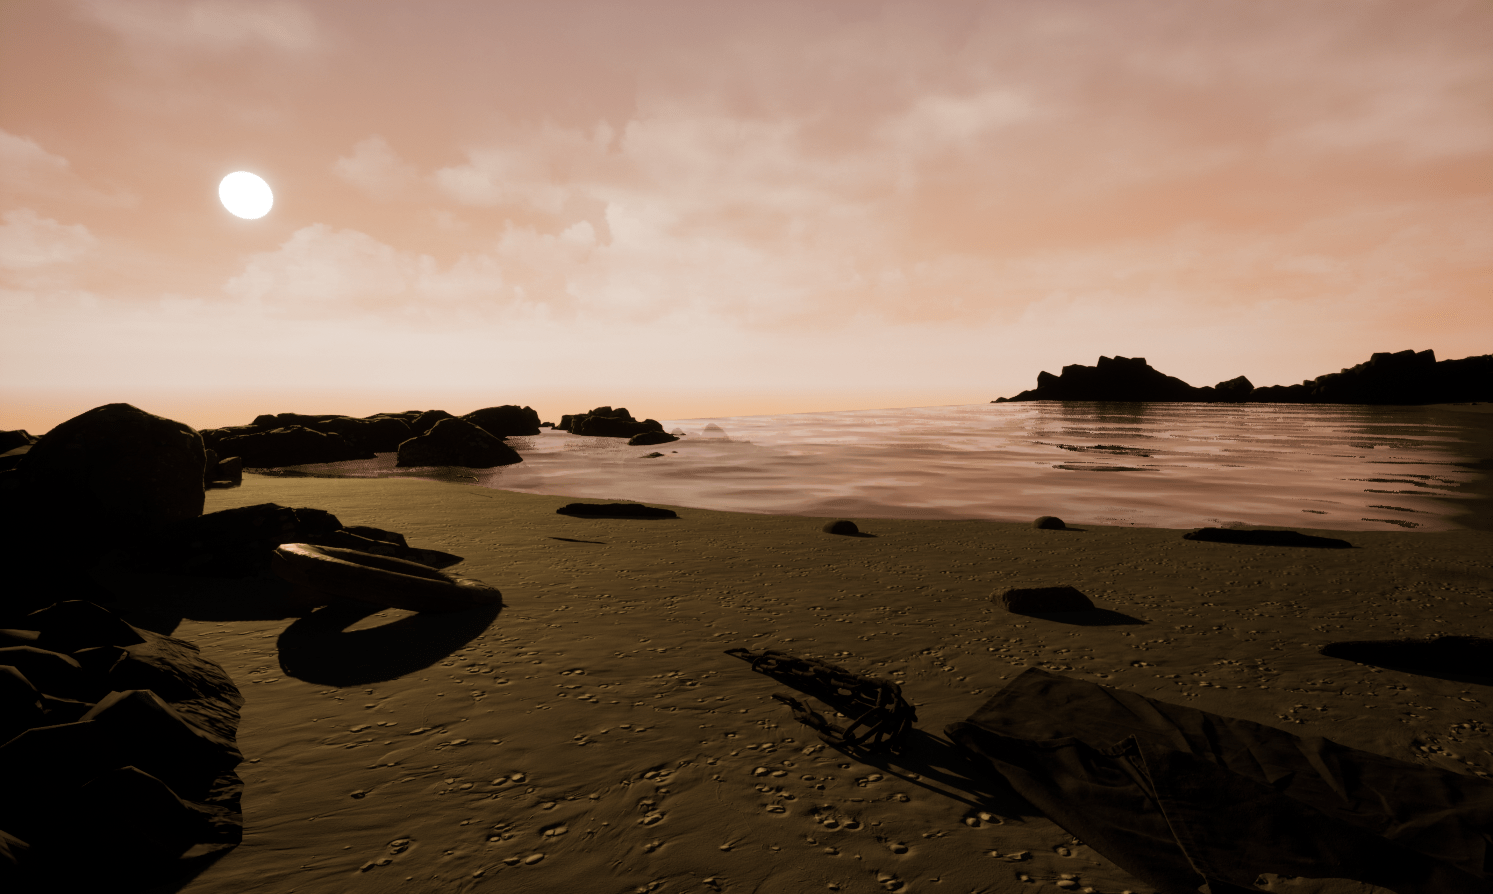
The next thing to do was to prepare the scene that the car would be going in. This would be made in Unreal Engine 5 due to it being well known for its realistic worlds and lighting engine. This combined with the ability to import very high quality objects from Quixel Bridge and the megascans libabry made it a very choice for making my scene.
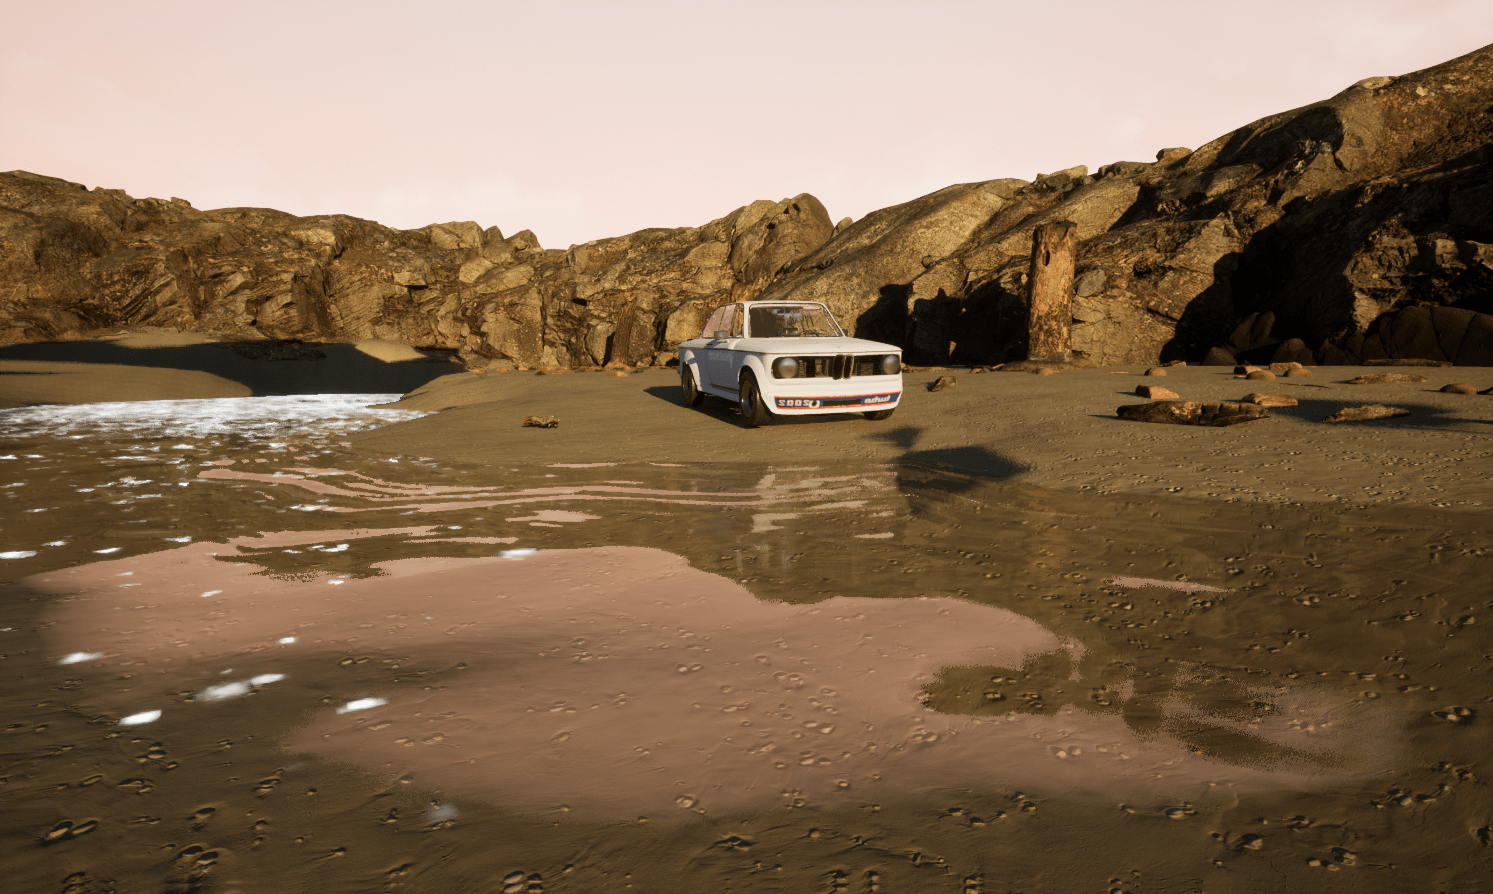
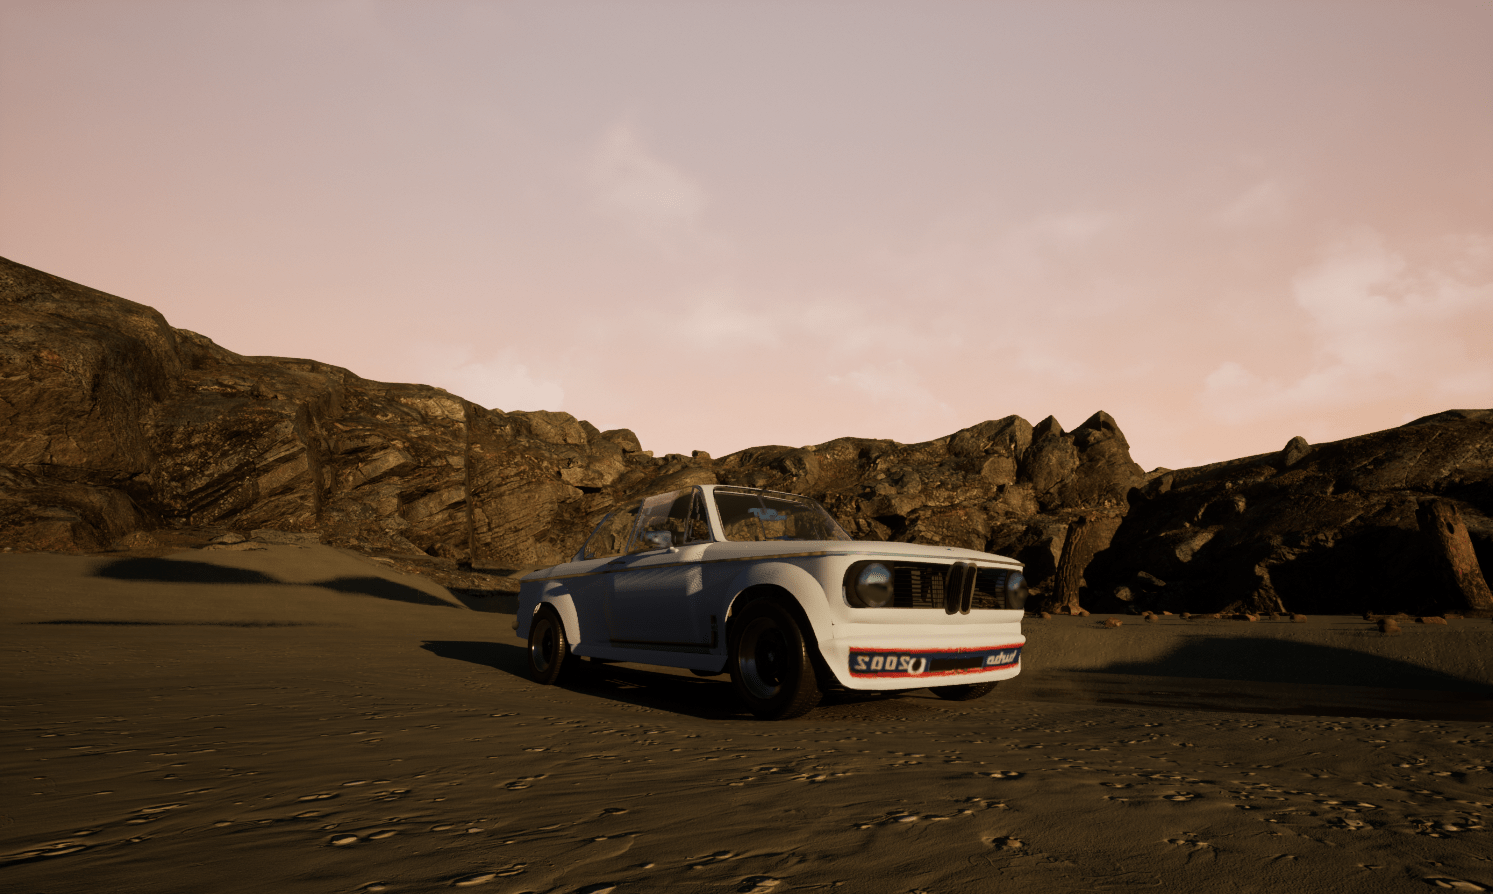
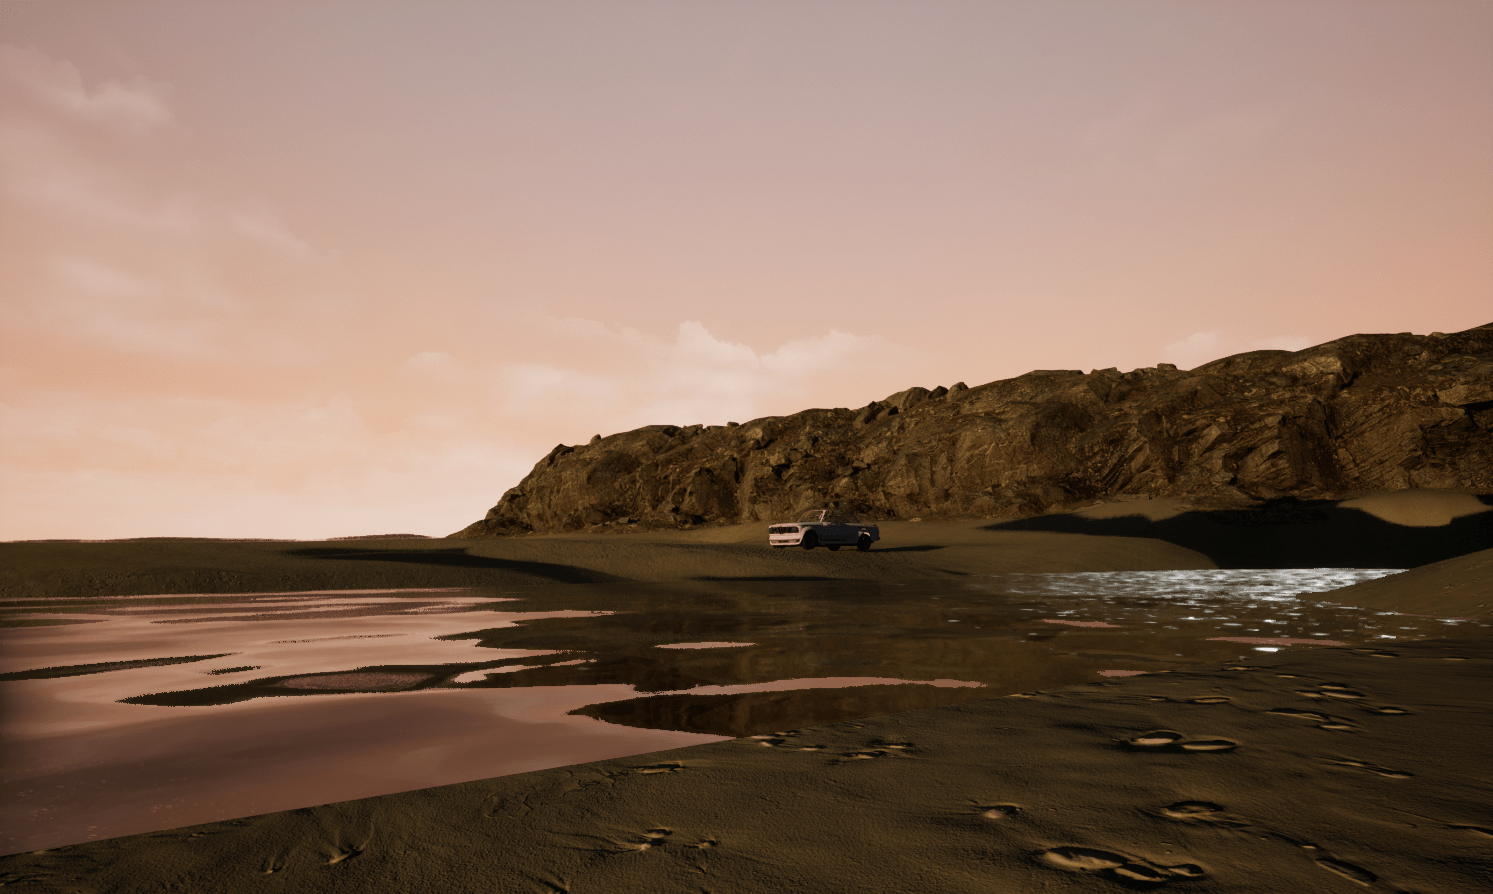
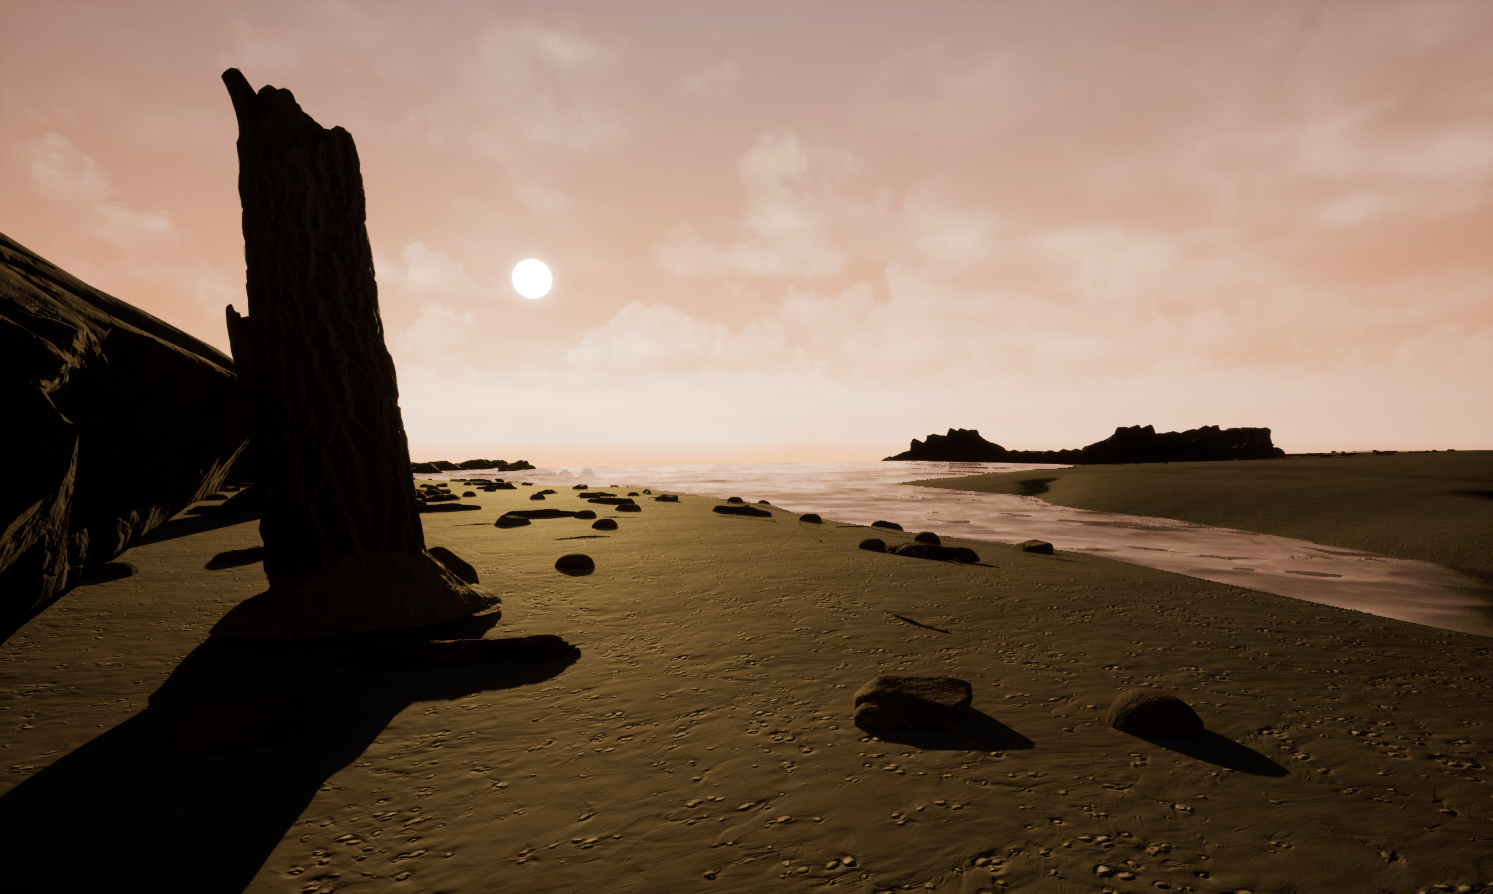
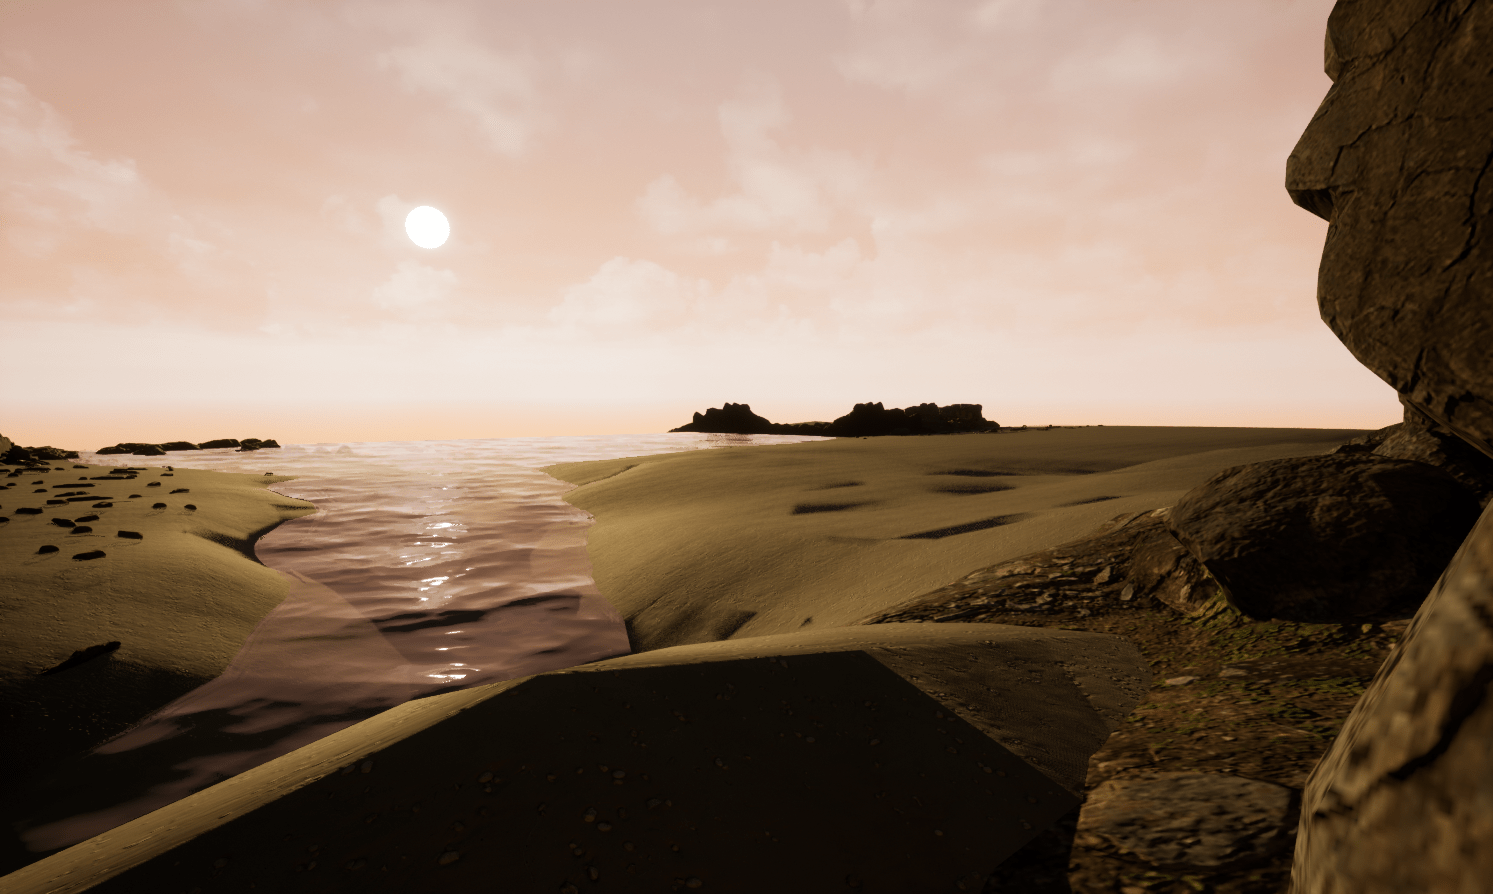
The scene that I went for was a sunset beach scene. This would not only show off the amazing renders that can be done in unreal engine, but would also show off the cars materials in a way that made it look really interesting and would make it act like something completely different to something like a showroom.
I wanted to make the scene feel like a secluded place that only a few people would know about. You could picture yourself sat there on the sunset, enjoying the sea air and the beach as a whole


Preparing the model for Quixel Mixer
After finishing the Renderman side of the project, I needed to prepare the model to be placed into Quixel Mixer for texturing.
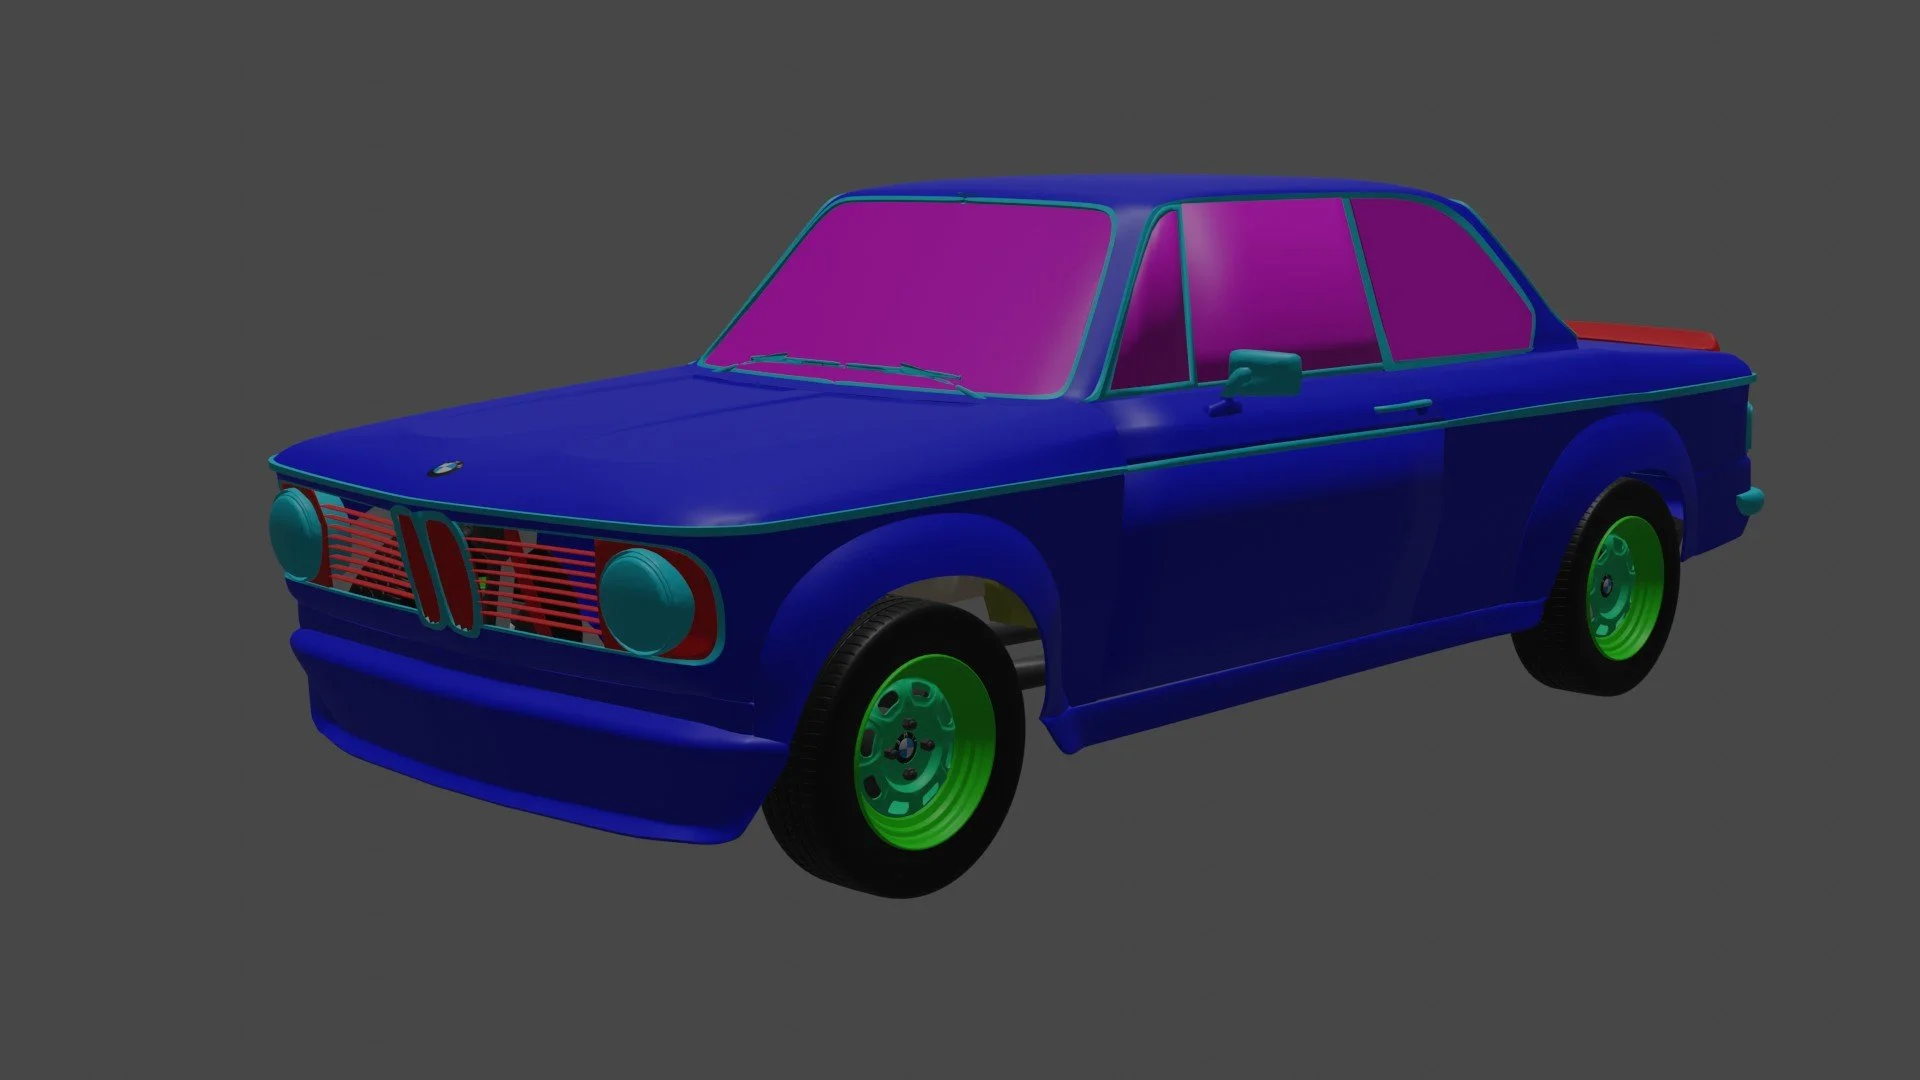
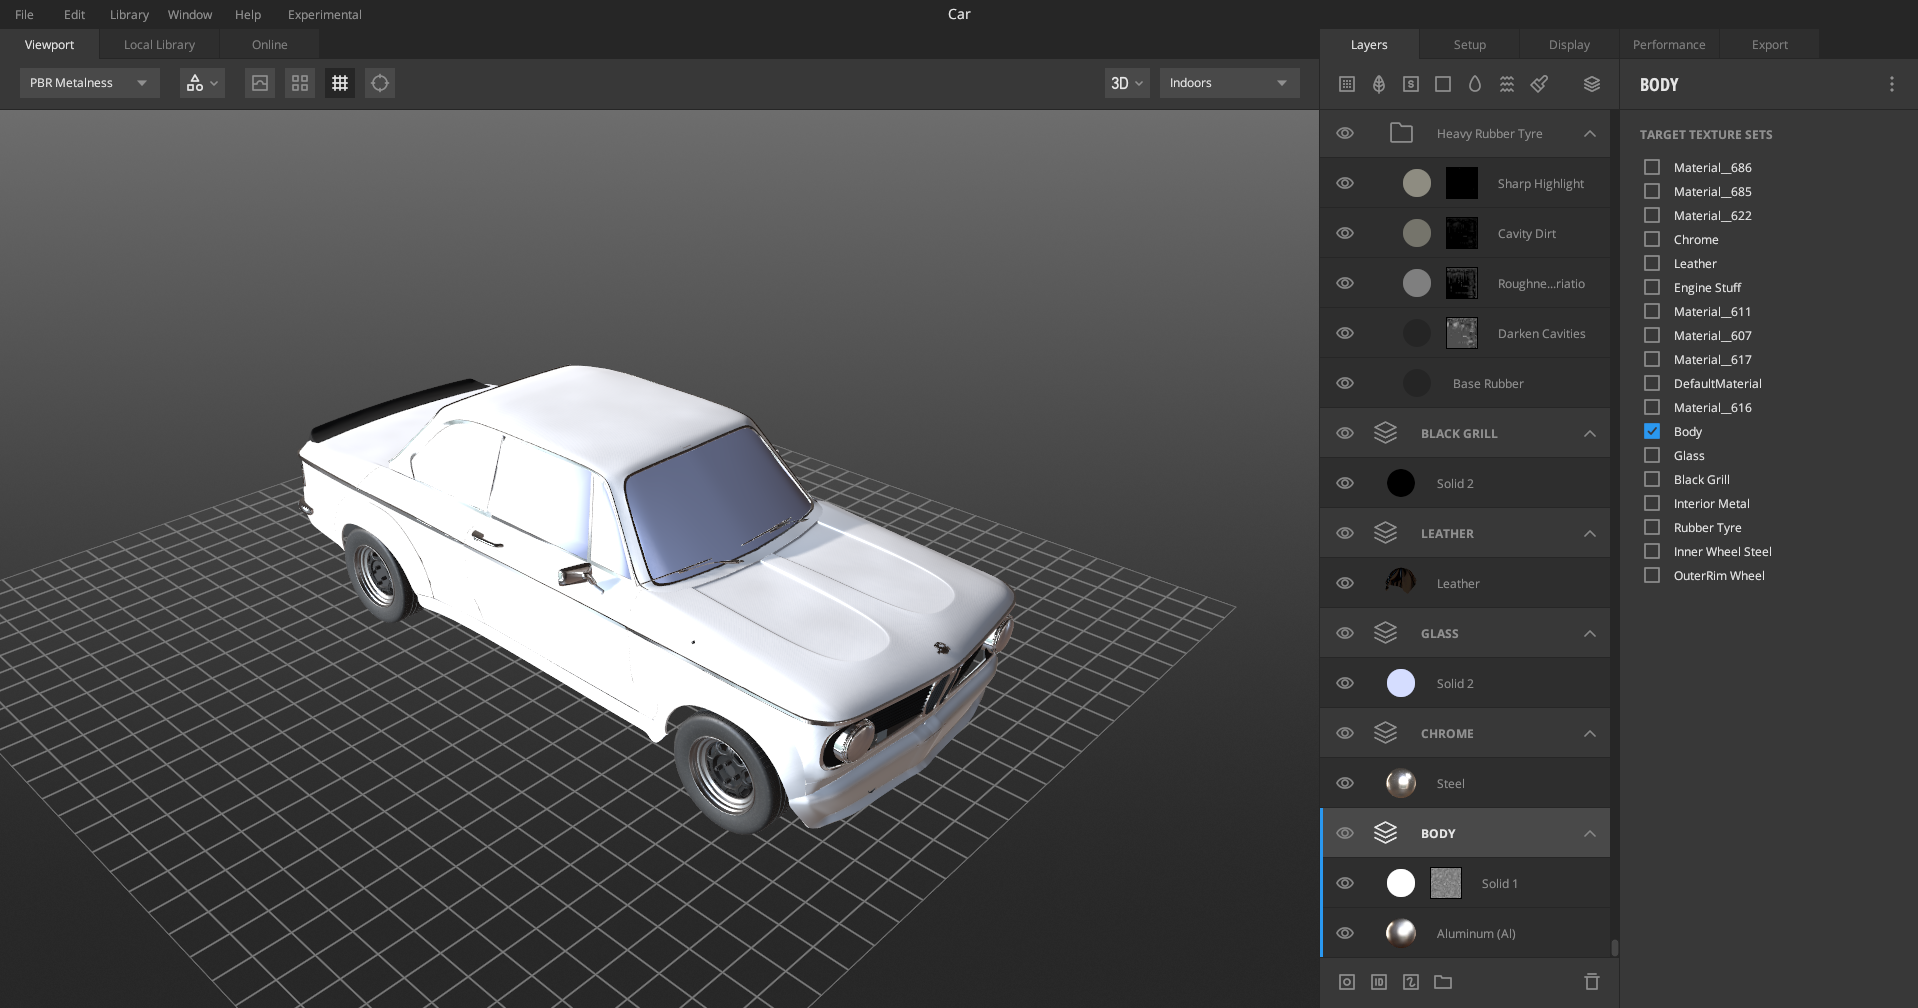
Firsly, I had to change the render engine back to Eevee, I made some basic materials and just applyed a random colour to them to visually identify them in the blender viewport. For example, anything on the model that is light blue would be chrome, Pink is glass and blue is the body of the car just to name a couple.
The reason for doing this is so that when I imported the model as an fbx into Quixel Mixer, I would be able to assign the new materials to the same texture ID as the ones made in Blender and would therefore be on the same objects meaning that I wouldnt have to add the baked maps to the model and then re-export the finished model so that it can be used in Unreal Engine.

Quixel Mixer
This is the first time that I had used Quixel mixer for a number of reasons. One of them is that the software is still very new and that a lot of the rendering that I had done before included procedural materials that were made in blender or with maps from places like Megascans, of which Mixer has a direct connection and utilises a lot of the items avaiable from megascans.
There were some things that I can say it does well. The target texture set feature is amazing and makes it very easy to assign textures to specific objects, if the model is set up correctly as demostrated before. Then making a texture stack for that set made it very simple to see what effect you were having on the model and made it easy to stack the textures to get the desired effect.
The most frustrating thing that I found was trying to place the decals on the side and front of the car. I am currently unsure as to if there is a bug in the software but I could not work out how to make stickers. For the final product, I ended up using Substance Painter for that side of the texturing, However keeping the quixel mixer textures for the main materials.
Putting the car in Unreal Engine
The last thing to do was to put the car model and texture in Unreal engine to get some screenshots. This part was very simple since it was just a case of importing the model and texture maps to make a material for each one and applying it to the car.
The most difficult part of this part of the project was getting the glass to work. Unreal Engine 5 adds a feature called Nanites that allows an automatic change of detail of an object depending on how close that object is to the player. This is like the Level of Detail (LOD) system that the industry has been using for a long time but doesnt swap the model to one with a lower poly count at certain distances. Instead it decimates the model in sections to keep the shape and colour of the model. This needed to be turned off to make the glass material to work since Nanite doesnt play nicley with transparent objects.

Conclusion of project
After working on this project for the last 14 weeks, I can safely say that the final renders for this and the final outcome of this project is the greatest project that I have worked on. I am very happy with the outcome and feel like the goal of me doing justice to the car has been accomplished. The car model is highly detailed and the Unreal Engine scene adds the last bit of authenticity that is needed for the project to be classed as completed.
With that said, there are some things that I would like to change if I were to do this project again. I feel that I spent too long on the wheels and tinkering with parts of the car that didn’t matter as much and feel that I could have spent more time on the textures inside Mixer. I wanted to ensure that the scene was finished and looking good which was why I left the textures as they were. The car looks really good but there were some small tweaks that could have been made, but I could have spent hours and hours tweaking the textures to get a look I was happy with. I would have also really liked to spend more time and get the car drivable in Unreal Engine. I was making headway to actually completing that but ran out of time if I wanted the rest of the project to be finished. The last thing was that I would have liked to be able to work out how Renderman textures worked a bit better. I was mostly unable to work out the materials, instead using the premade ones that could be downloaded with the engine.
Despite all these things, I still feel like what was achieved here is of really high quality and was a lot of fun to do as a bonus. The final images and video make the whole scene look really good and throw into the spotlight the high quality of the car model. I would happily do a similar project again in the future.


